Adding Handmade Touches To PreMade Cards - Featuring Studio Calico's Wink Wink Stationery Kit
It's October 1st and Studio Calico's Wink Wink Kits are here! I LOVE the new Stationery Kit from Studio Calico. It's the perfect way to make quick cards with handmade touches or a great way to get started in the wonderful world of card making. The stationery kit from Studio Calico comes with several pre-made cards, envelopes and other fun goodies. You can use them as is, or you can add handmade touches to make them even more special! I have taken cards from this kit and given them quick handmade touches to spruce them up.
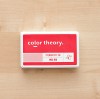
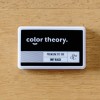
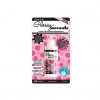
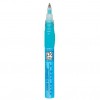
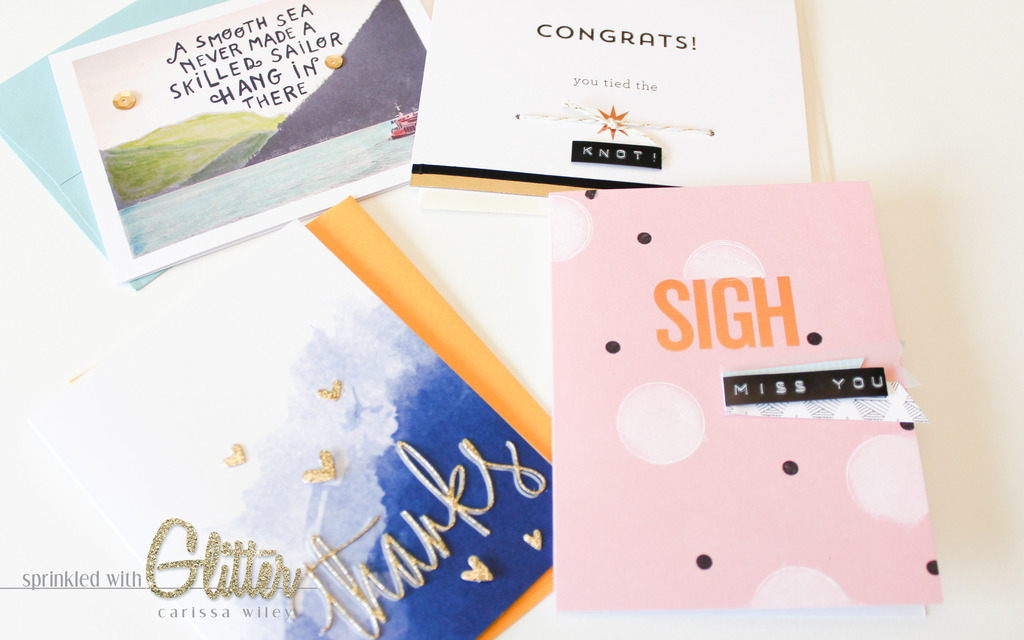
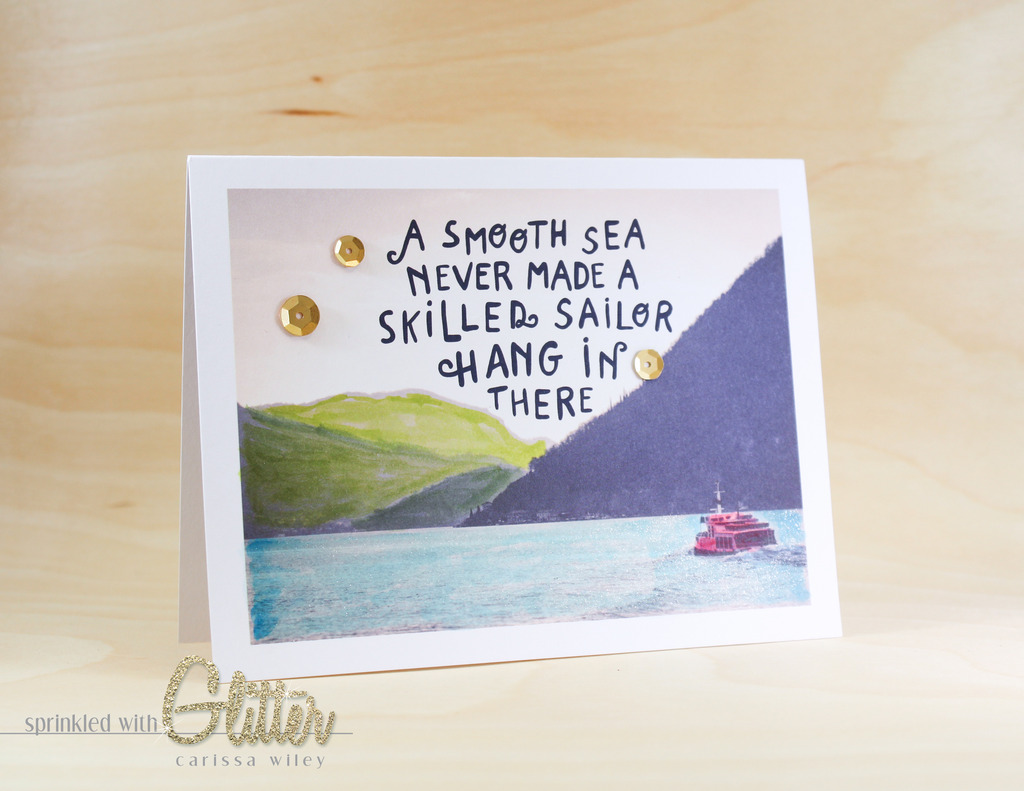
I added quick touches of color to this sepia toned card. I used my water brush and some of the Studio Calico Color Theory Inks to brush in some color. This is quick and easy and adds a very artistic touch to this card. The key to this is using very little water so you don't oversaturate your card and cause it to pill up. Once I added the color to the front of the card, I added a layer of Wink Of Stella over the water to give it some shimmer. I finished the card off by adding some sequins.
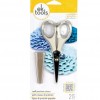
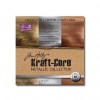
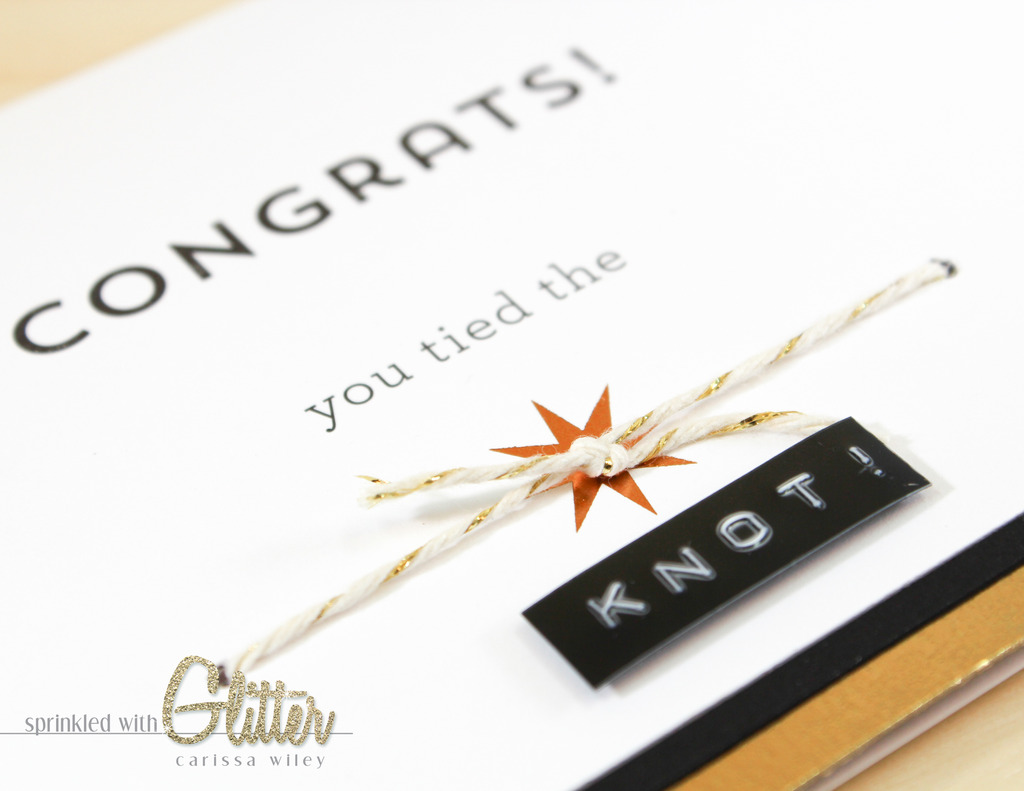
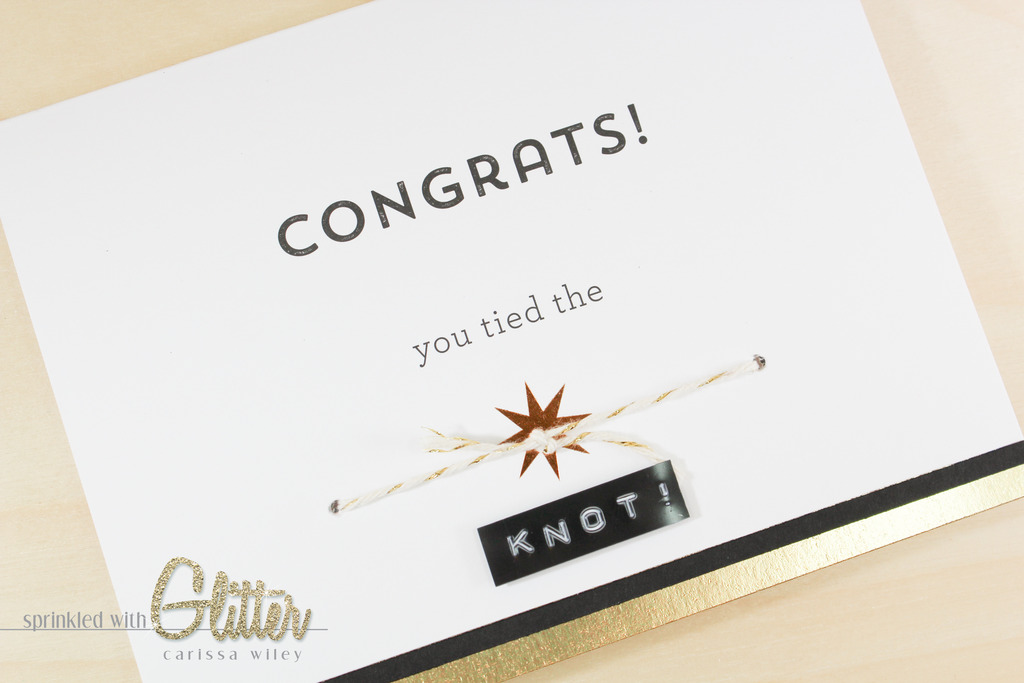
The Congrats You Tied The Knot card really only needed some twine to finish it off. But I decided to take it just a step further and add some metallic paper to the bottom as well. I simply cut about 1/2 inch off the bottom front of the card and then attached the gold foil paper inside of the card. I added a thin strip of black paper as well to add definition to the edge of the card. The addition of the patterned paper adds a special, shiny touch to this already adorable card.
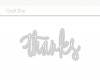
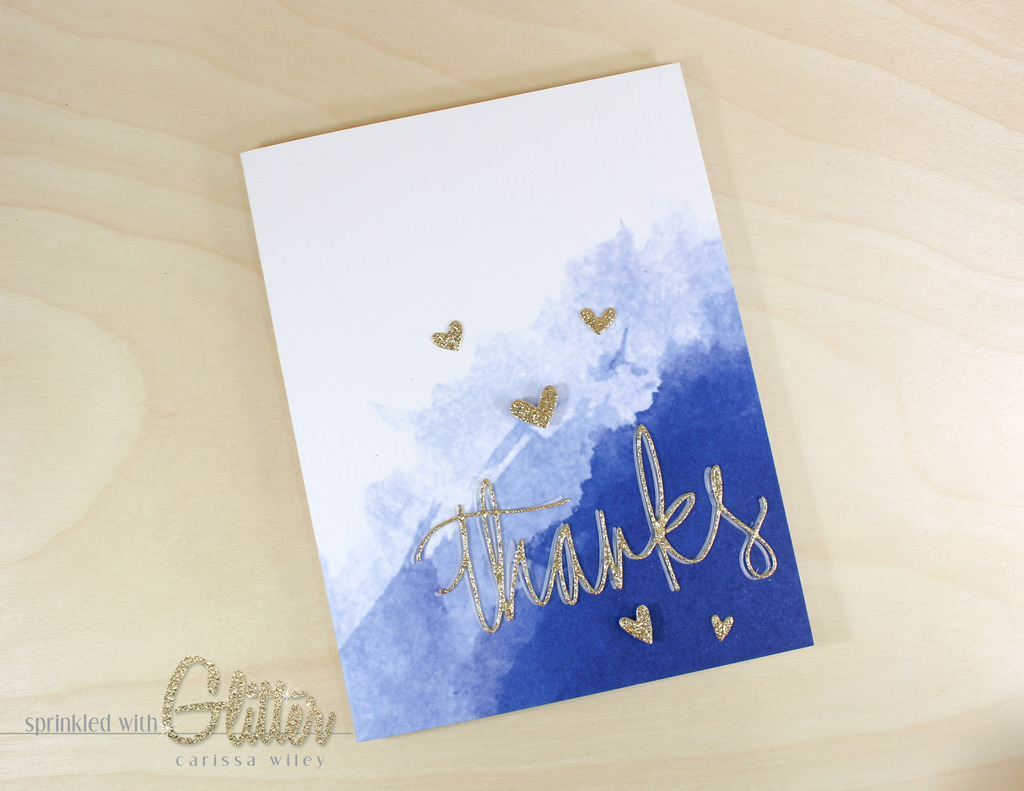
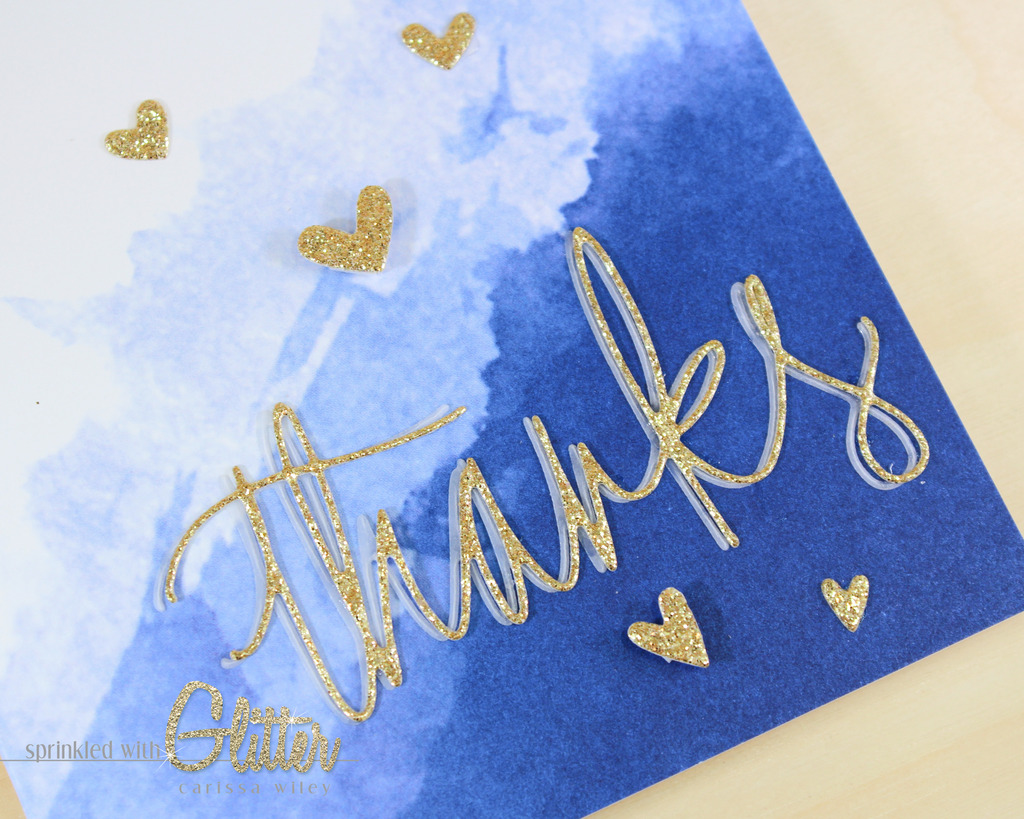
When I got to this watercolor thanks card, I knew I wanted to add some gold to it. Blue and gold are the colors of my son and daughters football and cheer teams, and I knew that with the addition of gold, this would be the perfect thank you note for the cheer coach at the end of the season. I used the Thanks die by Paper Sushi to cut some gold glitter card stock as well as some vellum. I attached it to the bottom corner of the card with some liquid adhesive. I created a shadow by slightly offsetting the vellum and gold glitter layers. I also added some gold glitter hearts, some of which I attached with foam adhesive for dimension. I also added some gold glitter hearts on the inside of the card as well. The addition of a simple die cut sentiment really dressed up this fun watercolor design notecard.
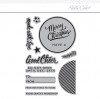
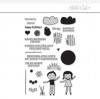
My final card is the awesome rose gold foiled Sigh card. I adore this card. I could buy a whole box of these cards. I decided to add some stamping to this card. I used the new Balloon and Lollipop stamp set designed by Life.Love.Paper to add polka dots to this card. I used a white pigment ink to stamp the circles. I made sure to mask of the gold foil sentiment so I didn't get any white ink on the foiled sentiment. I also added some smaller black polka dots with a smaller circle stamp from the same stamp set. I finished the card off with a sentiment I created with my Dymo label maker and some of the patterned paper from this month's 4x6 paper pad. It's the perfect way to tell someone you miss them.
Here are some quick ways to add handmade touches to pre-made cards.
- Color your world. Add color to the printed card with watercolors, inks, paints or markers. The landscape on the sepia toned card lends itself well to this. However, you could add a watercolored backdrop around a sentiment. Use your imagination and color your world.
- Primp it with pattern. Patterned paper can be added to an otherwise simple card to kick it up a notch. Try cutting part of the card off and adding it to the inside of the card, or add small banner shaped strips to your card to add color and pattern in a flash.
- Doll it up with die cuts. I chose to add a quick die cut sentiment and some die cut hearts to the watercolor thanks card. I added dimension by adding some of the hearts by adhering them with foam adhesive. This would be fun to try with a simple black and white striped card. Choose cards that are simple in design so that your die cut can take center stage.
- Tie it up with twine. A quick wrap up with twine is sure to make any card feel handmade. It's also a great way to add just a splash of color to an otherwise monochromatic card.
- Stamp it up. You can add stamped design elements, like the polka dots on the sigh card. Or try adding a stamped sentiment to a preprinted card to make it fit the occasion. You can stamp with ink, or take it up a notch and add embossing powder to make it shine.
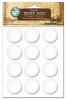
- Add embellishment eye candy. A few simple and small embellishments, like sequins, rhinestones or some Stickles glitter glue dots can make even the simplest of cards feel special. Scatter a few sequins on the card front, or add a couple of rhinestones to accentuate the sentiment. It's a fun and the recipient will LOVE it!
These quick and simple touches are great ways to dabble in the card making world, or for those moments when you're in a pinch and you want something just a little more special than a mass produced card. They're also a great way to get your creative cravings quenched when you just don't have a lot of time on your hands. You can take these simple ideas and apply them to any of the Studio Calico Stationery Kits.
In addition to creating with the Studio Calico Wink Wink Stationery Kit, I also created a few cards with some of the October add ons. These stamps, dies and printed masking tape were so much fun to create with.
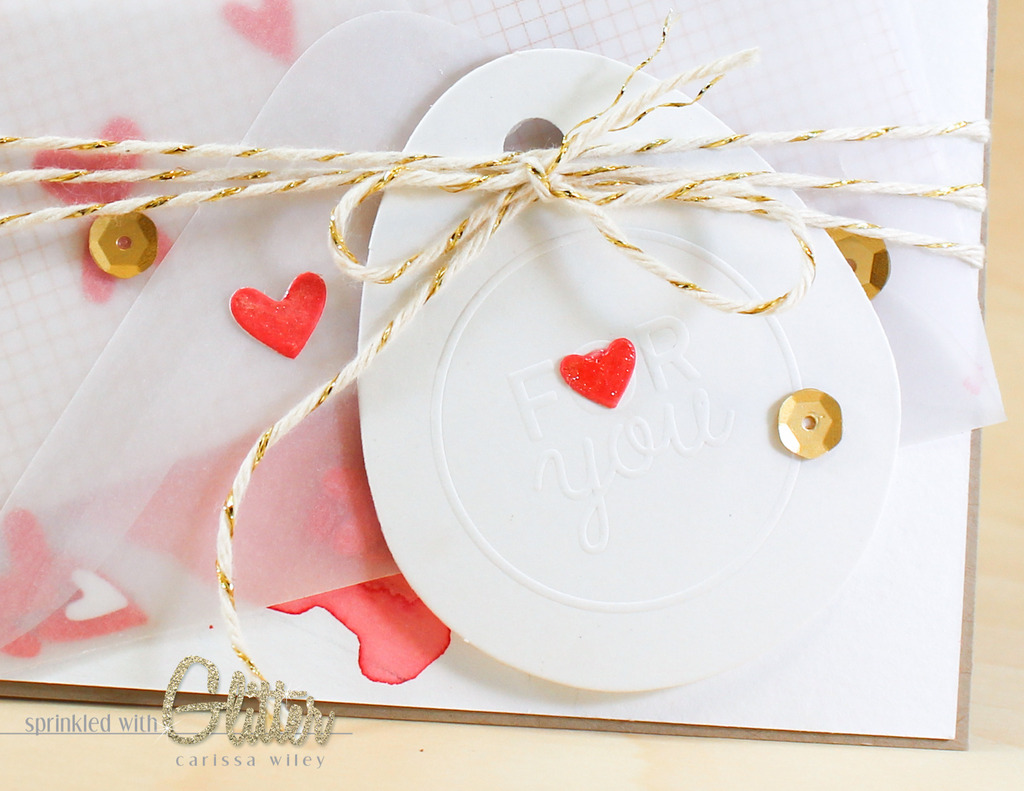
This card combines elements from the Stationery Kit with the Balloon and Lollipop Stamp Set Add On. I love these simple and classic embossed tags. I stamped the sentiment from the stamp set on a piece of the patterned paper from the 4x6 patterned paper pad and tucked it in an envelope on the front of my card. I watercolored a simple heart on my card base to add color and texture to the card base. I tied the tag on using some sparkly metallic twine. This card was quick and easy and makes a fun interactive card to give to anyone!
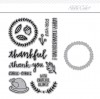
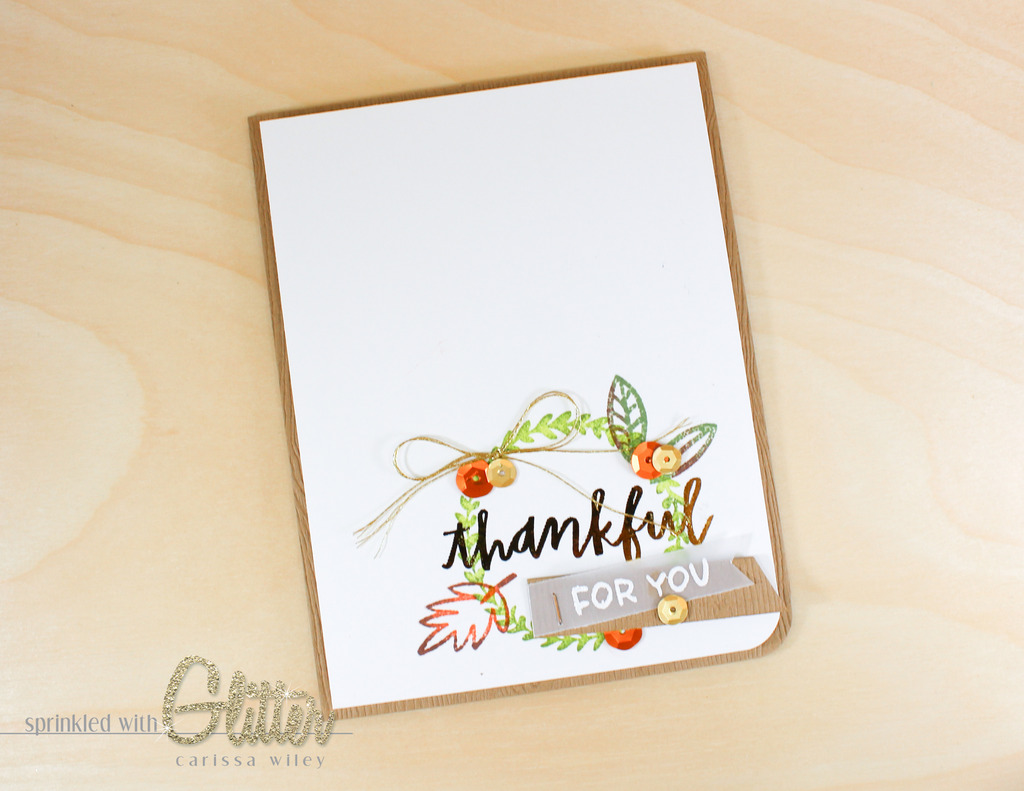
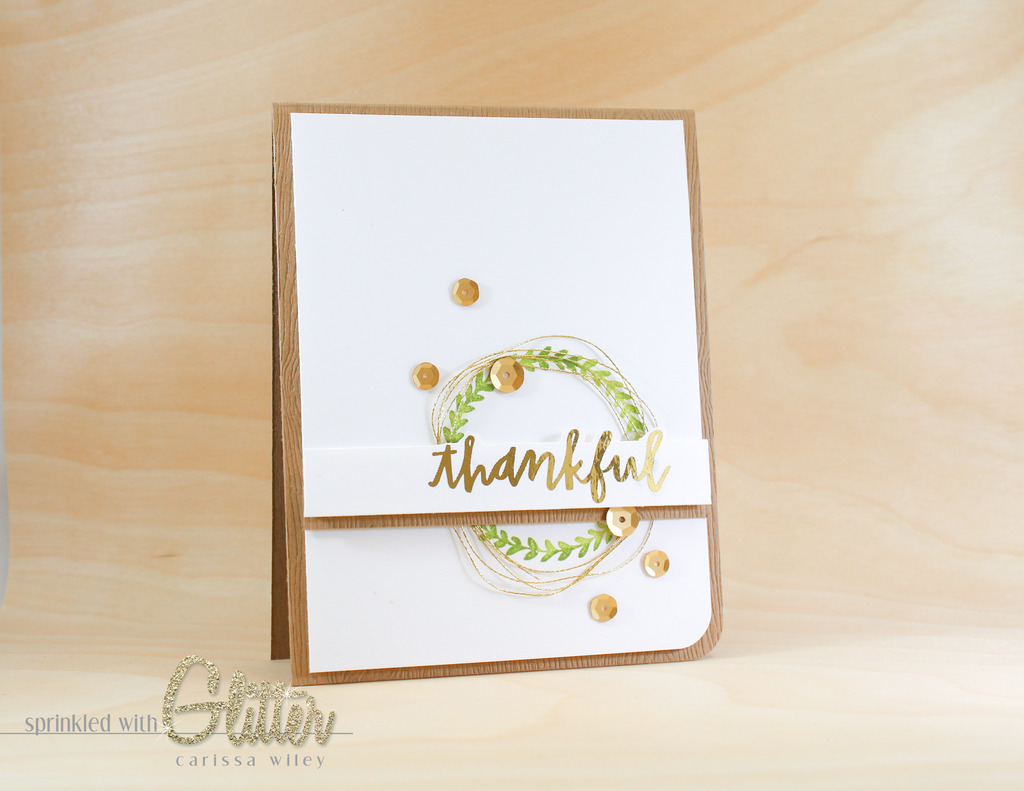
I used the Thankful Stamp and Die set to create a couple of cards. I combined the stamp set with the digital stamp brushes so that I could add gold foiling to the sentiment with my Minc Mini. I started by printing the sentiment with my laser printer. I then added my stamping over the top of the printed sentiment. I found by accident that stamping over the laser printed image won't affect the foiling.
I used the wreath stamp on both of the Thankful cards. I first inked the wreath in Lime Light ink and then added some Yes Peas ink around the edges. This gave me a two toned wreath. I then embellished both cards with some sequins and some gold thread. One is perfect for fall and Thanksgiving. The other can be used year round.
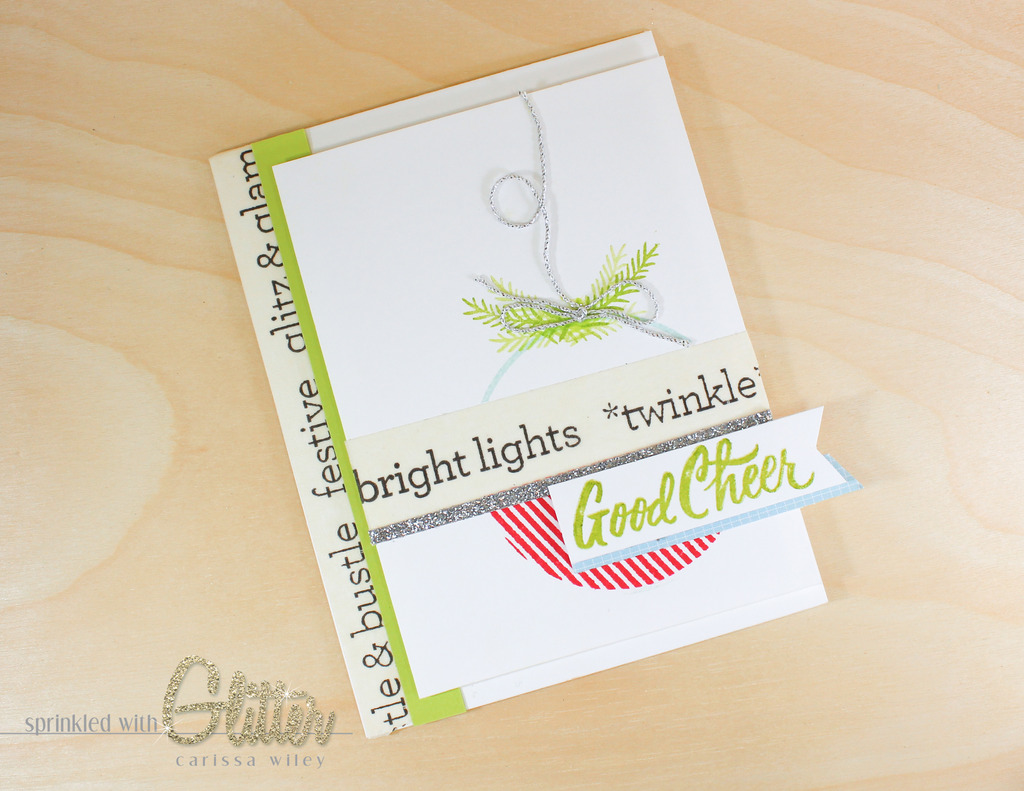
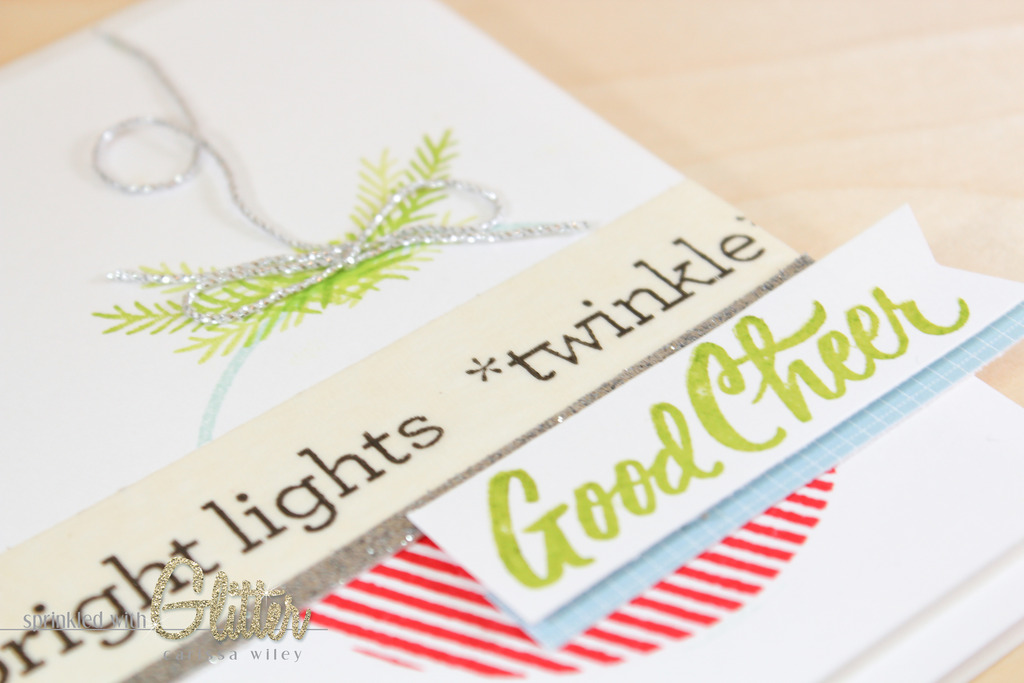
I fell in love with the Christmas Ornament Stamp Set when I saw it. We all know that I'm a sucker for Christmas. But I can imagine using elements from this stamp set year round. I combined this stamp set with the Holiday Masking Tape (ADORABLE) to create a fun and funky Christmas card. I chose colors that were traditional, with a twist. And I used SILVER not GOLD! It's a Christmas miracle!
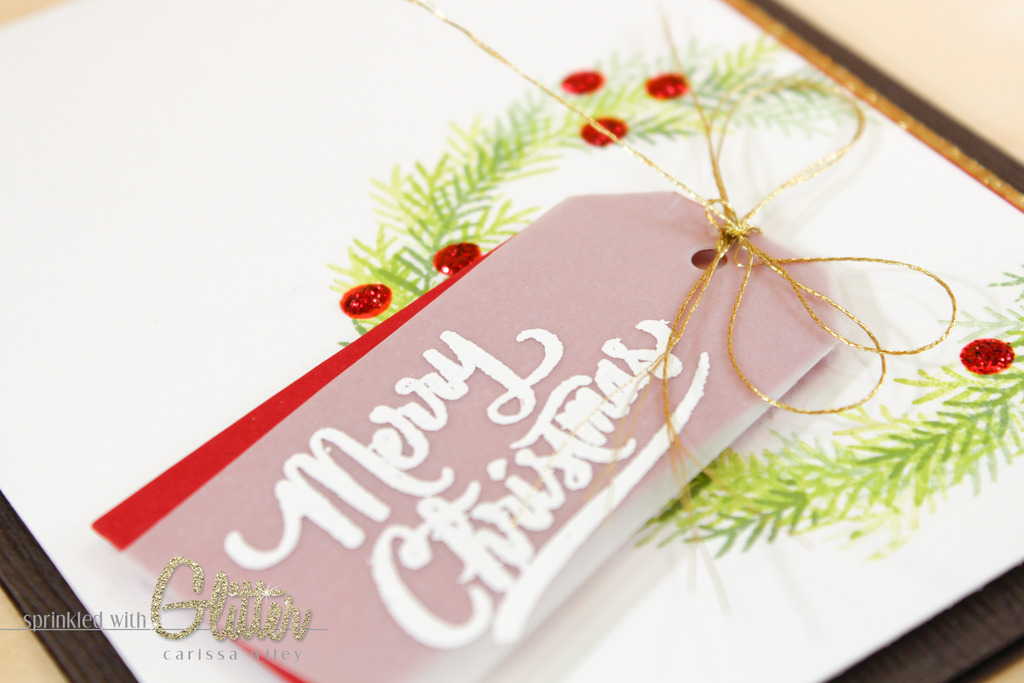
I used the Christmas Ornament stamp set again to create the wreath on this card. I first stamped the large ornament outline on my card front, using second generation stamping. This served as a guide for me to stamp the pine branch in a perfect circle. I used two different colors of green, and first and second generation stamping to create various tones of green around the wreath. I finished it off with some berries stamped with the Balloons and Lollipops stamp set and an embossed sentiment on a die cut tag.
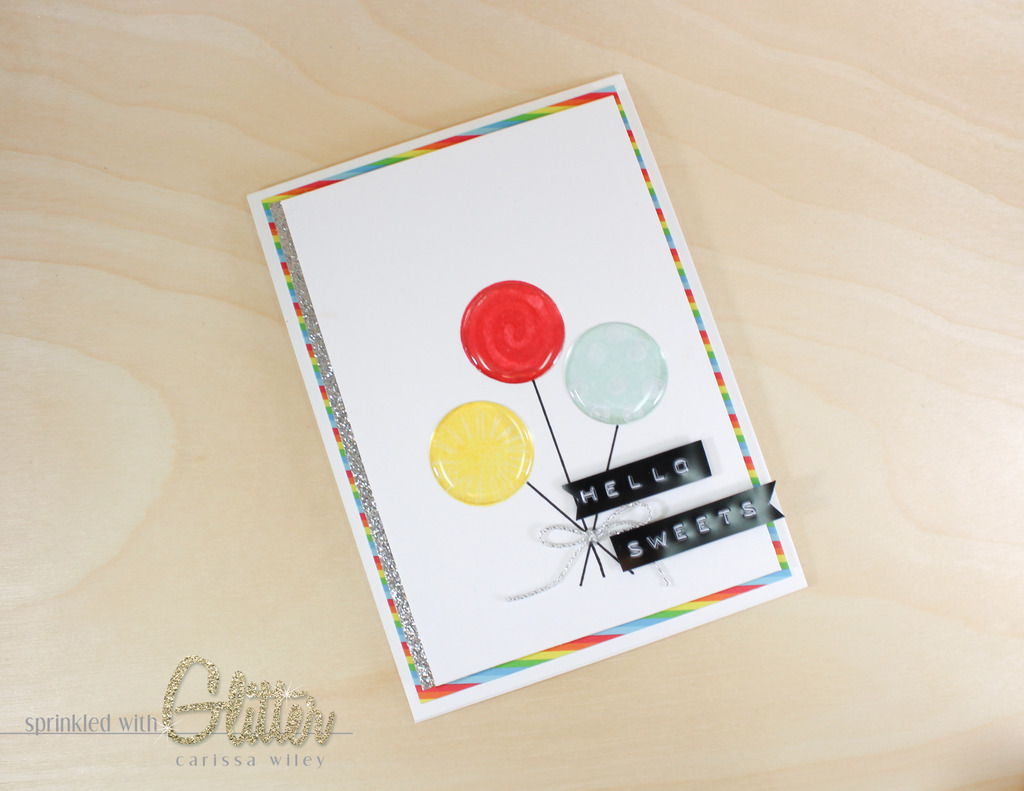
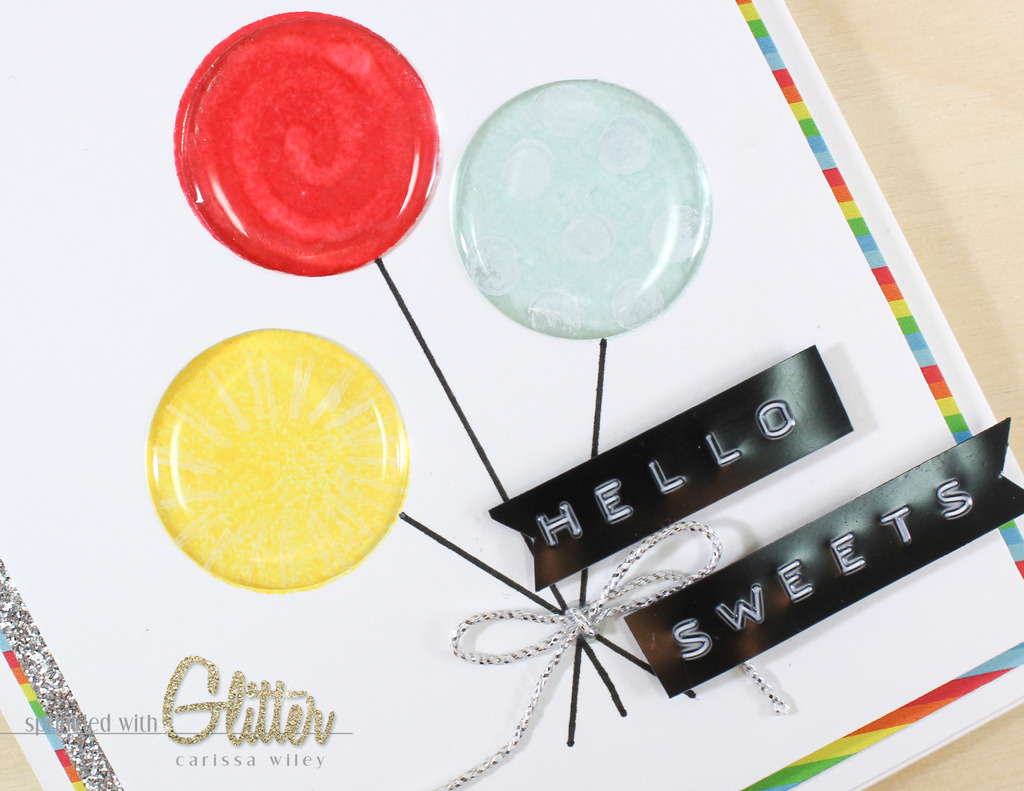
Finally, I created this lollipop card with the Balloons and Lollipop stamp set. I found that the circles in the stamp set are exactly one inch, which is the perfect size for some enamel stickers that I had on hand. I stamped the circles in bright colors that coordinate with the striped pattern paper from the paper pad. I added some details (polka dots, stripes and swirls) over the top of the lollipop base with some white pigment ink. Then I made the lollipops super shiny by adding enamel stickers over the top. They look good enough to eat!
I have linked all of the items I used in these cards below. Remember, the Stationery Kit and add ons are only available in limited quantities. They will be available to subscribers during the pre-sale period at noon EST on October 1st. They will be available to everyone else starting at midnight EST. Be sure to get yours before they're gone! You can subscribe to the Stationery Kit, and it will come to your door monthly, by clicking HERE.
Don't forget, you can get even more inspiration using this kit by visiting Studio Calico. The galleries and forums are so much fun to browse. And they're a great place to share your work!
Thanks for stopping by today! And thanks for hanging in until the end. There was a whole lot to share today! Until next time, I hope you have a fabulous day!


Supplies
*affiliate links used*