Believe - Embossing Paste and Masking
Hi everyone! I'm very excited to bring you a fun project today featuring some products from Neat & Tangled. I'll be using the fun new Santa's Ride stamp set and coordinating dies for this card. Christmas is coming soon, and I'm still busy making cards for the holiday season.
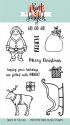
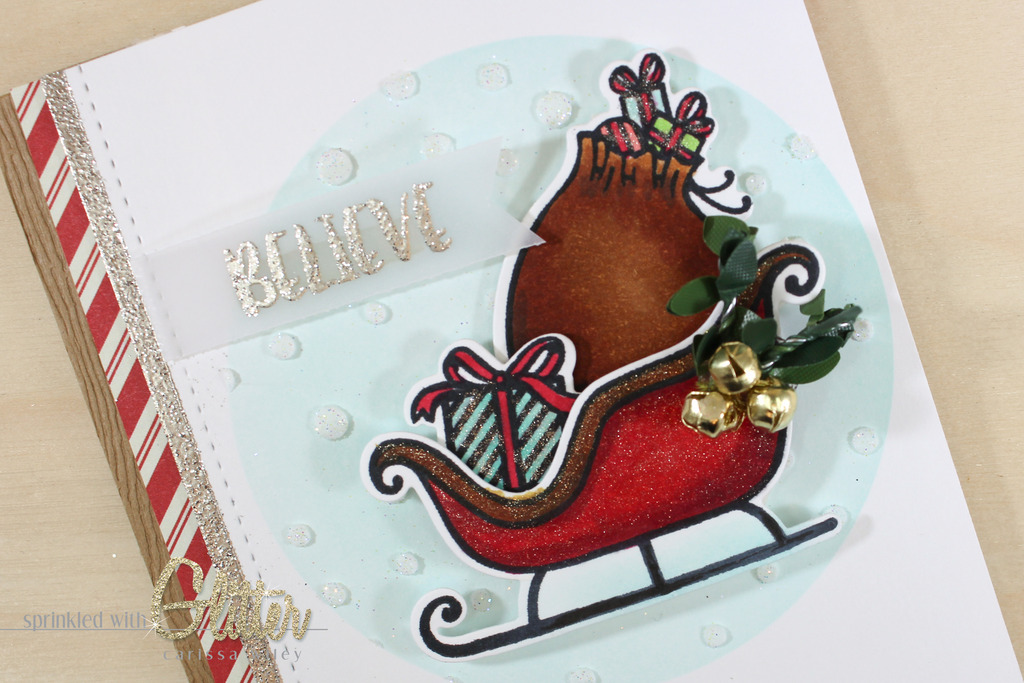
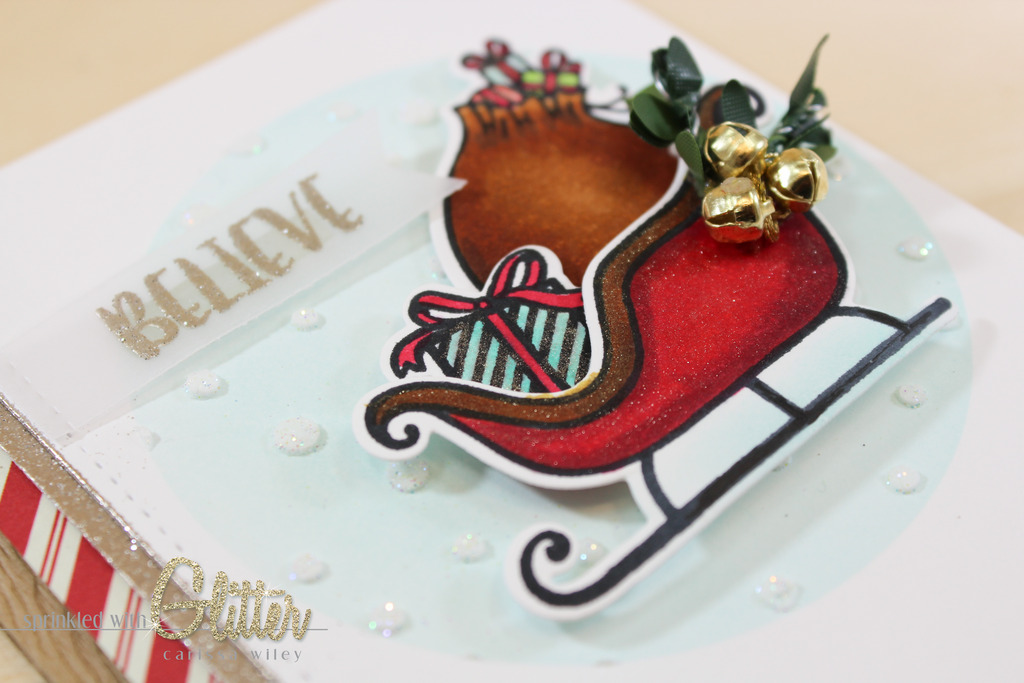
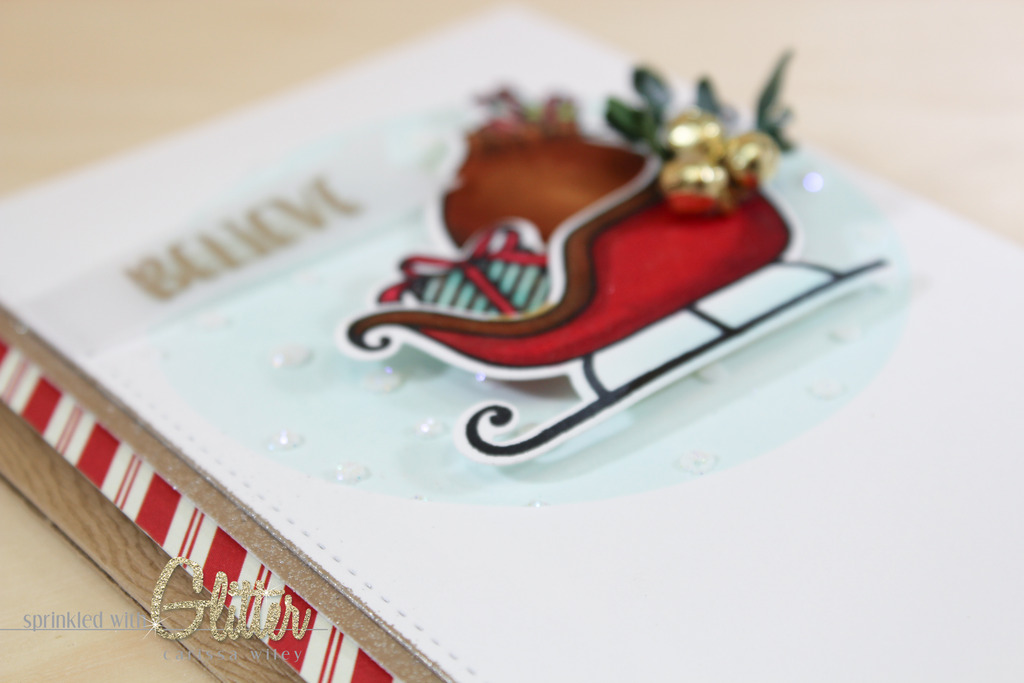
I started by stamping my images, the sleigh, present and bag full o' gifts, using Memento Tuxedo Black Ink. I did some simple Copic coloring to color my images (I'll list the colors used below) and then ran them through my Big Shot with the coordinating dies. This gives perfectly cut images every time. I love the option of having coordinating dies with my stamp sets, because it gets me more mileage out of my stamps.
I toyed with the idea of making this a one-layer card by masking each of the images, but in the end, I decided I would color and die cut each of the images. This gives a bit more dimension to the card. If you want to keep your project a little flatter for mailing, masking may be the way to go. When masking, always work from the foreground of your scene to the back. In this case, I would stamp the sleigh, and then stamp the present and then the bag o' gifts, masking each one along the way.
I did end up doing a little masking for this card. I used a nesting circle die to cut a mask. I used some Eclipse Masking Paper, but you could use some thing typing paper with removable adhesive if you don't have masking paper. In order to get perfect placement of my mask, I positioned the positive space (the circle portion) of the mask on to my card front, and then applied the negative space of the mask (the part with the window). This allows me to see exactly where my window will be on my card front. Then I removed the positive mask (the circle portion) and did a little ink blending to create my sky.
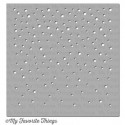
I left the mask in place to apply some embossing paste to this area as well. By leaving the mask in place, I'll end up with snow just in that circle area. I used a stencil and some white embossing paste. I applied the embossing paste rather thick so that my snow had lots of dimension. Once I removed the stencil, I added some Prisma glitter over the top of the embossing paste. This adds a little sparkle to my snow. I left that to dry for about 30 minutes before moving on.
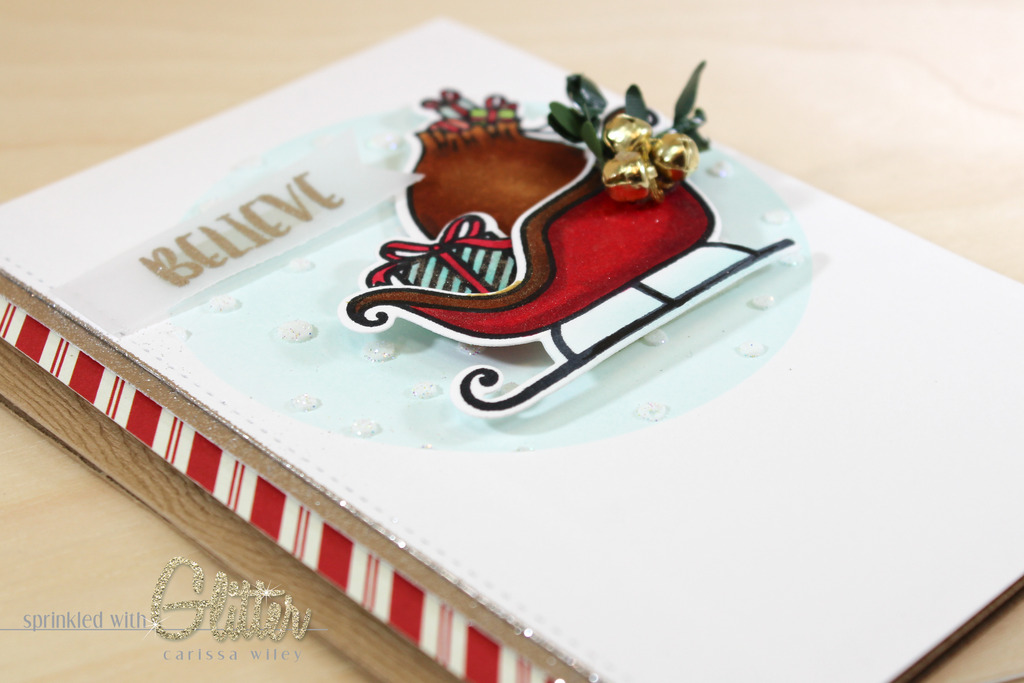
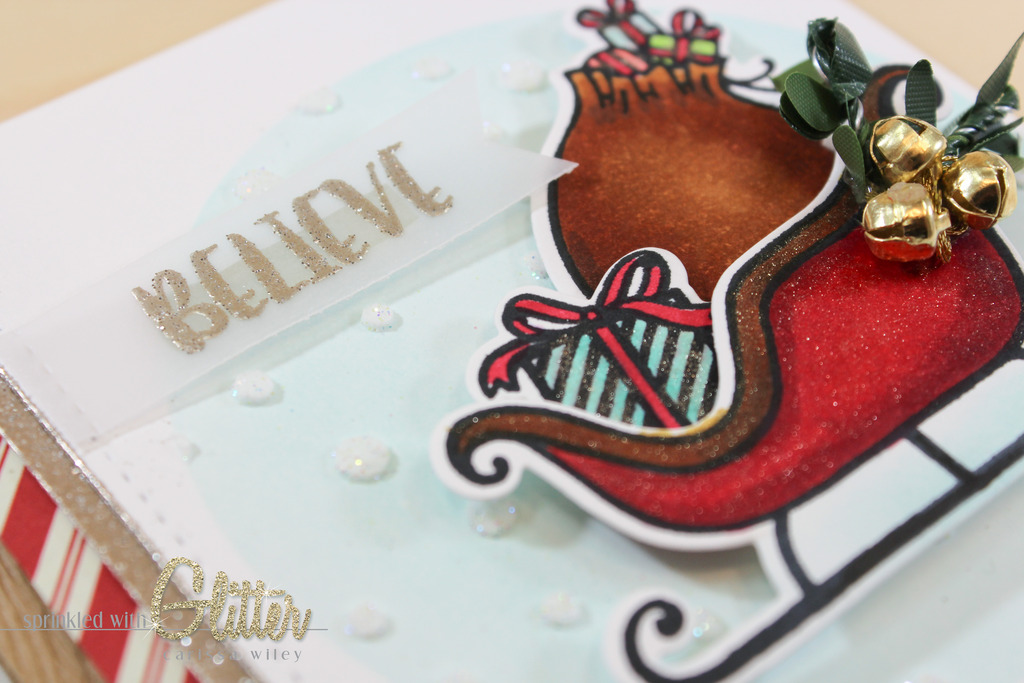
I used some Metallic Platinum Sparkle Embossing Powder to emboss my sentiment and create a coordinating strip of glitter paper for the edge of my card. Using embossing powder to create coordinating paper is a great way to pull your card together and give it a cohesive look. Just apply your ink directly to the paper, add your embossing powder and heat. It's also fun to apply the embossing powder to small embellishments on your card too!
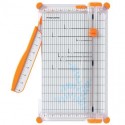
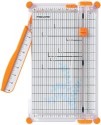
I used a border die to cut my card front and add some stitched detail to the side of my card. I knew I wanted the card front to be 3 1/2 by 5 1/2. I used my grid mat to line up my stitched border die from Pretty Pink Posh along the 3 1/2 inch marker. I held this in place with a piece of masking tape while I ran it through my die cut machine. I love the stitched detail along the side of this card.
I did something I don't normally do on this card. I stamped a sentiment on the inside. I usually leave the inside of my cards blank so that I can write a note, but I love the way that Believe and the word magic tie together. I still believe in the magic of Christmas. :)
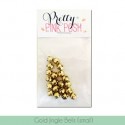
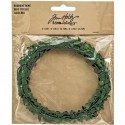
I finished the card off by adding some embellishments. I added some mini bells and some greenery to the back of my sleigh. So festive! And to add some sparkle to my sleigh, I gave it a generous coat of Wink Of Stella.
I've created a video tutorial walking you through the creation of this card. Be sure to check it out below. I've also linked all the products used in this project below. Just click the link to go directly to the product page.
Thanks for stopping by today! I hope you've enjoyed this project. And until next time, I hope you have a fabulous day!
Copic Markers Used:
BG 11, BG 13, YG 23, E 35, E 39, E 79, R 22, R 27, R 29, R 39


Supplies
*affiliate links used*