Glitter Snow With The Marvy Uchida Snow Pen - The 25 Days of Christmas Tags With Pretty Pink Posh
Hi everyone! Welcome back! I have something a little different for you today. I'm participating in The 25 Days Of Christmas Tags event and today is Pretty Pink Posh Day! It's lots of fun and each day a different company is featured. Be sure to check out Tracey's blog In My Creative Opinion for more details. You won't want to miss these fun and inspiring projects. I just may have another one up my sleeve for this event as well. ;)
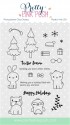
Today I'll be using a few dies from Pretty Pink Posh along with the new Holiday Pals stamp set. This stamp set is so much fun for the Holidays, but also has images that can be used year round.
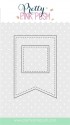
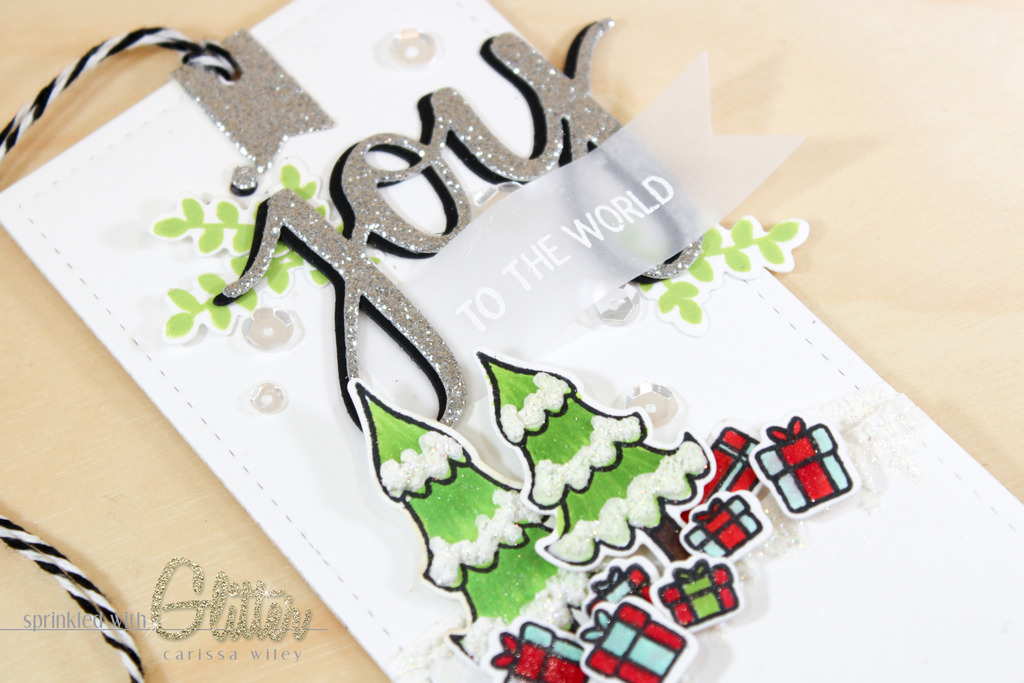
To create my tag base, I used the Stitched Banner Duo 1 die. In order to make the tag longer, I did a little partial die cutting. This is a technique I use a lot. It really goes a long way for getting more use out of your dies. I cut the tag from Neenah Solar White card stock and I also used a layer of craft-a-board from Ellen Hutson. The craft-a-board really gives the tag some stability.
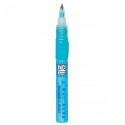
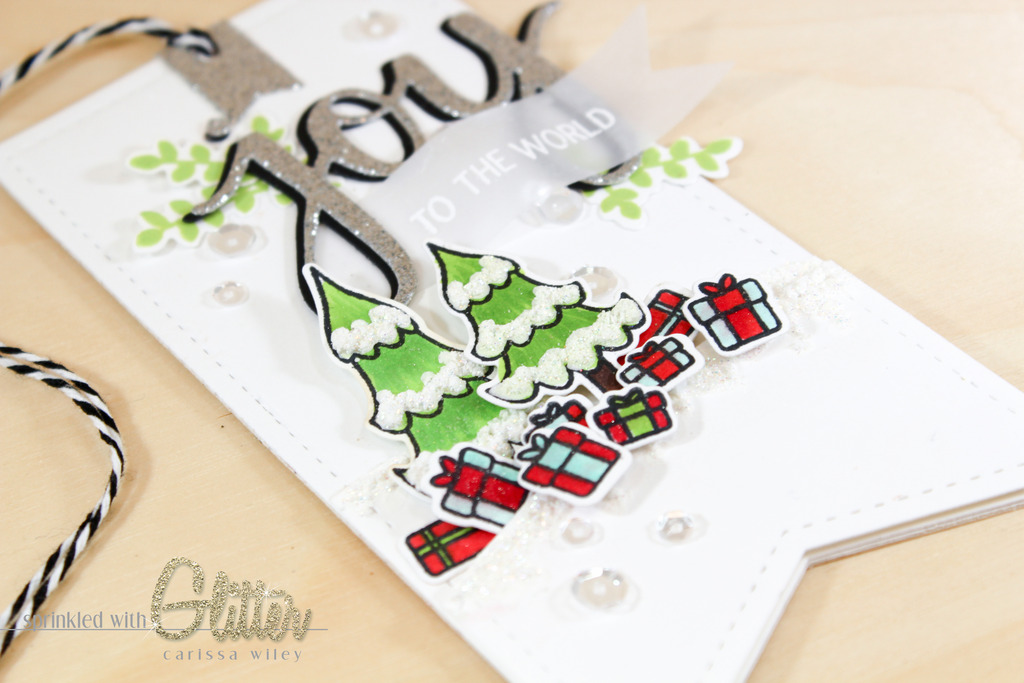
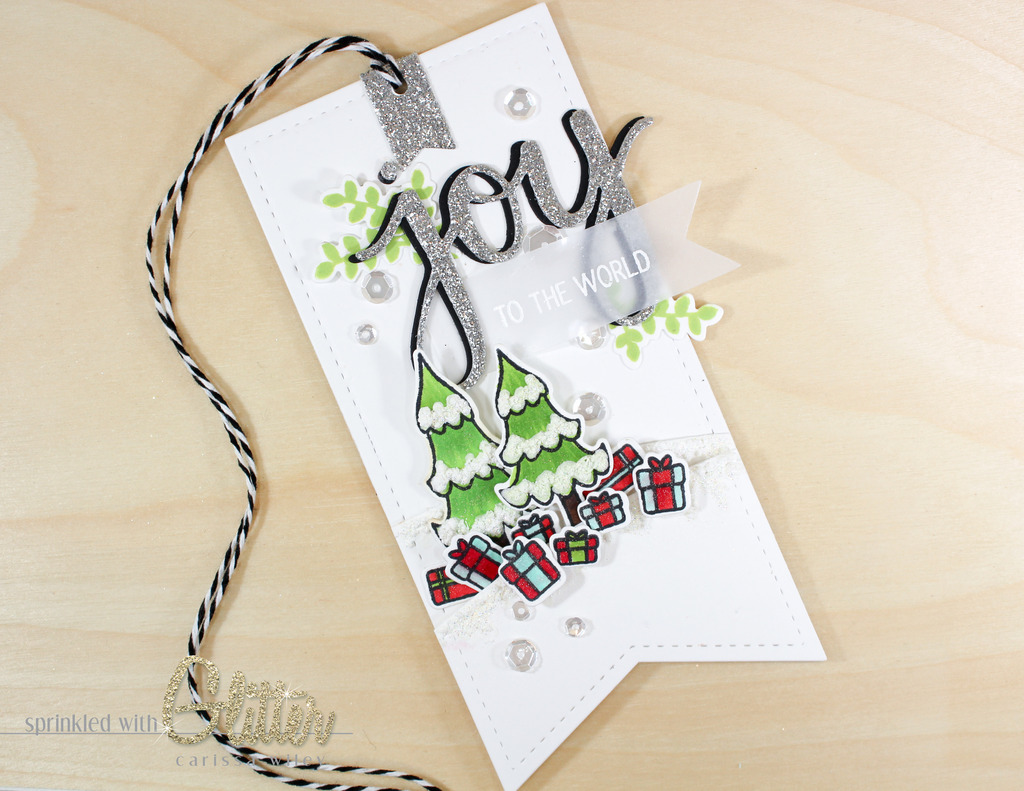
I knew I wanted to create a glitter snow effect on the trees. I stamped them in Memento Tuxedo Black ink and colored them with Copic markers (I've linked all the supplies used below). I did some very simple Copic coloring for these trees. Because the Marvy Uchida Snow Marker is a water based pen, I knew I needed to use Copics to color my trees. A water based ink, like my Zig Clean Colors, would just muddy up the white of the Snow Marker.
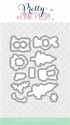
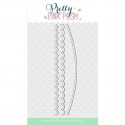
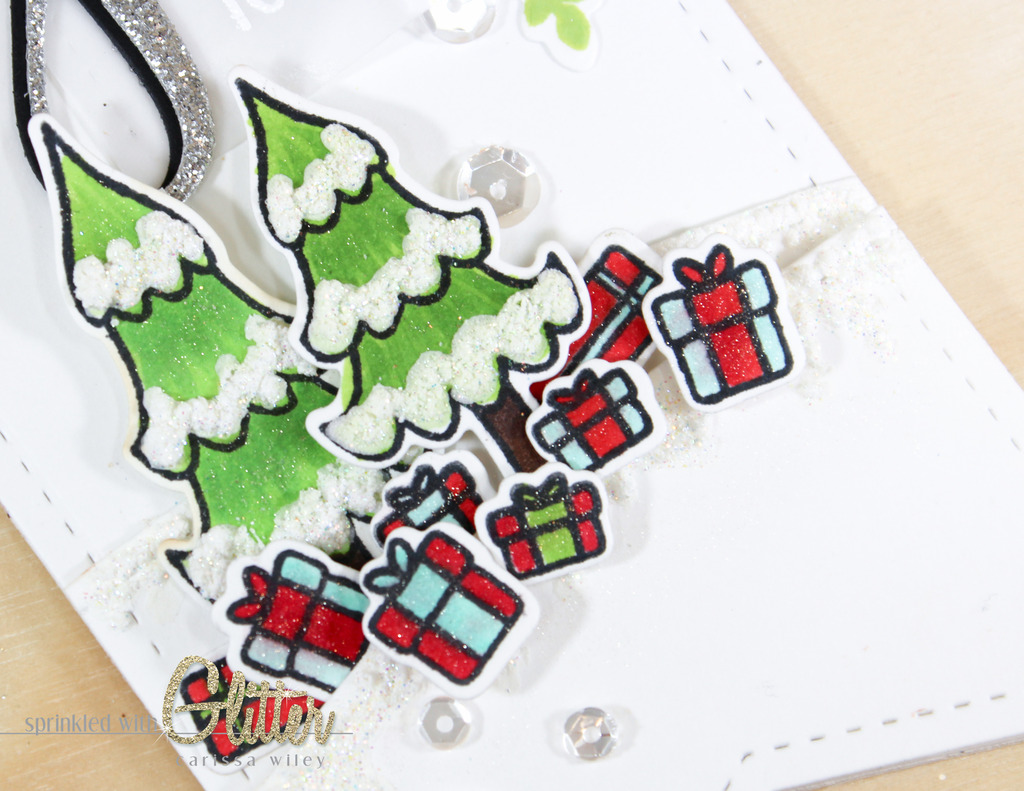
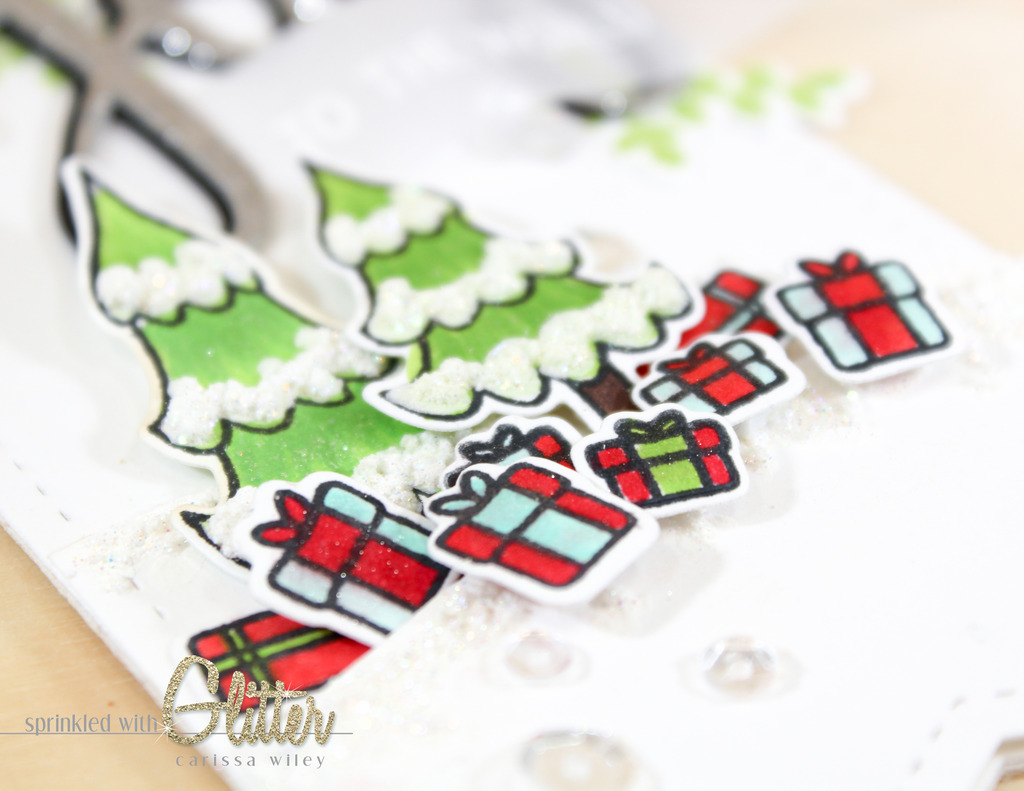
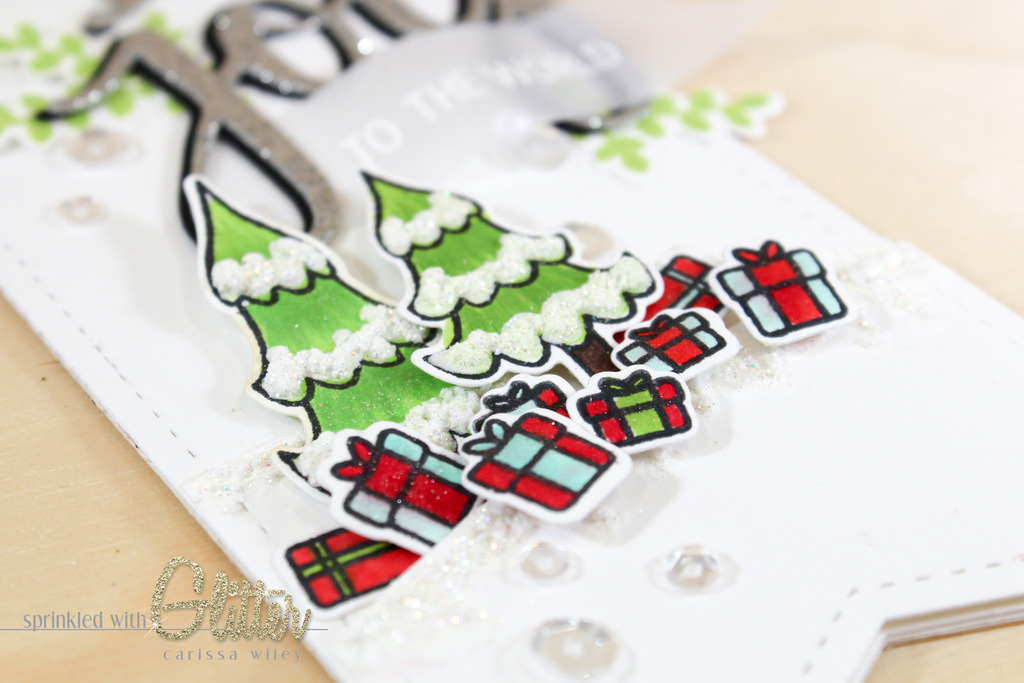
Once the trees were colored and die cut using the coordinating Holiday Pals dies, I added the snow. I added a thick layer of the Snow Marker to the bottom of each of the tiers of the tree. While it was still wet, I added some Prisma Glitter to the top of the wet paint. Then I heated it with my heat tool. It doesn't take long for this product to puff up and by adding the glitter to it, it sparkles too! It's such a fun effect. I also added this glitter snow effect to the hills I created with the Pretty Pink Posh Stitched Borders 1 die set.
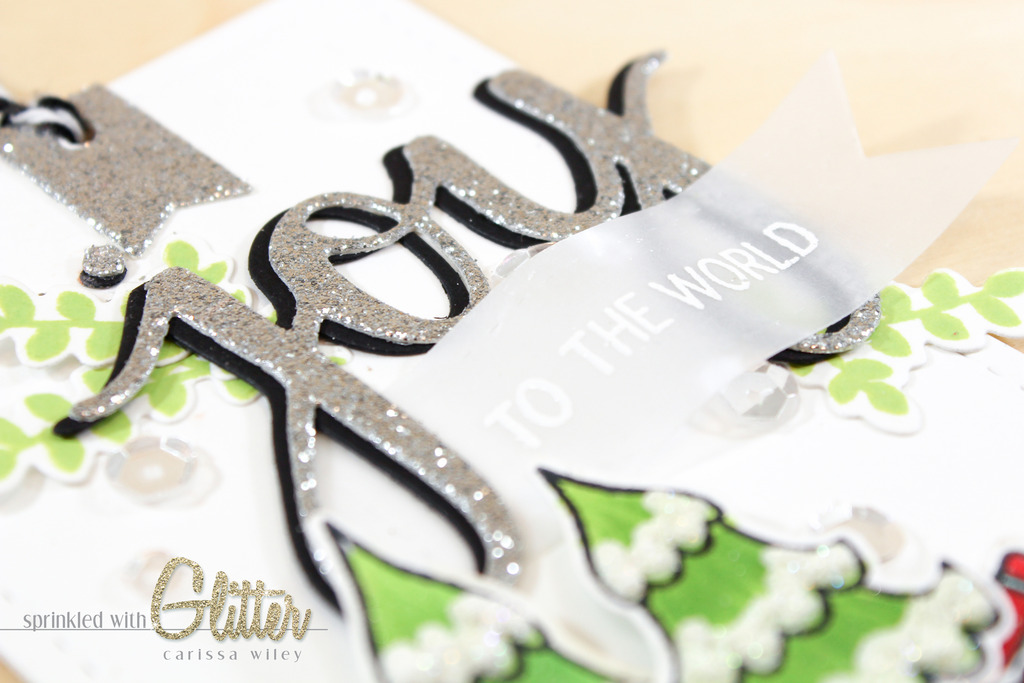
I used the Hero Arts Joy Stamp and Cut set to create my sentiment. I heat embossed the "to the world" portion of the greeting on some vellum that I cut with the Pretty Pink Posh Stitched Labels dies. Because this portion of the sentiment is so fine, it's important to use a super fine detail embossing powder so your sentiment doesn't turn in to a blob. I used the coordinating Joy die to cut some SILVER (crazy right?) glitter card stock. I attached the embossing label behind the joy die cut. It's bold and beautiful!
I added lots of tiny presents around the trees to bring in some bold pops of color. These presents are also from the Holiday Pals stamp set. I stamped them and colored them with Copic markers. These really added a lot of color to the tag. And by using a mixture of tape runner and foam adhesive, it really added lots of dimension to my scene. And to make them sparkle, I added some Wink Of Stella over the top of the gifts.
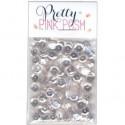
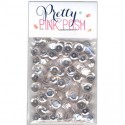
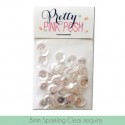
And what would a Pretty Pink Posh tag be without some Sparkling Clear sequins? These added just the right finishing touch and extra sparkle to the tag. I used a variety of sizes, 6mm, 4mm and 8mm and sprinkled them on the tag. I also like tucking some of them behind elements, like the banner. This is kind of fun and unexpected.
Don't forget, there's a video tutorial below walking you through the entire creation of this tag. You'll see how I put it all together as well as get some tips from me along the way.
Thanks for stopping by today! I really hope you enjoyed this tag project. It's kind of fun to create something a little different than a card once in a while (although card making will always be my true love). Keep your eyes peeled. I'll likely be back next week with another tag for The 25 Days Of Christmas Tags event. Until then, I hope you have a fabulous day!
Supplies
*affiliate links used*