Glitter Sprinkled Sentiments - Concord & 9th Birthday Bash Blog Hop!
Hi everyone! Welcome back! Thanks for stopping by today! Today's post is a part of Concord & 9th's Birthday Bash. They are celebrating with a full month of posts, projects and prizes. You can get more information, by heading over to their site. They'll have links to previous birthday bash posts...and you can check out all of their awesome stamps and dies while you're there. And they're so generous...I have a giveaway for you. You can see the deets below.
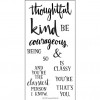
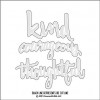
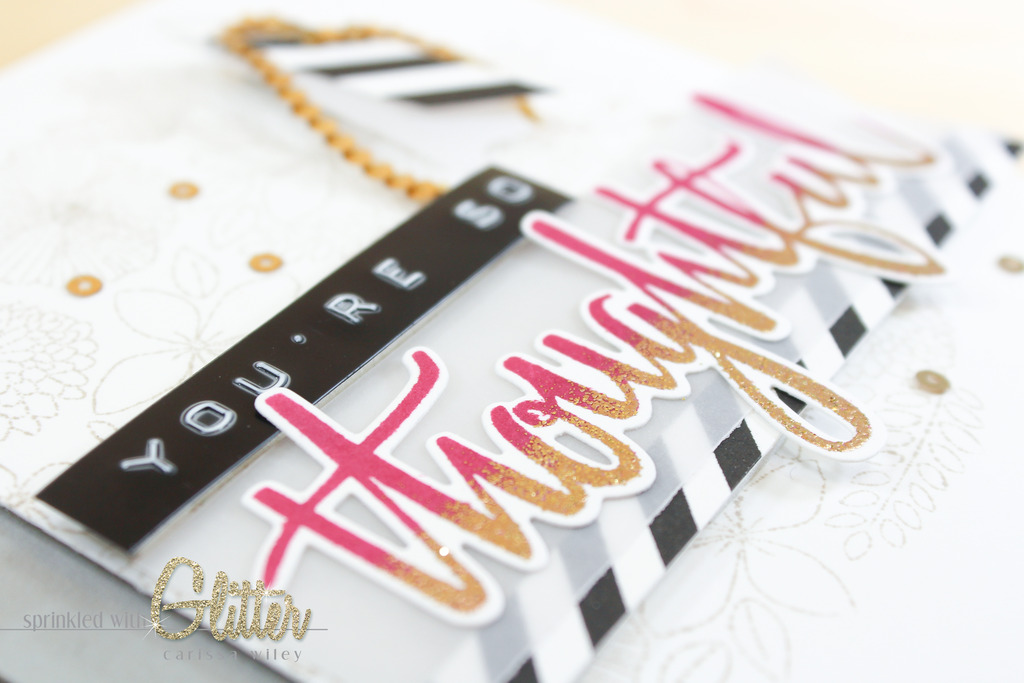
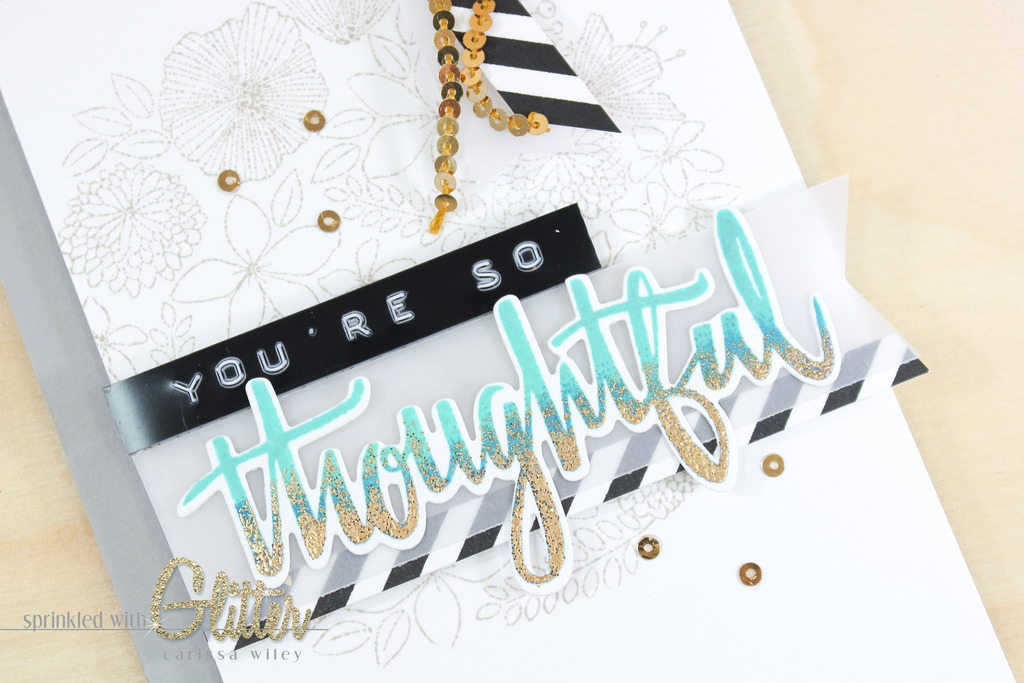
I'll be using one of my all time favorite sets from Concord & 9th for my cards today. I adore the brush script sentiments in the Being Classy stamp set. And the coordinating dies cut these words out perfectly. I've used these sentiments in a previous video. You can check that one out by clicking HERE.
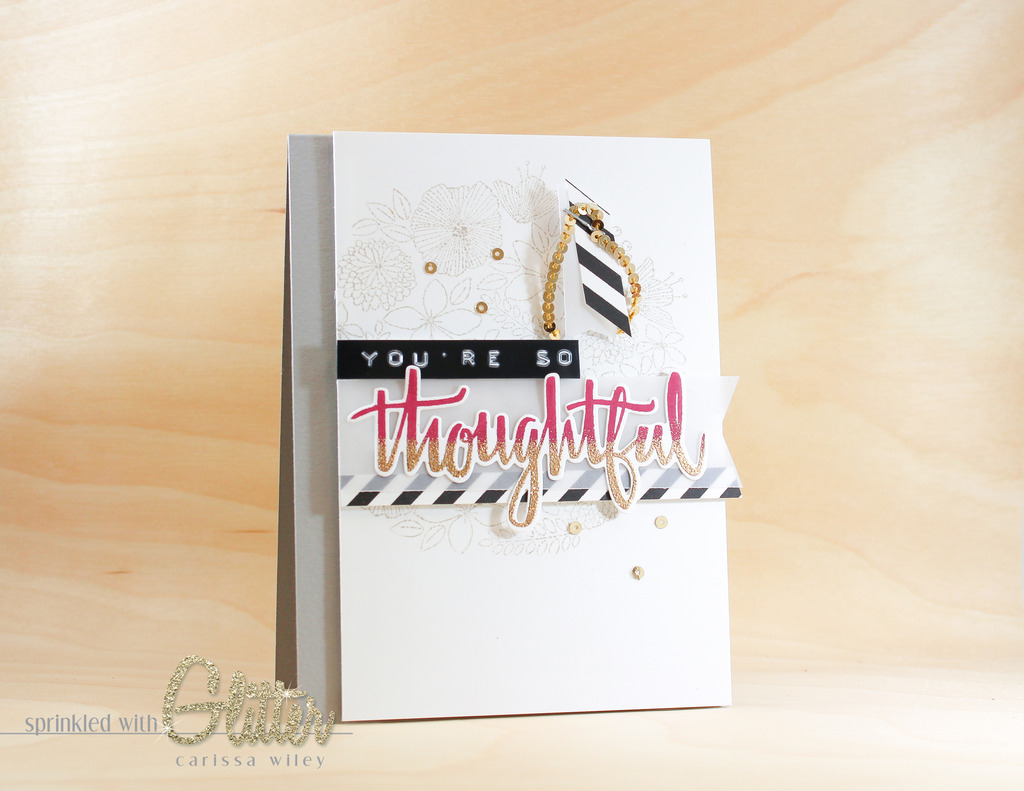
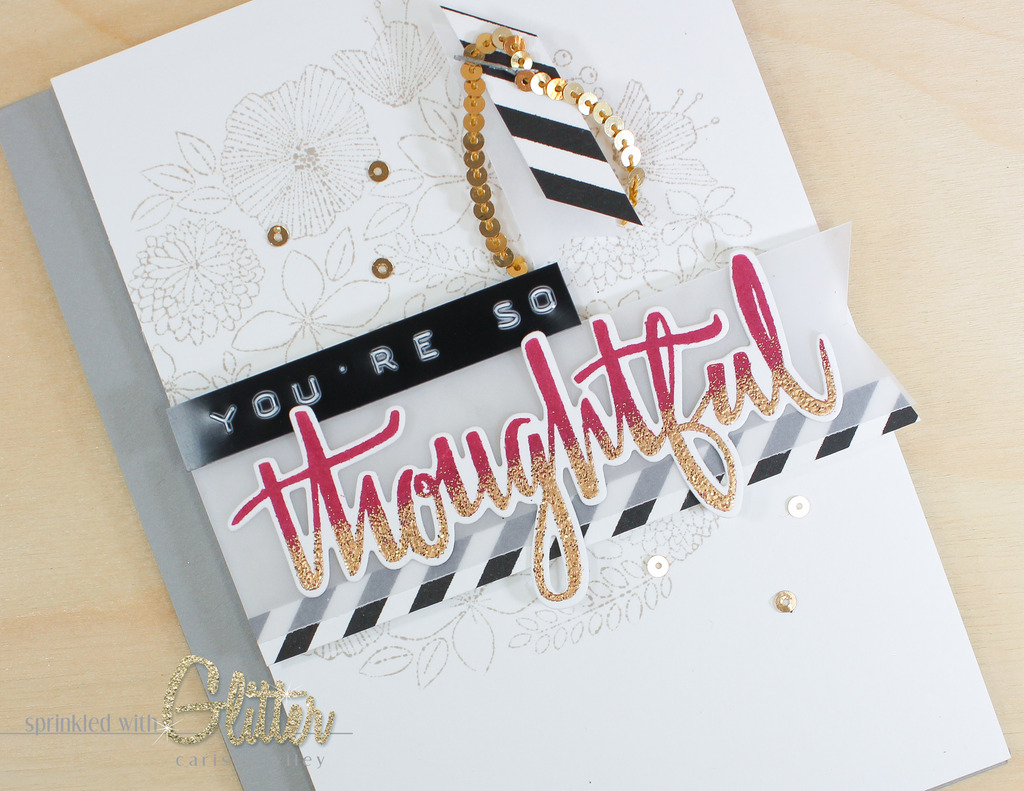
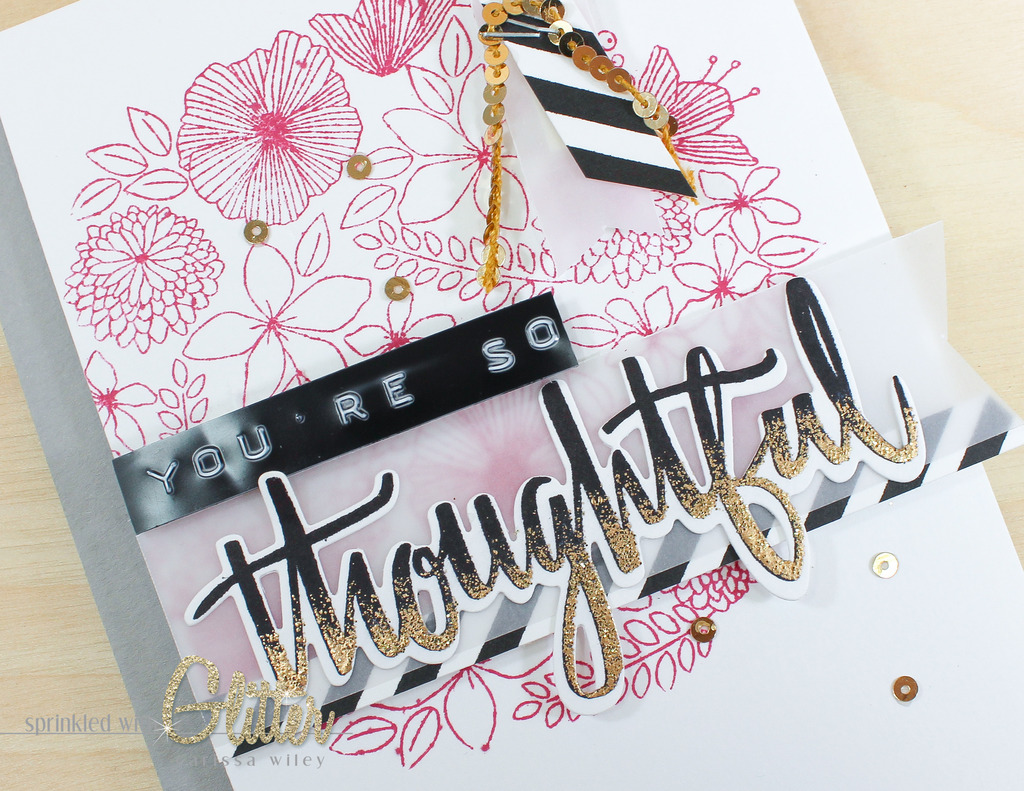
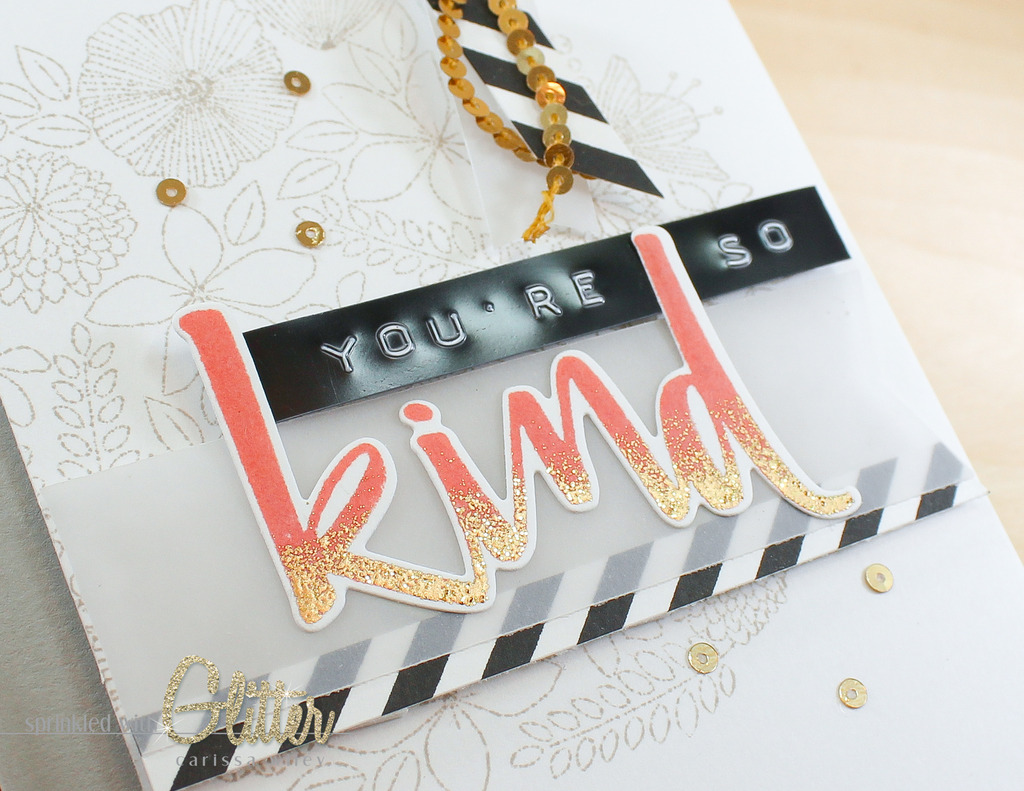
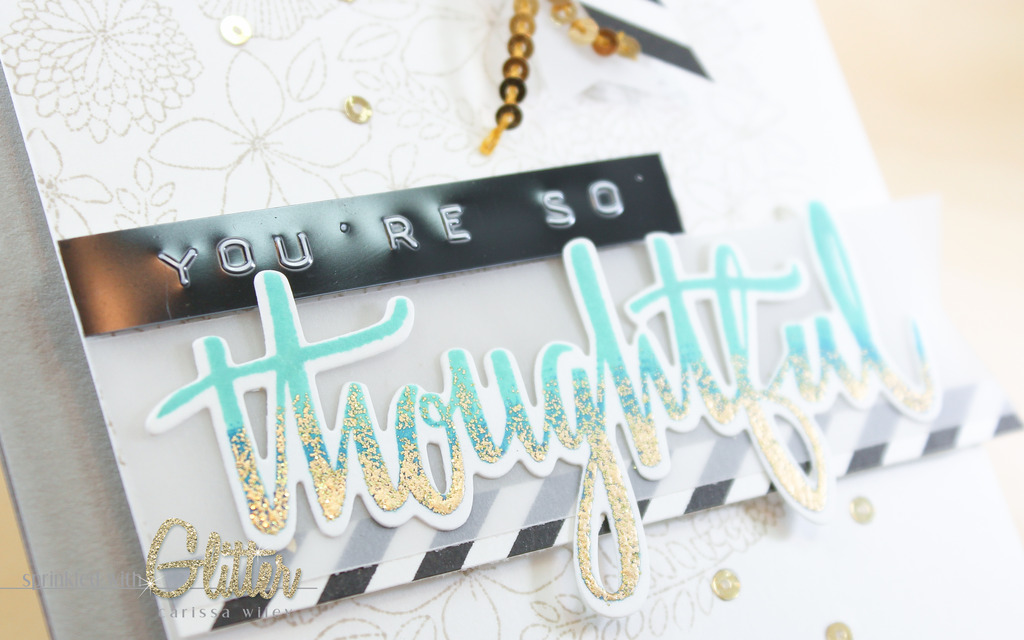
I had originally thought I would create ombre sentiments...but then had a little change of heart. I just had to add a little glitter to these sentiments. I remembered a technique I saw that I really wanted to try...so I thought I would do that on these sentiments. This technique gives you a glitter sprinkled effect. The glitter is dense and full coverage on the bottom of the sentiment...and then kind of fades up in to the colored portion of the sentiment. I originally saw this technique on another YouTube video. You can check that out by clicking HERE. She called it a star dust effect.
I'll show you exactly how I achieved this in the video tutorial below. It's much easier than you may think...and you'll get some tips on creating an ombre effect on these sentiments as well.
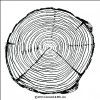
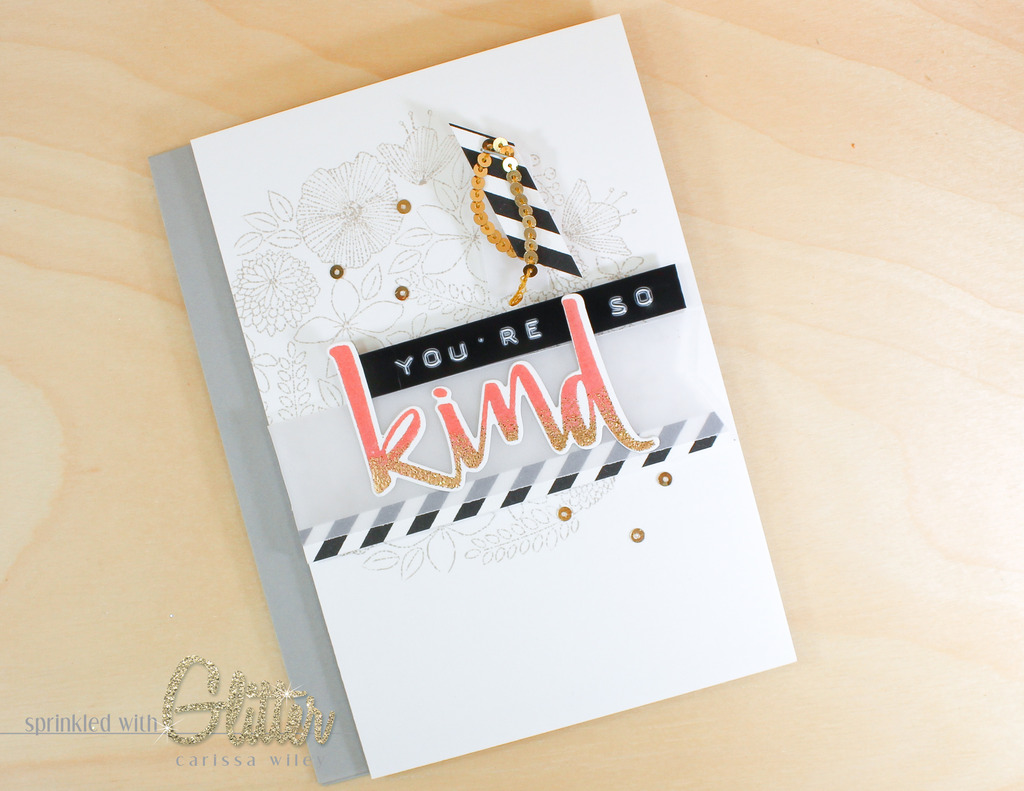
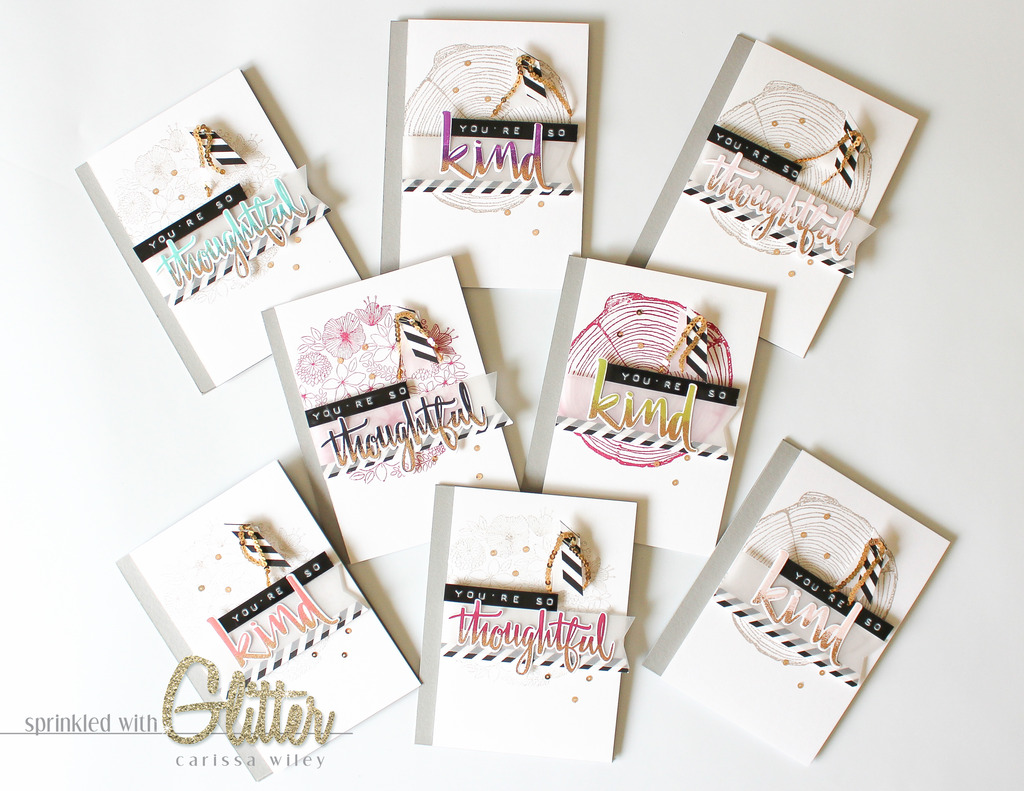
Once I had all of my glitter sprinkled sentiments stamped and die cut, I used the Tree Ring background stamp and the You're My Person stamp set to create backgrounds for my sentiments. I wanted these to provide a grounding place for my sentiments. I stamped them in a soft gray ink to allow the colorful glittered sentiments to really take center stage.
To allow the sentiments to stand out even more, I backed them with a strip of vellum. This mutes the background stamping directly behind them and allows them to stay the focal point of the card.
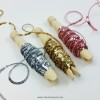
I had such a good time with this technique, I created several of these cards. Now I have a whole rainbow of cards. These would make a great set to give as a gift. Or make a bunch to keep on hand when you need a quick thank you!
Be sure to check out the video tutorial below. I think you're going to like this one.
Also, don't forget to check out Concord & 9th's site for more information on this fabulous month of posts, projects and prizes!
Giveaway Information
Concord & 9th is giving one of my viewers a $20 Concord & 9th gift card. To be entered to win, you must use the Rafflecopter widget below. If you are under 18 years of age, please ask your parents permission before entering.

Supplies
*affiliate links used*