Happy Birthday Banner - Embossing With Wafer Thin Dies
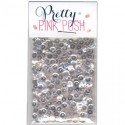
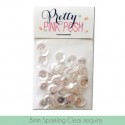
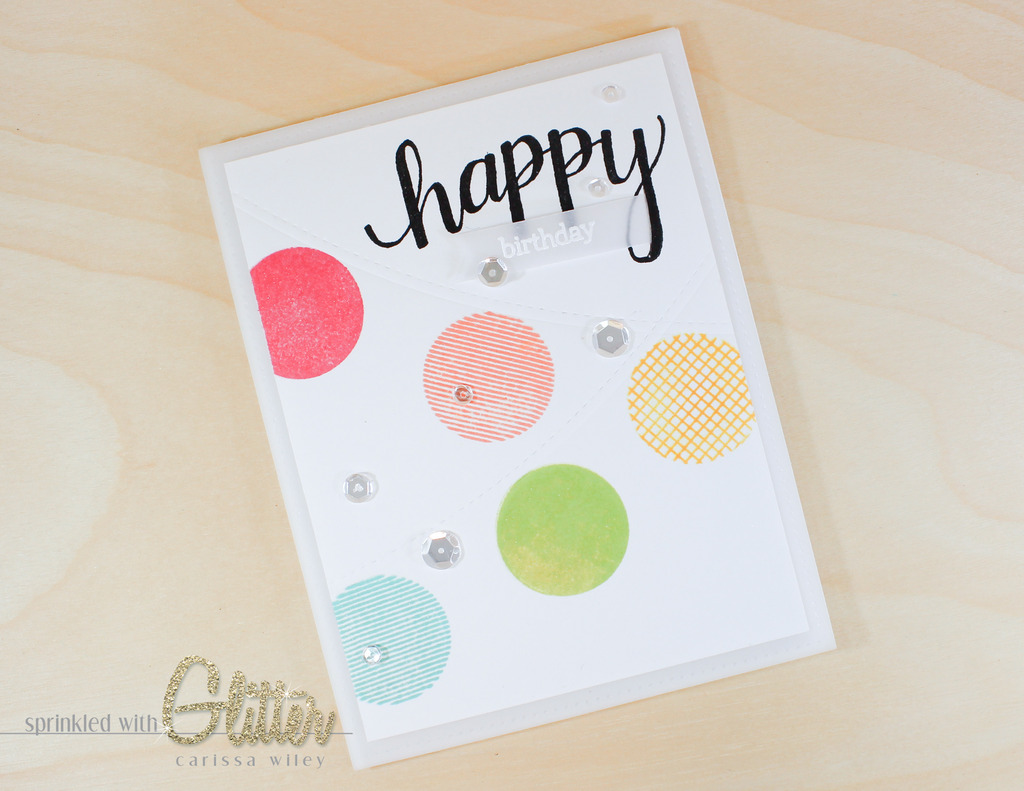
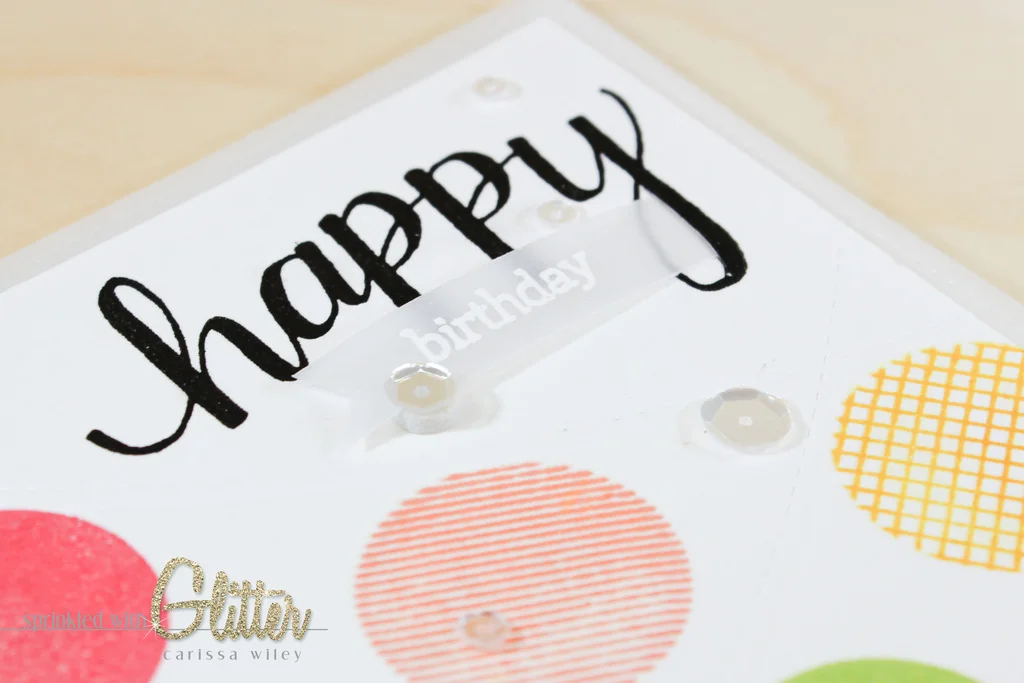
Everyone needs a birthday card to keep on hand, right? Today I'm dropping by with an easy, colorful birthday card with stamping, heat embossing and embossing with your wafer thin dies. I've added lots of sparkle to this card with sequins and Wink Of Stella, but you could definitely turn down the sparkle factor if you wanted to. I come from the more sparkle is better camp...but I realize you're not all there with me. :)
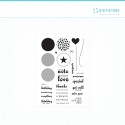
I'm using the Thinking of You stamp set from Big Picture Classes. (You can find the coordinating die set HERE.) This stamp set was created for the Card Basics Class that launched on Monday June 22nd, and I love it because it's so versatile! This class goes over the very basics of card making, from the tools you need to get started, making card bases, layering, stamping and more. If you're new to card making, or if you just need a brush up on the basics, be sure to head on over there and check it out!
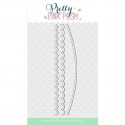
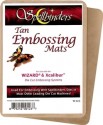
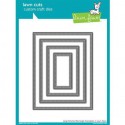
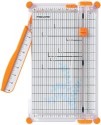
I started my card by embossing the border die from the Pretty Pink Posh Stitched Borders 1. I'll walk you through embossing with your wafer think dies in the video below. It's important that you set up your die cutting machine like you would if you were embossing with an embossing folder. You'll need the tan mat from Spellbinders (or a similar embossing mat). If you don't have one, you can try some craft fun foam in its place. This embossed stitched line creates the perfect string to dangle some colorful circles from...creating a fun and colorful banner. It's hard to capture in the photos, but it's such a fun detail in real life.
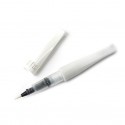
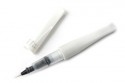
I chose slightly muted colors for my stamping. These are just a shade lighter than primary colors and softens the look of this card. I love these colors mixed together! I think it would also be fun to create this card with an ombre effect. I varied the circles that I used along the banner to create interest. When all of my stamping was complete, I added some Wink of Stella Clear Glitter Brush Marker over the top of all of the circles to add some subtle shimmer.
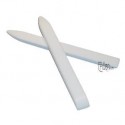
I layered up the card front with some vellum and attached some fun foam to the back of the card front to give it sturdy dimension. After watching Jennifer McGuire's video on the fun foam, I'm sold! If you haven't seen it, you can check it out HERE!
I've included a video below walking you through the entire creation of this card. I've also included links to all the products used in this project below. I've linked to a couple of different sources for each product.
Thanks for stopping by today! I hope you've enjoyed this colorful card and have discovered (or rediscovered) another way to use your wafer thin dies. I'll see you later on this week! Until then, have a fabulous day!


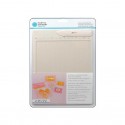
Supplies
*affiliate links used*