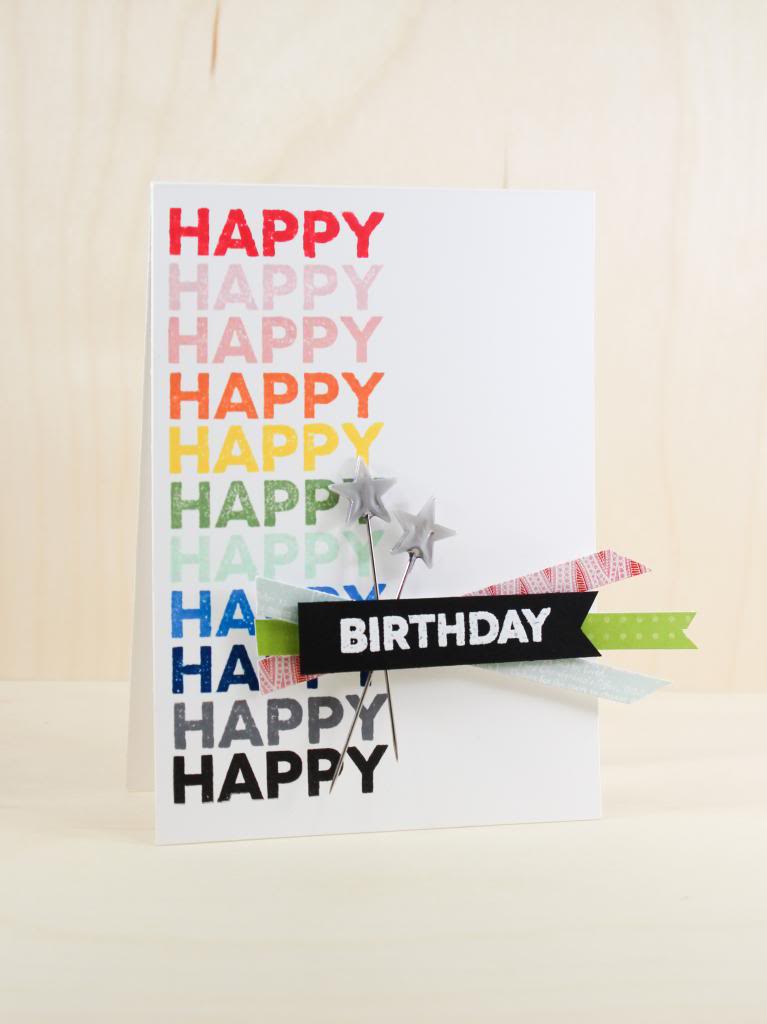
Happy Birthday Card - Rainbow Stamping
Today is Studio Calico release day! I've had so much fun creating with both the Camelot Main Card Kit and the Morgan Add On Card kit. For this card, I've used the Morgan add on kit and lots of colorful inks from Studio Calico to create a rainbow stamped greeting.
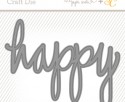
Using bold stamps, like those included in the Morgan add on stamp set is important for creating this look. The greetings are bold and can stand on their own. But when stamped multiple times in different colors, they really make an impact.
I have a video below walking you through the entire creation of this card. I've also included links to all the products used in this project below. Simply click the picture to be linked directly to the product pictured. I've also included links to some of my favorite items from this release as well!
Tips For Rainbow Stamping
- Use a grid block to make sure your stamp is perfectly straight.
- Choose your colors ahead of time and have them ready to go when you're ready to stamp.
- Look directly down on the project while stamping to make sure your stamp is perfectly aligned with the stamp above.
- Choose landmarks on your stamp to align from one image to the next. For example, I used the edges of the H and peak and valley of the A to make sure that my alignment was dead on.
- Remember it's a handmade card, so perfection isn't possible!
Thanks for stopping by today! I hope you've enjoyed this project and video! And I hope you have a FABULOUS day!

Supplies
*affiliate links used*