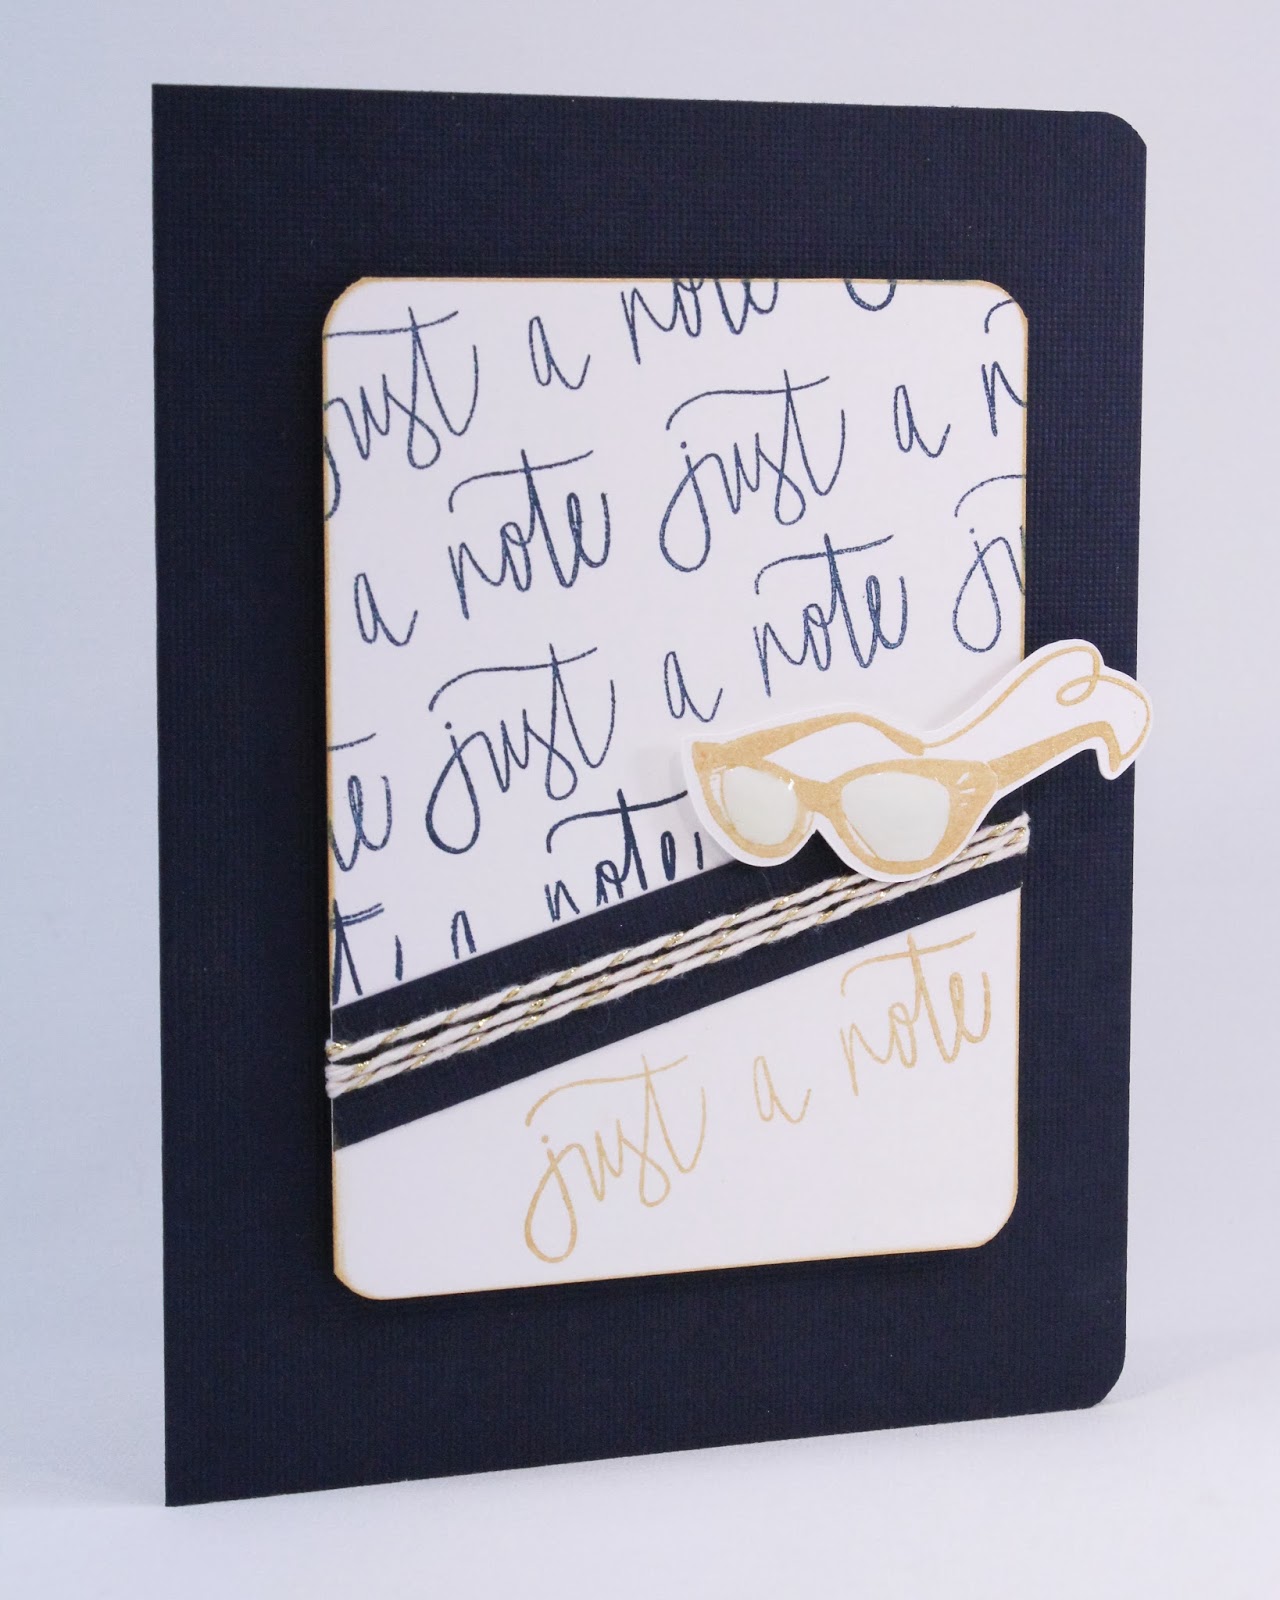
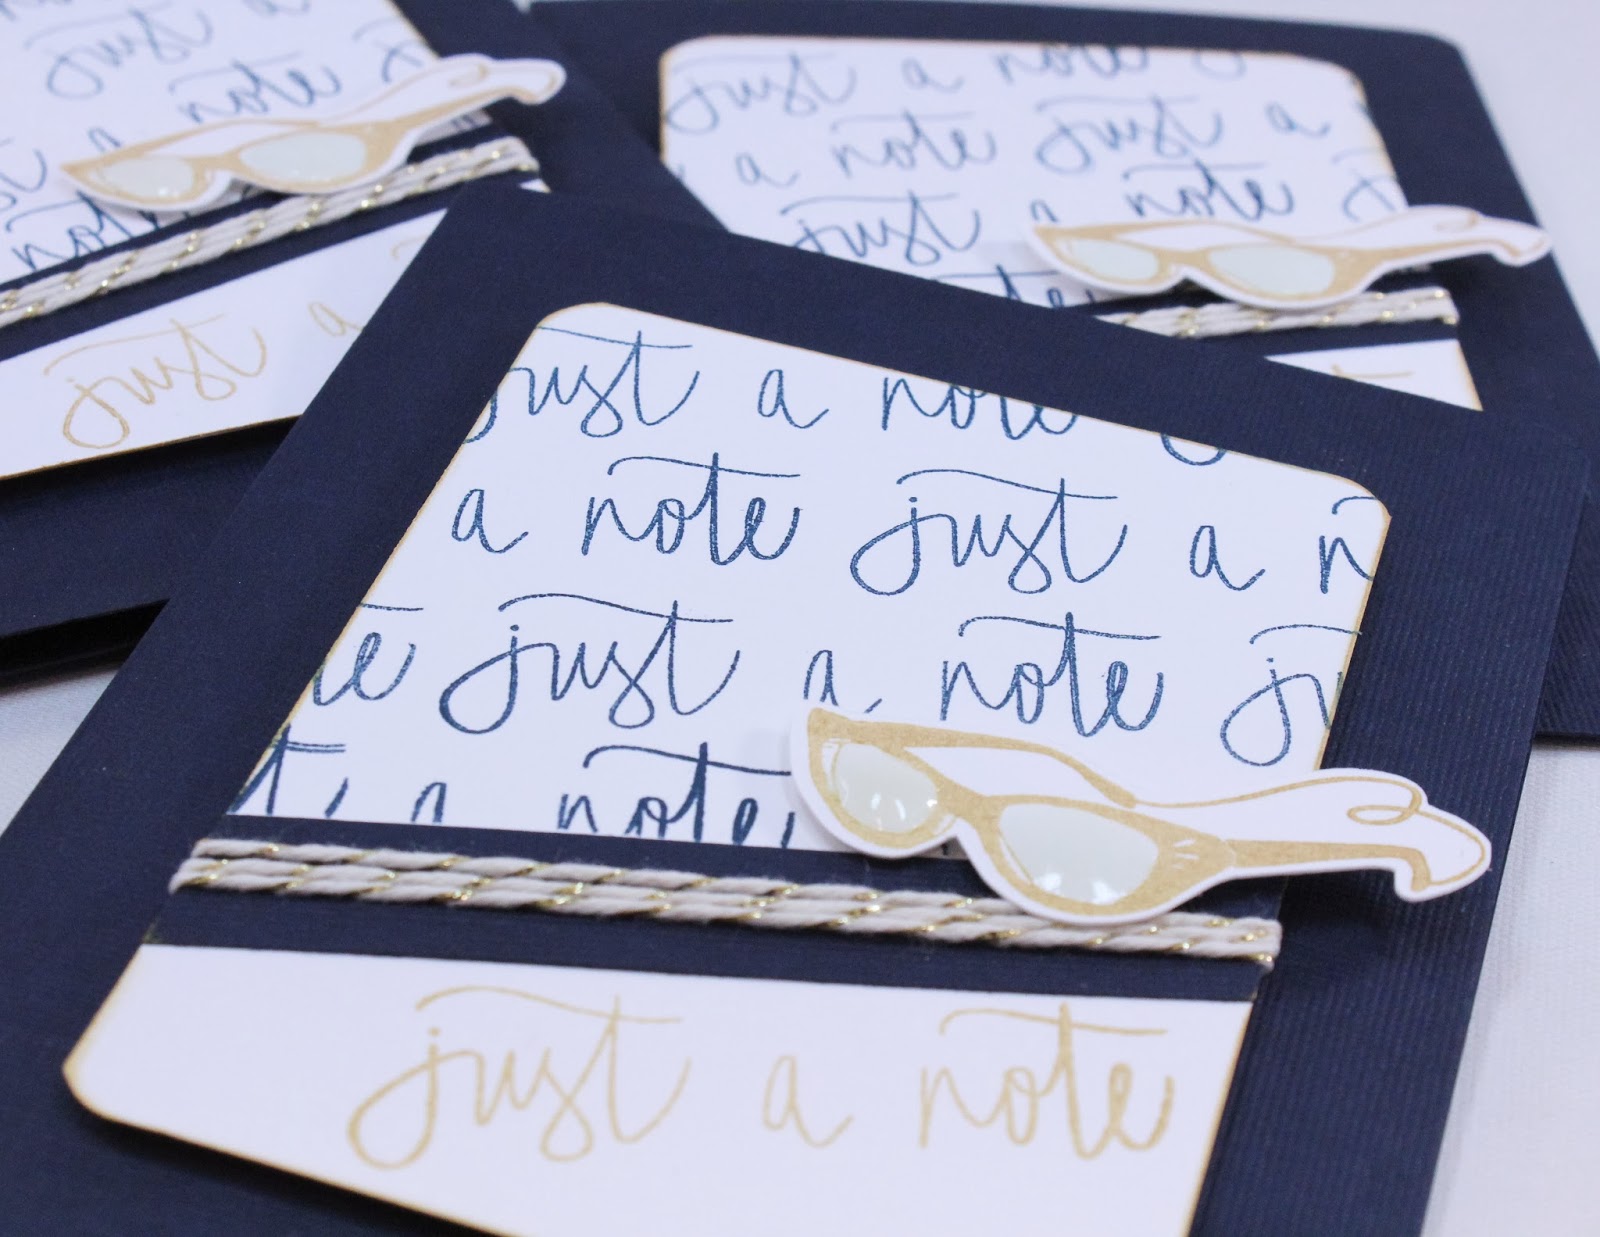
"Just A Note" Card Set
Card sets make great gifts for any occasion. I love to give them for teacher gifts, thank you's, birthdays and just because. Wrap them up in a cute box, add a ribbon and you have a great gift for any occasion.
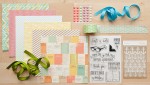
When designing cards for card sets, I like to use products that can easily be purchased or used over an over again. In this card, I used the phrase "just a note" stamped over and over again to create a card that can be replicated without needing a lot of supplies. Instead of using patterned paper, try using stamps and inks to create your own patterned paper again and again.
I have included a video below, showing the entire creation of this card. I have also included links to all the products used in this project.
For those of you who aren't video watchers, here's a quick "How To"
1. I started with a piece of white card stock cut to 3" x 4" and adhered a 1/2" strip of navy card stock at an angle along the lower portion. The navy card stock is not only a decorative touch, but acts as my guide for stamping my sentiment.
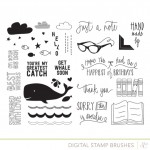
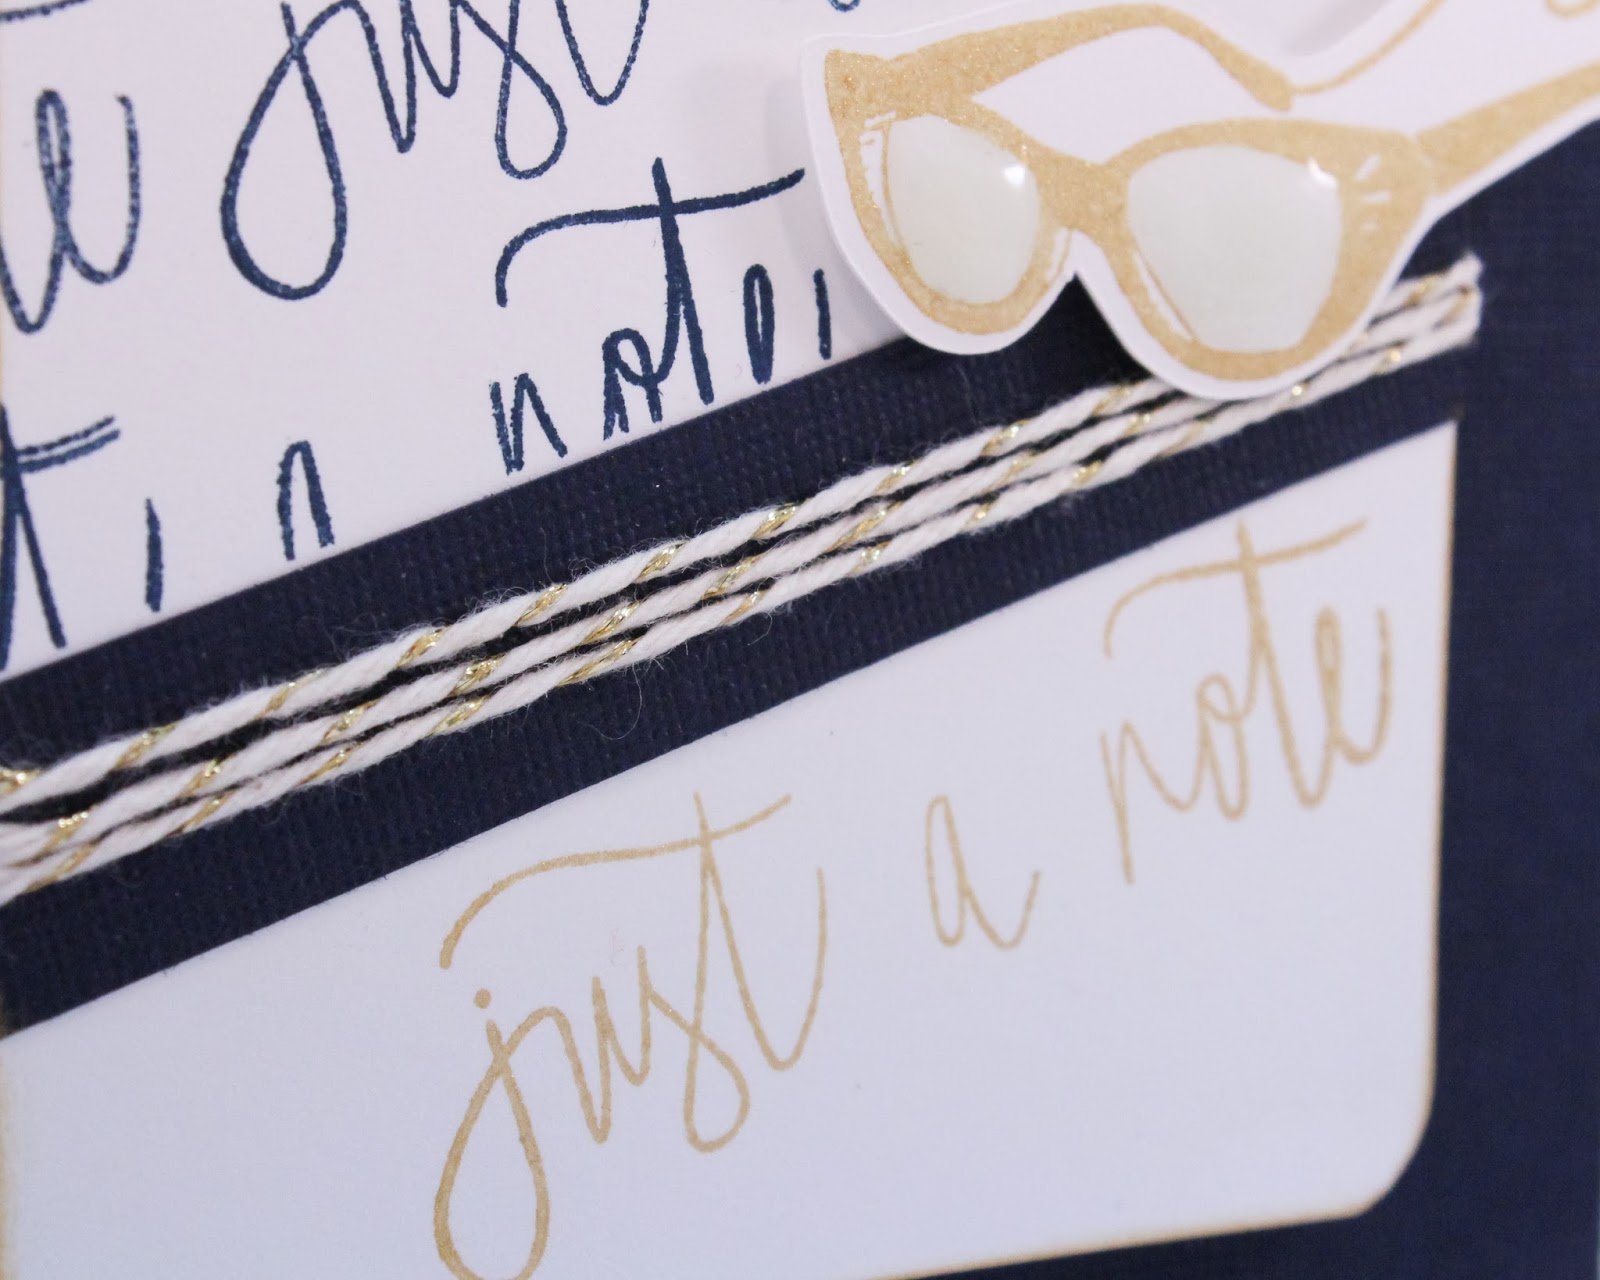
2. Stamp the "just a note" sentiment from the Spaulding Bowlkit stamp set in gold ink below the navy card stock. Clean your stamp before moving on.
3. Using navy ink, stamp the "just a note" sentiment repeatedly along the top portion of the white card stock. Allowing the sentiment to stamp off the edge of the paper gives it a more finished look, like that of patterned paper.
4. Gently run the gold ink pad around the edges of the white paper to add a gold edge to the white card stock.
5. Wrap twine around the navy strip. I used glue dots behind the navy strip to hold the twine in place.
6. Stamp the glassess on the digital die cut from the Copper Mountain digital stamp brush set using gold ink. To add fun dimension to the glasses, water color the lenses using a pale blue ink and a paint brush.
7. Attach the "just a note" card stock piece to the front of a navy card using foam dimensional adhesive. To create a card base, simply cut your card stock to 5 1/2" x 8 1/2" and fold in half. Using a bone folder to flatten the fold will give the card a finished look.
8. Attach the glasses to the card using foam dimensional adhesive. Add glossy accents to the lenses of the glasses to add a dimensional and realistic touch to the card.
I hope you enjoyed this quick and easy card set. Make a few ahead of time for a quick gift to keep on hand. You can include and pen, envelopes and stamps to complete a handmade gift that anyone would love to receive.
Thanks for stopping by! Have a fabulous day!
Supplies
*affiliate links used*