Quick And Easy Cards - JoAnn Grand Opening Event
Welcome back! I'm so happy you've stopped by today. I'll be sharing some super quick and easy cards here today.
Our local JoAnn store is moving their location and they're having a big grand opening event to celebrate their new location. The manager, who is familiar with my blog and YouTube channel, asked if I would be a part of their grand opening. I'll be at the new location from 10 am to 2 pm sharing these card projects and giving people the opportunity to get totally addicted to card making, stamping and paper crafting, just like I am. If you'd like to swing by and say hi and make a card, join me Saturday, October 22nd at the new JoAnn in Visalia, California.
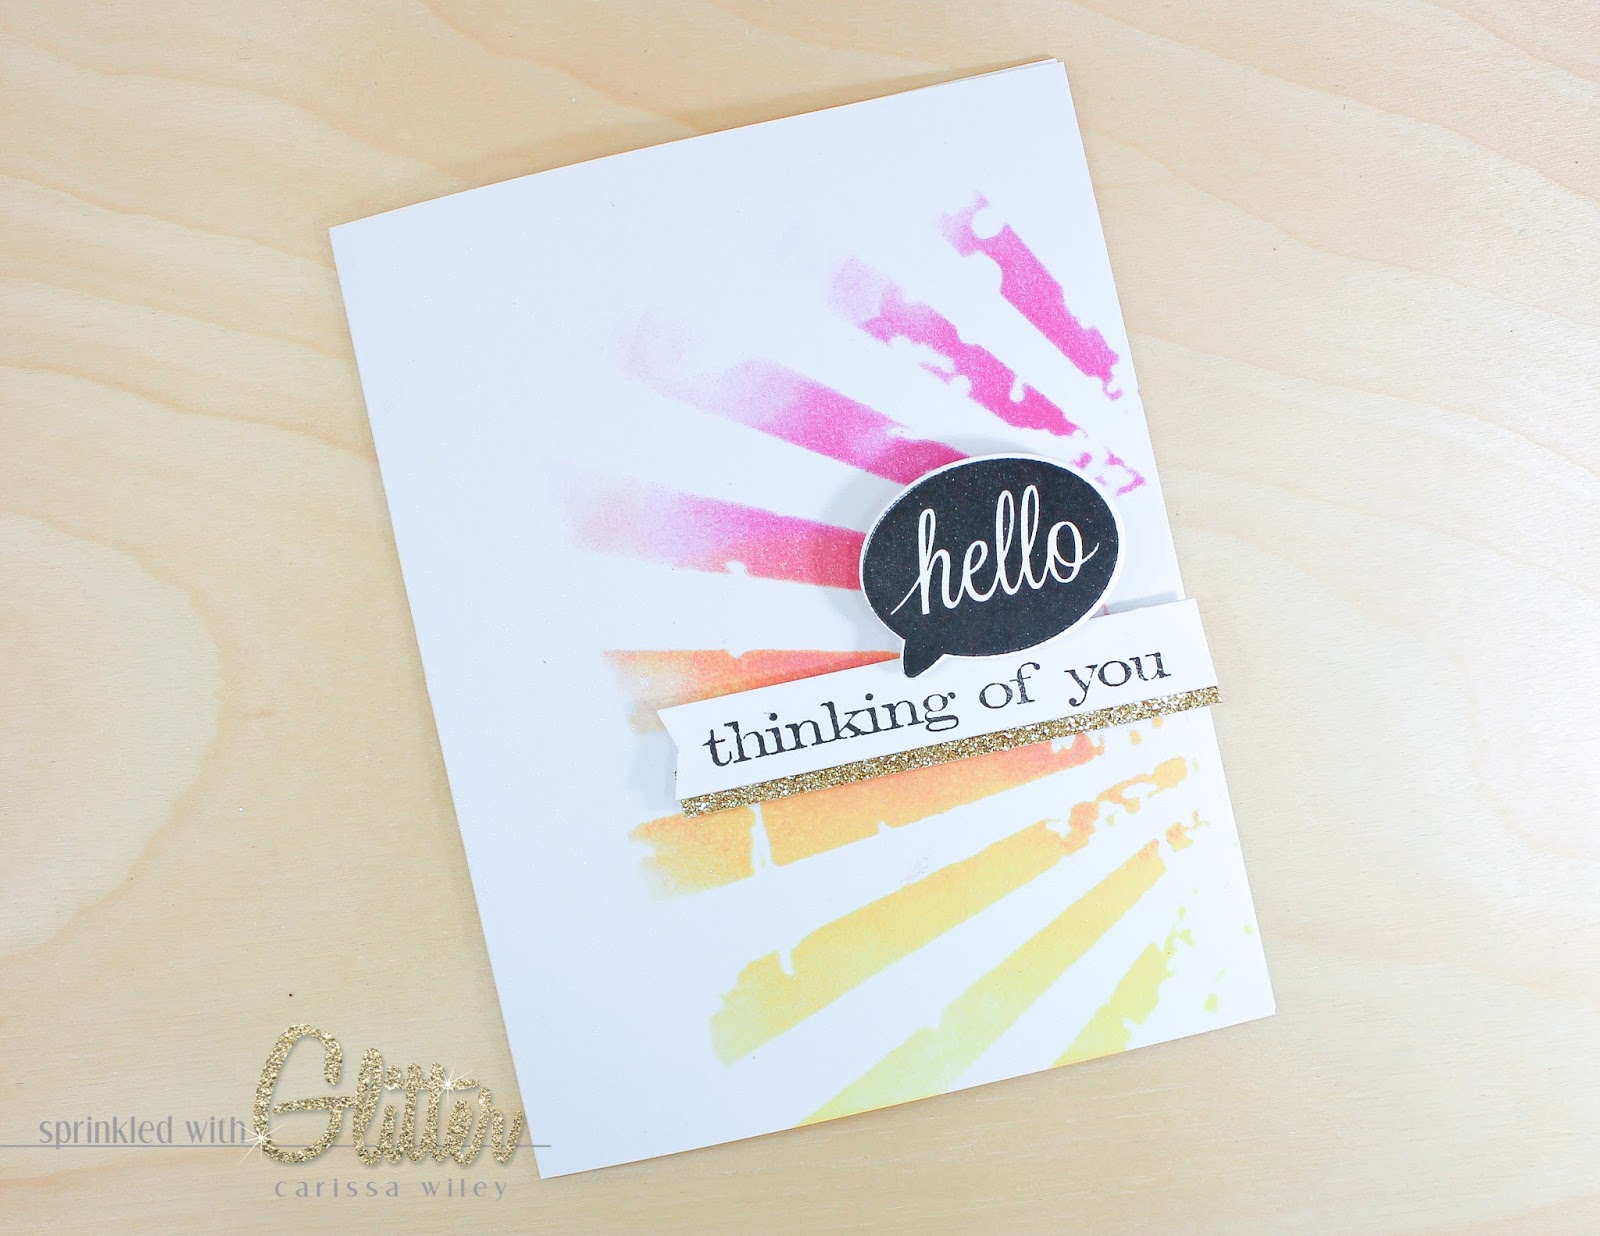
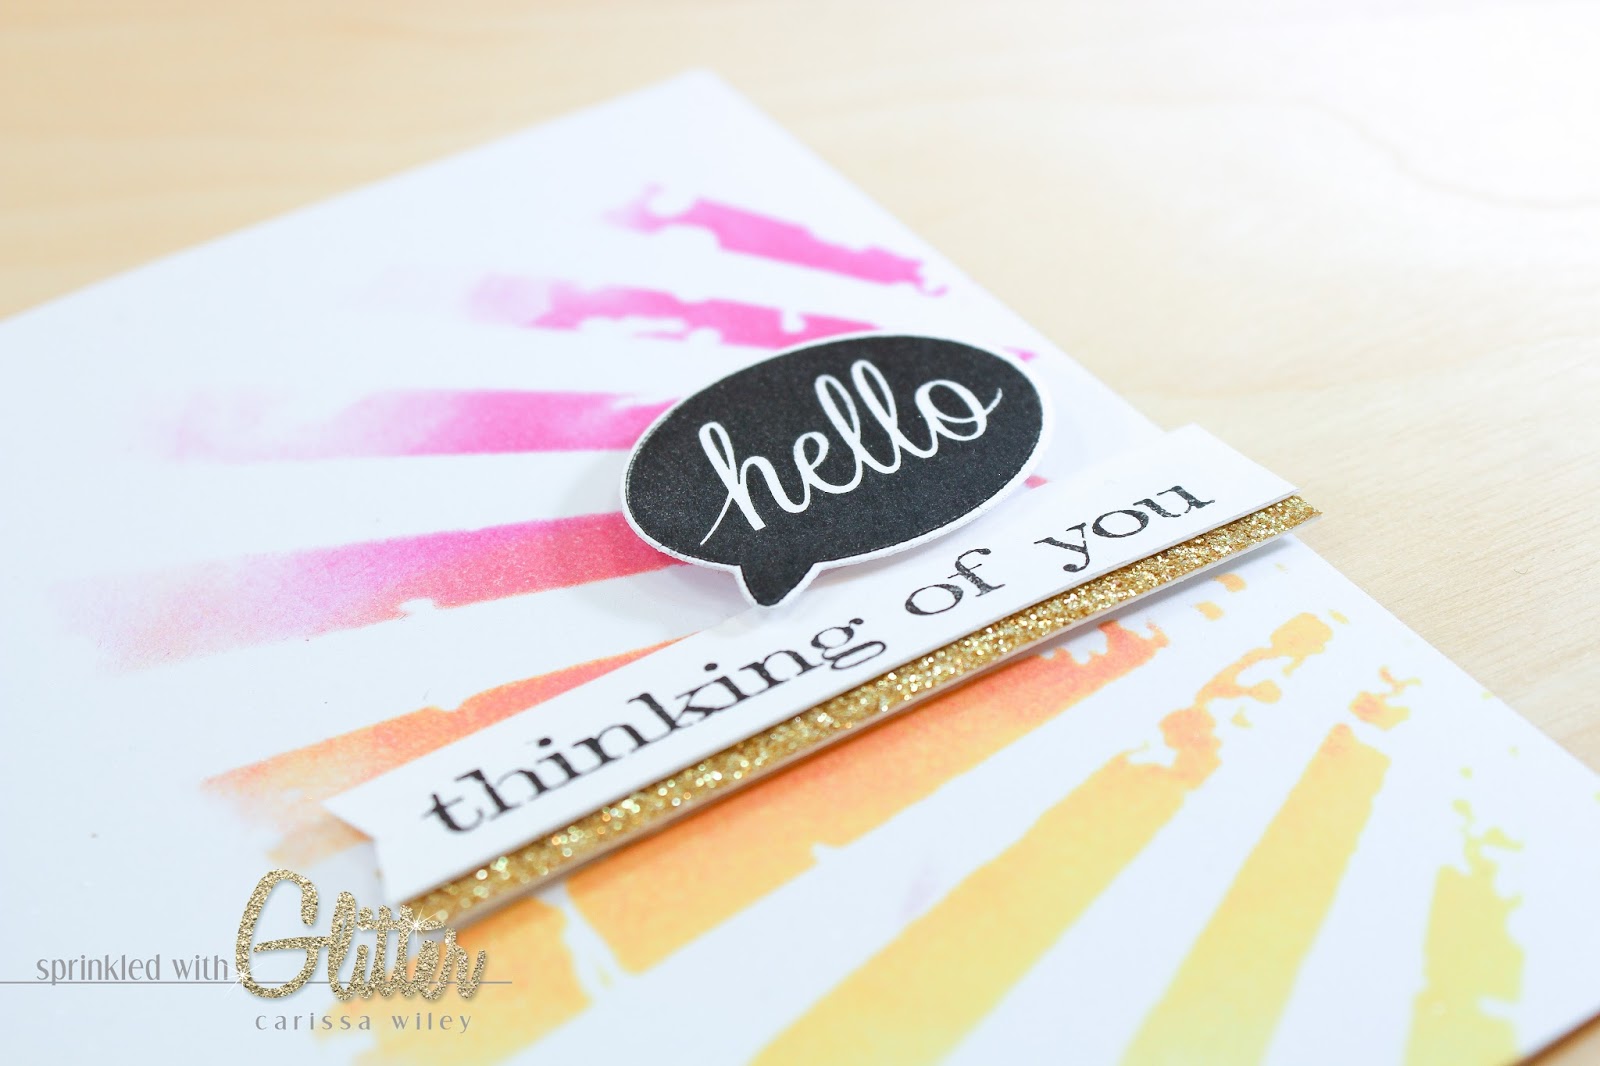
Most of the people stopping by to make these cards will probably be beginners. I wanted to design some really simple, yet totally adorable, cards for them to create. This card includes some simple ink blending, stamping and die cutting. The simplicity of these cards make them ideal for mass producing or for beginners.
Keep in mind, you can always step up this design if you want to add a little somethin somethin to your card. Try adding additional layers or embellishments, like sequins or gems. Or, you could opt to add some heat embossing.
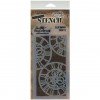
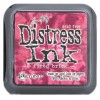
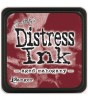
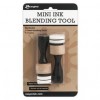
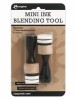
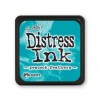
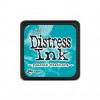
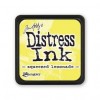
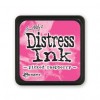
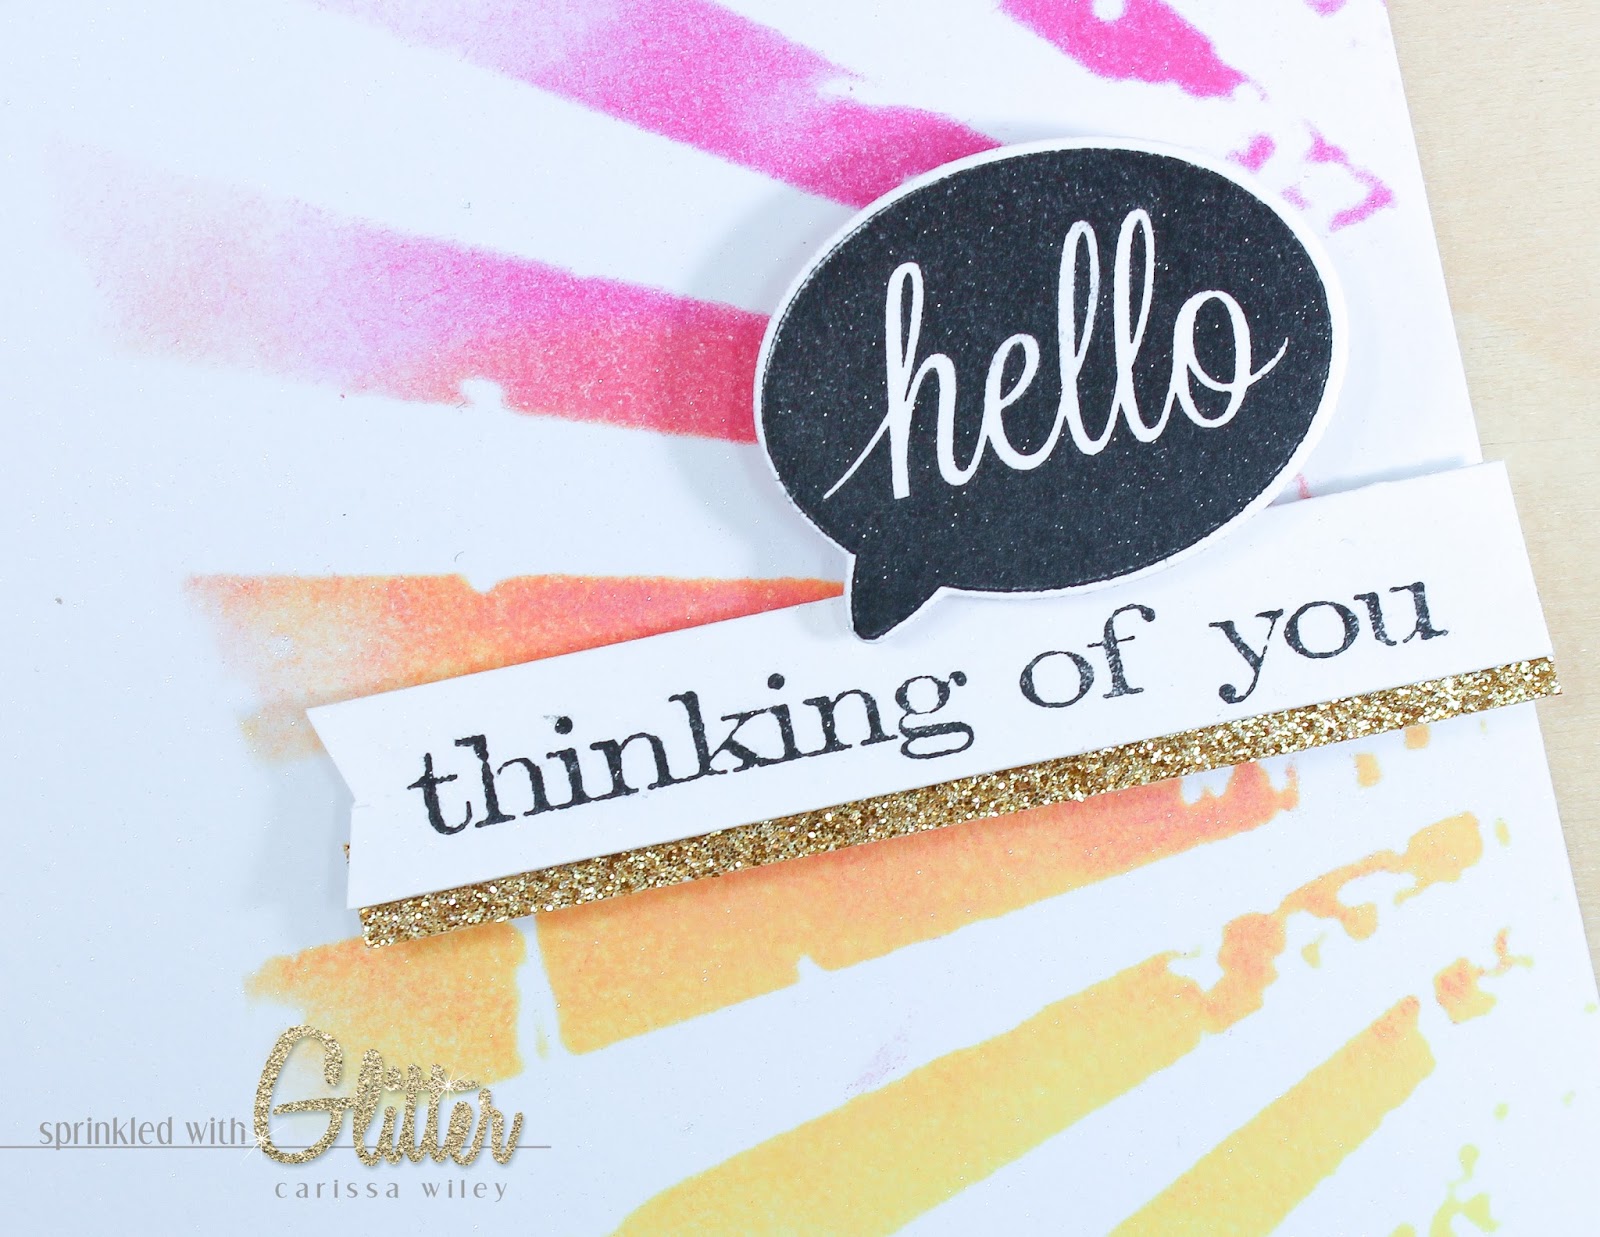
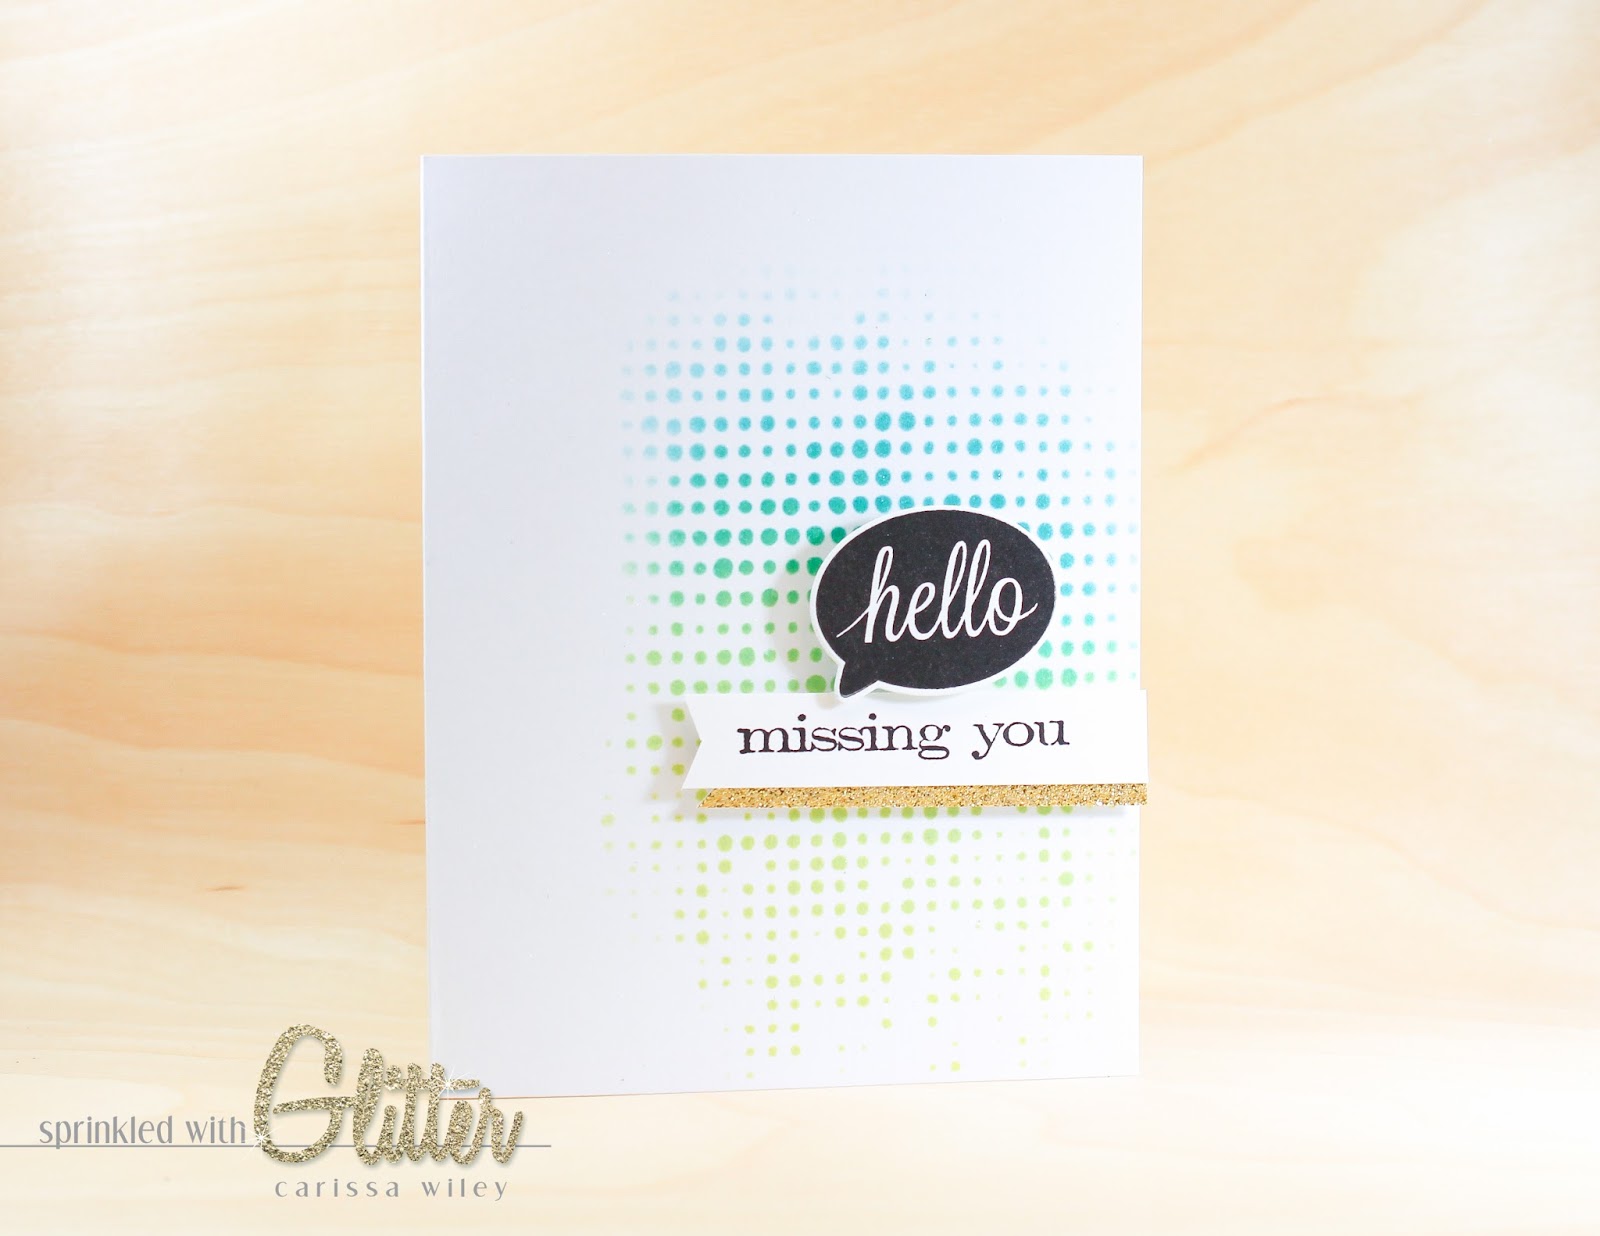
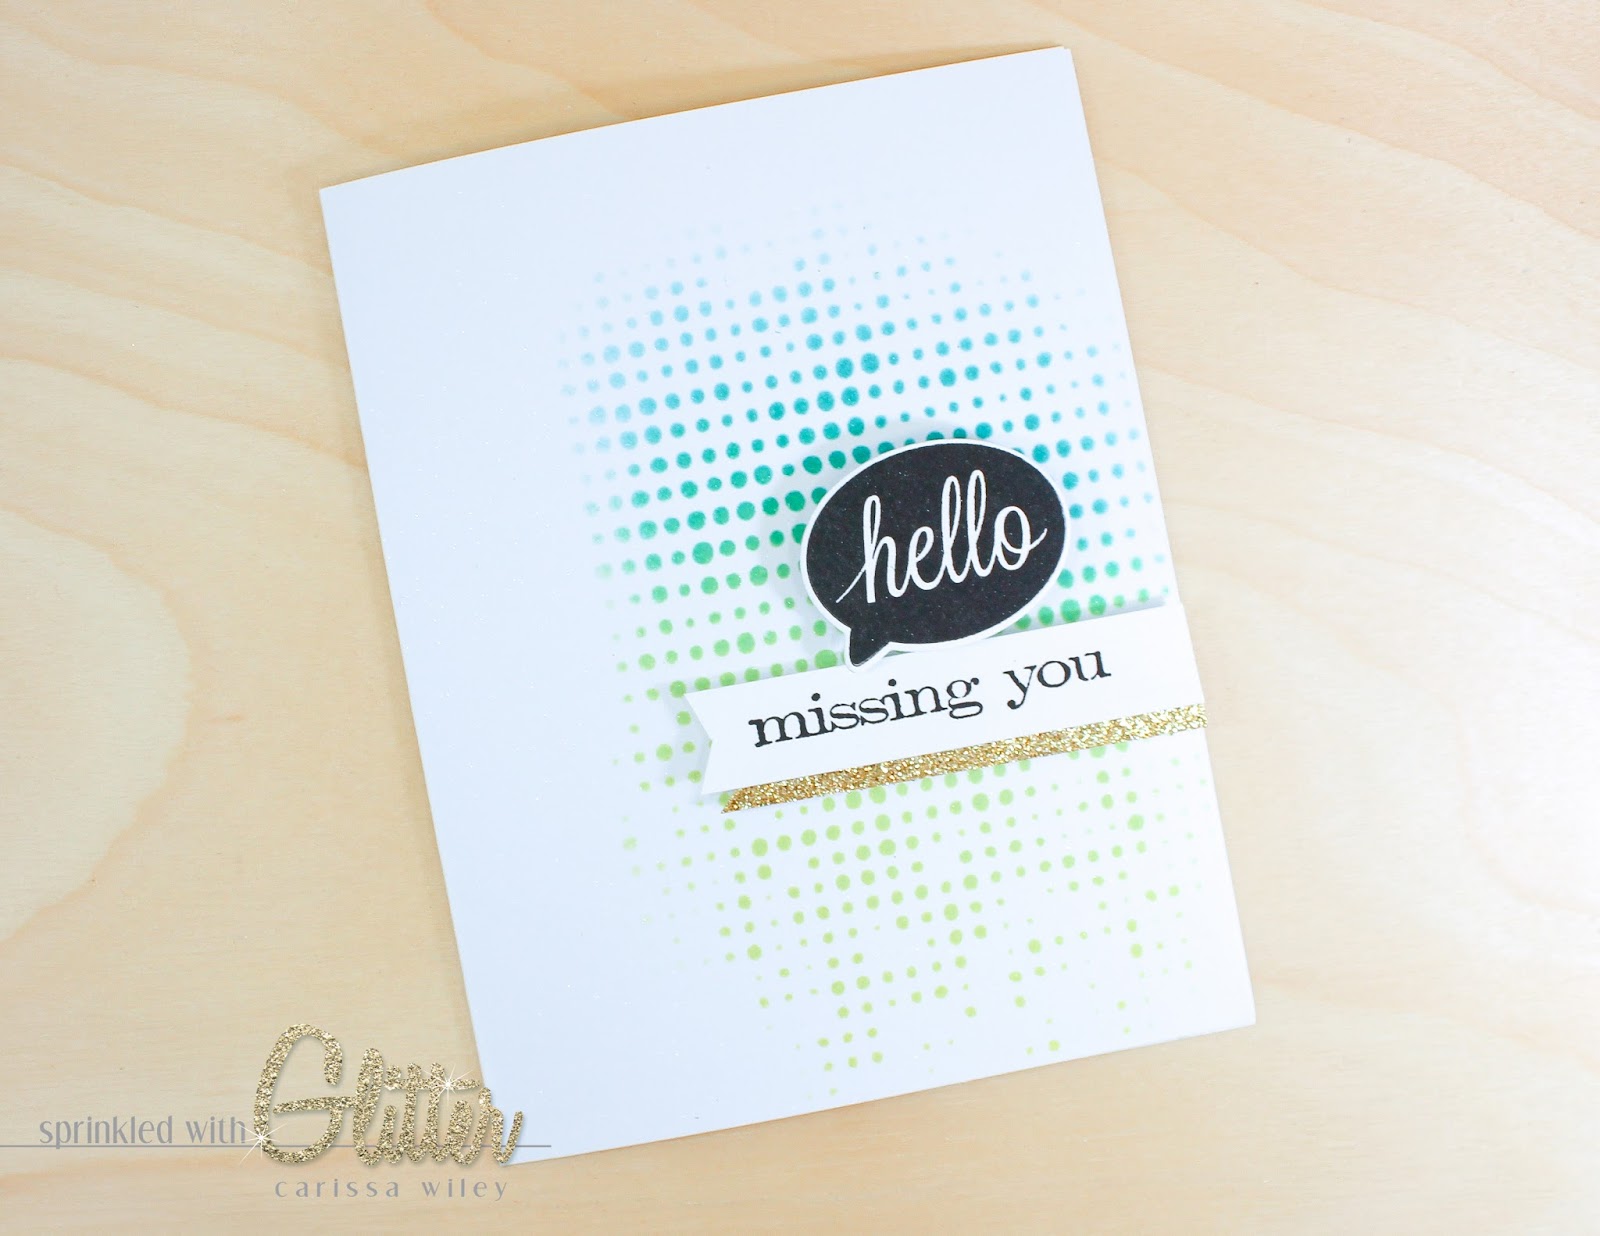
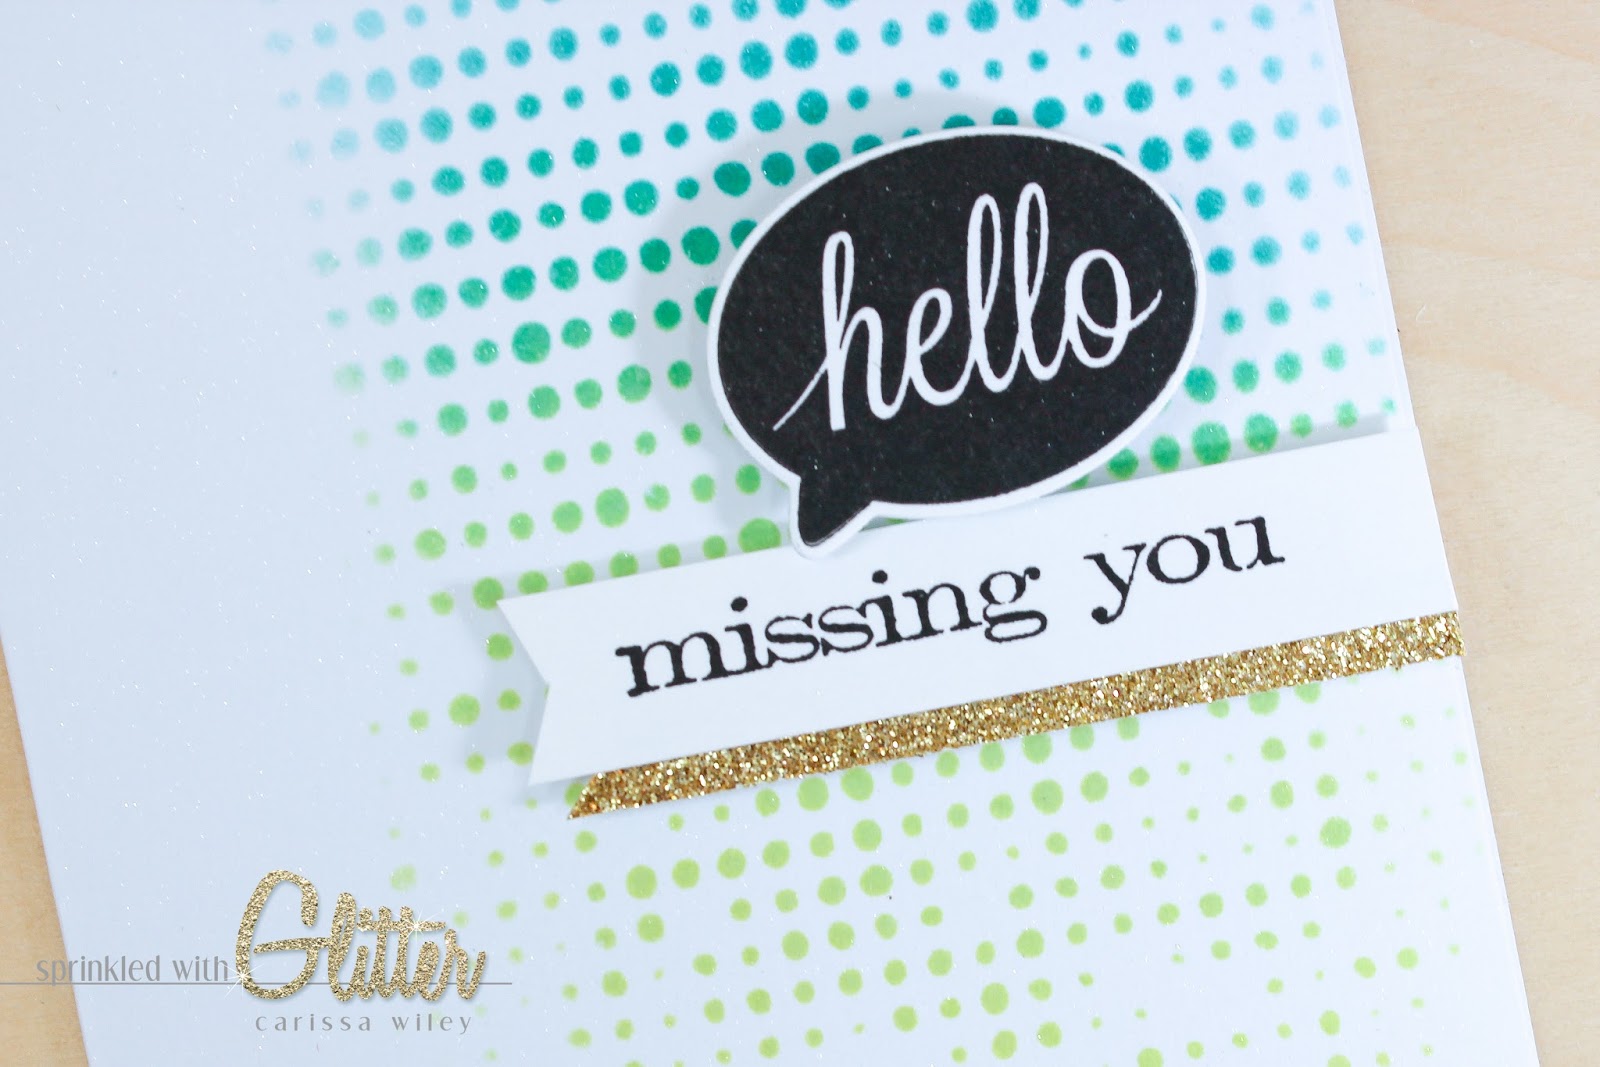
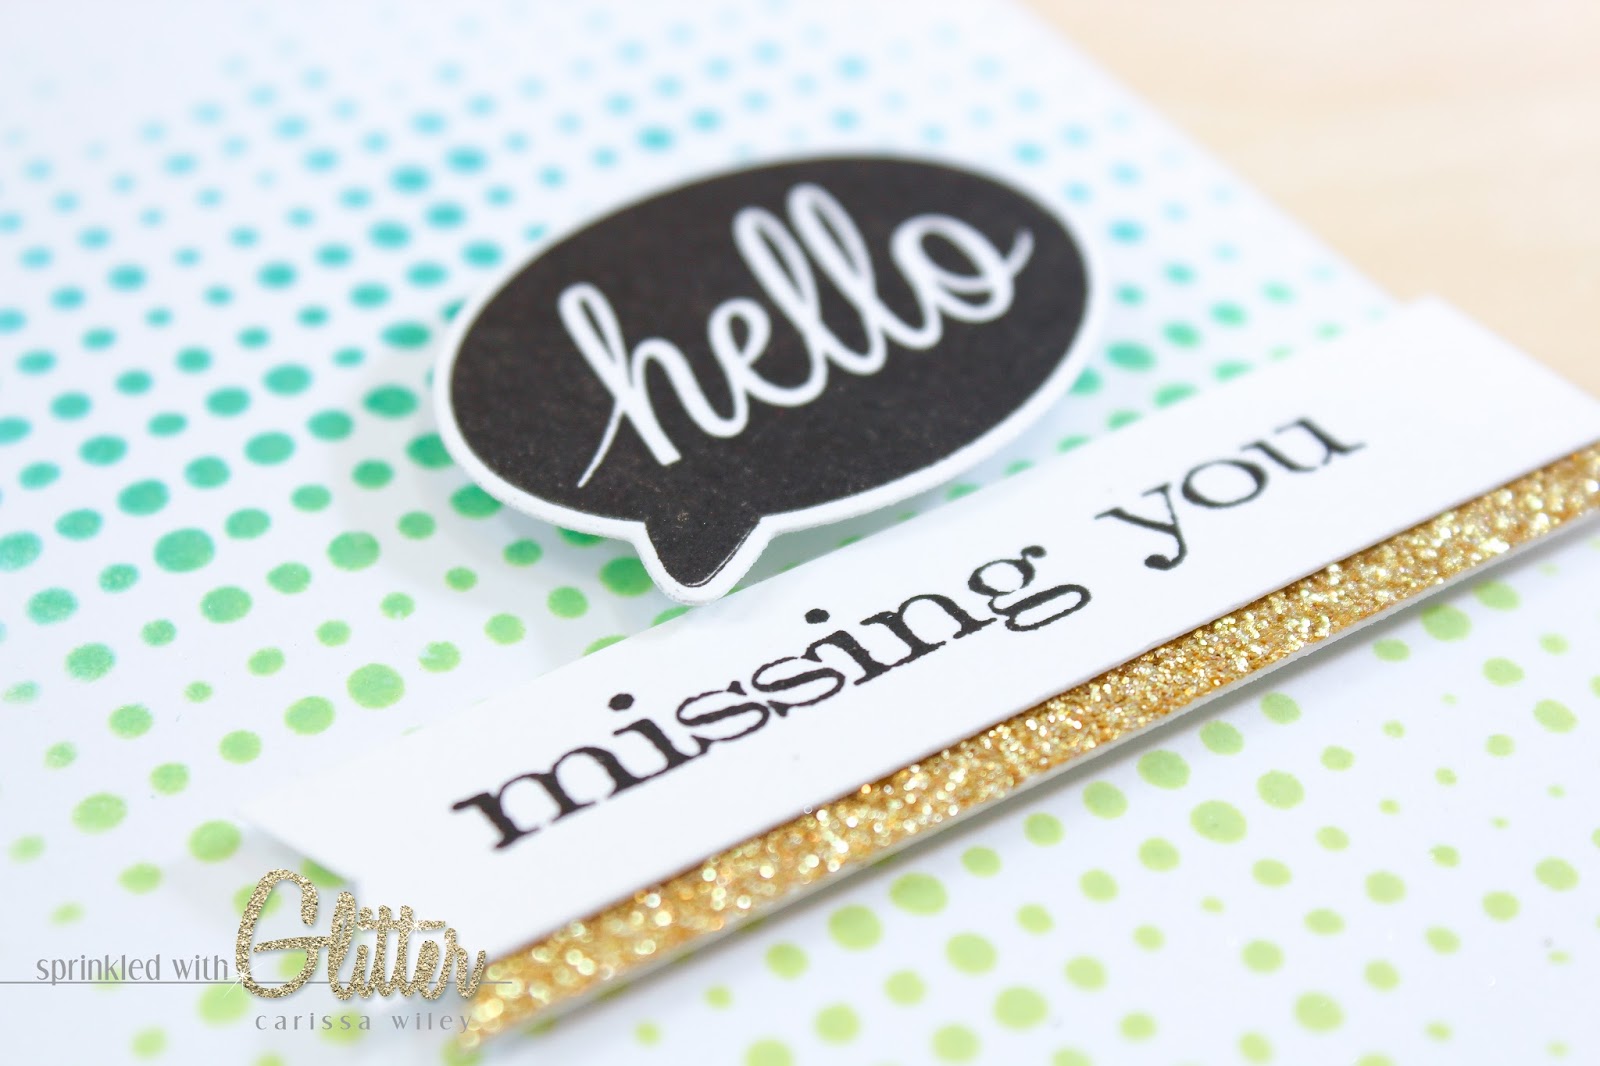
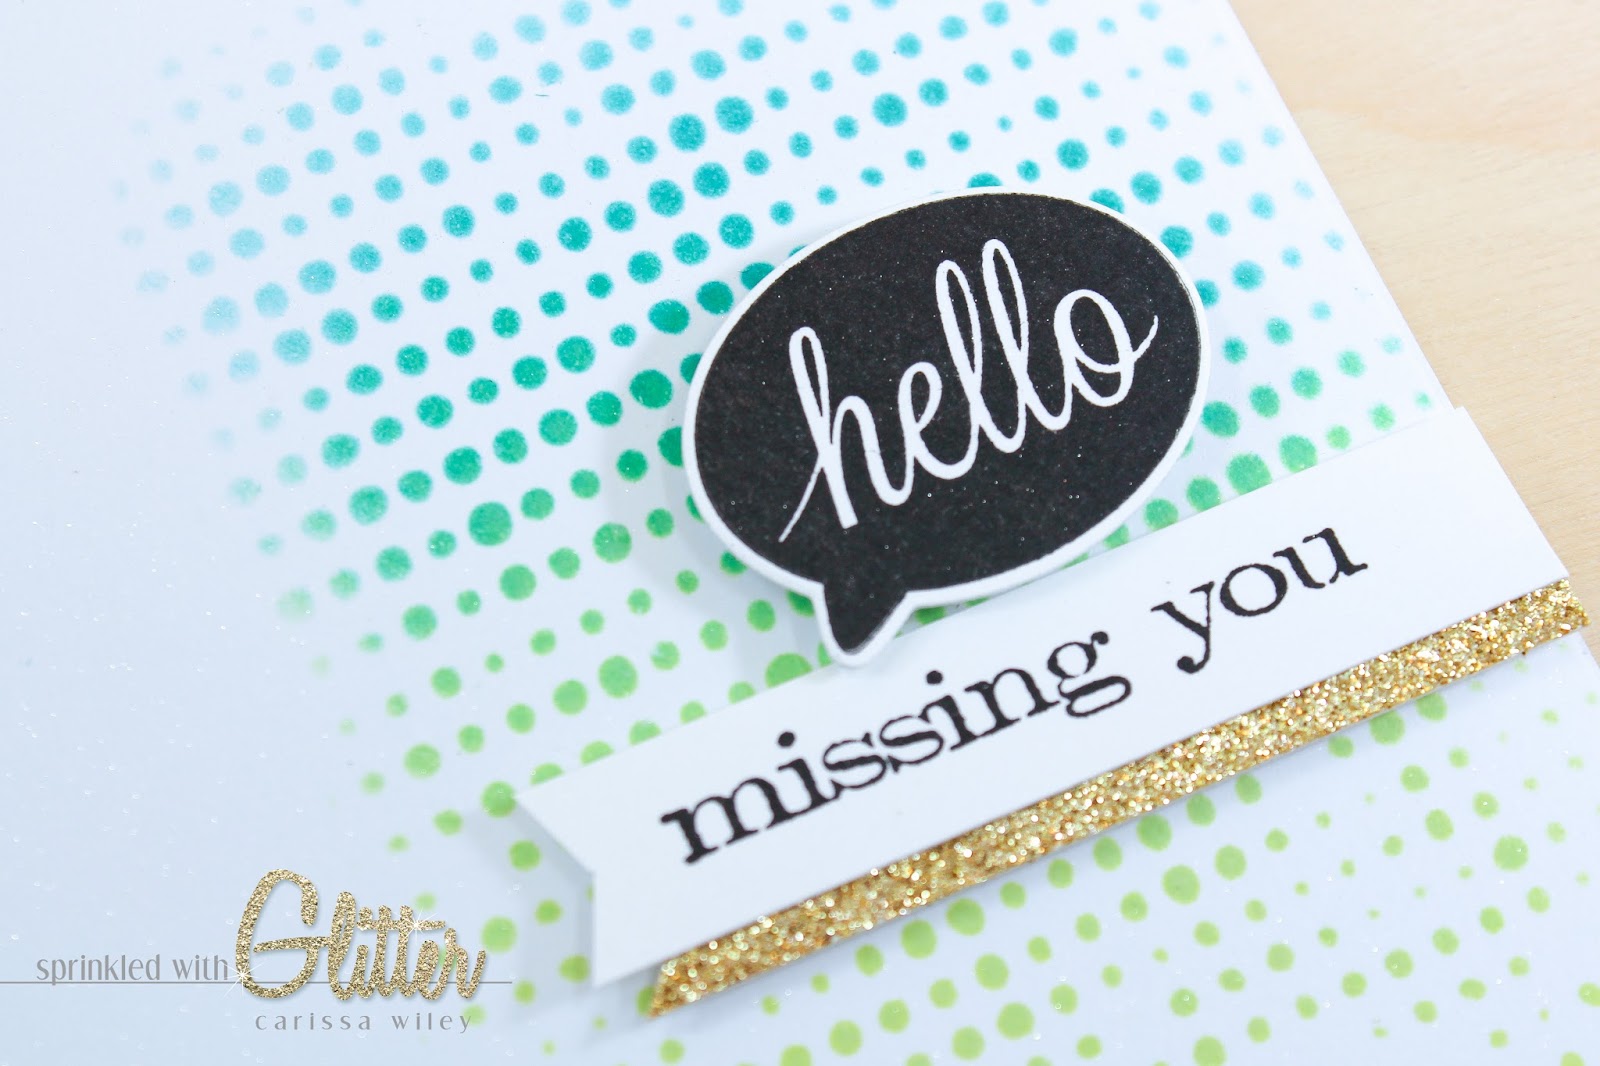
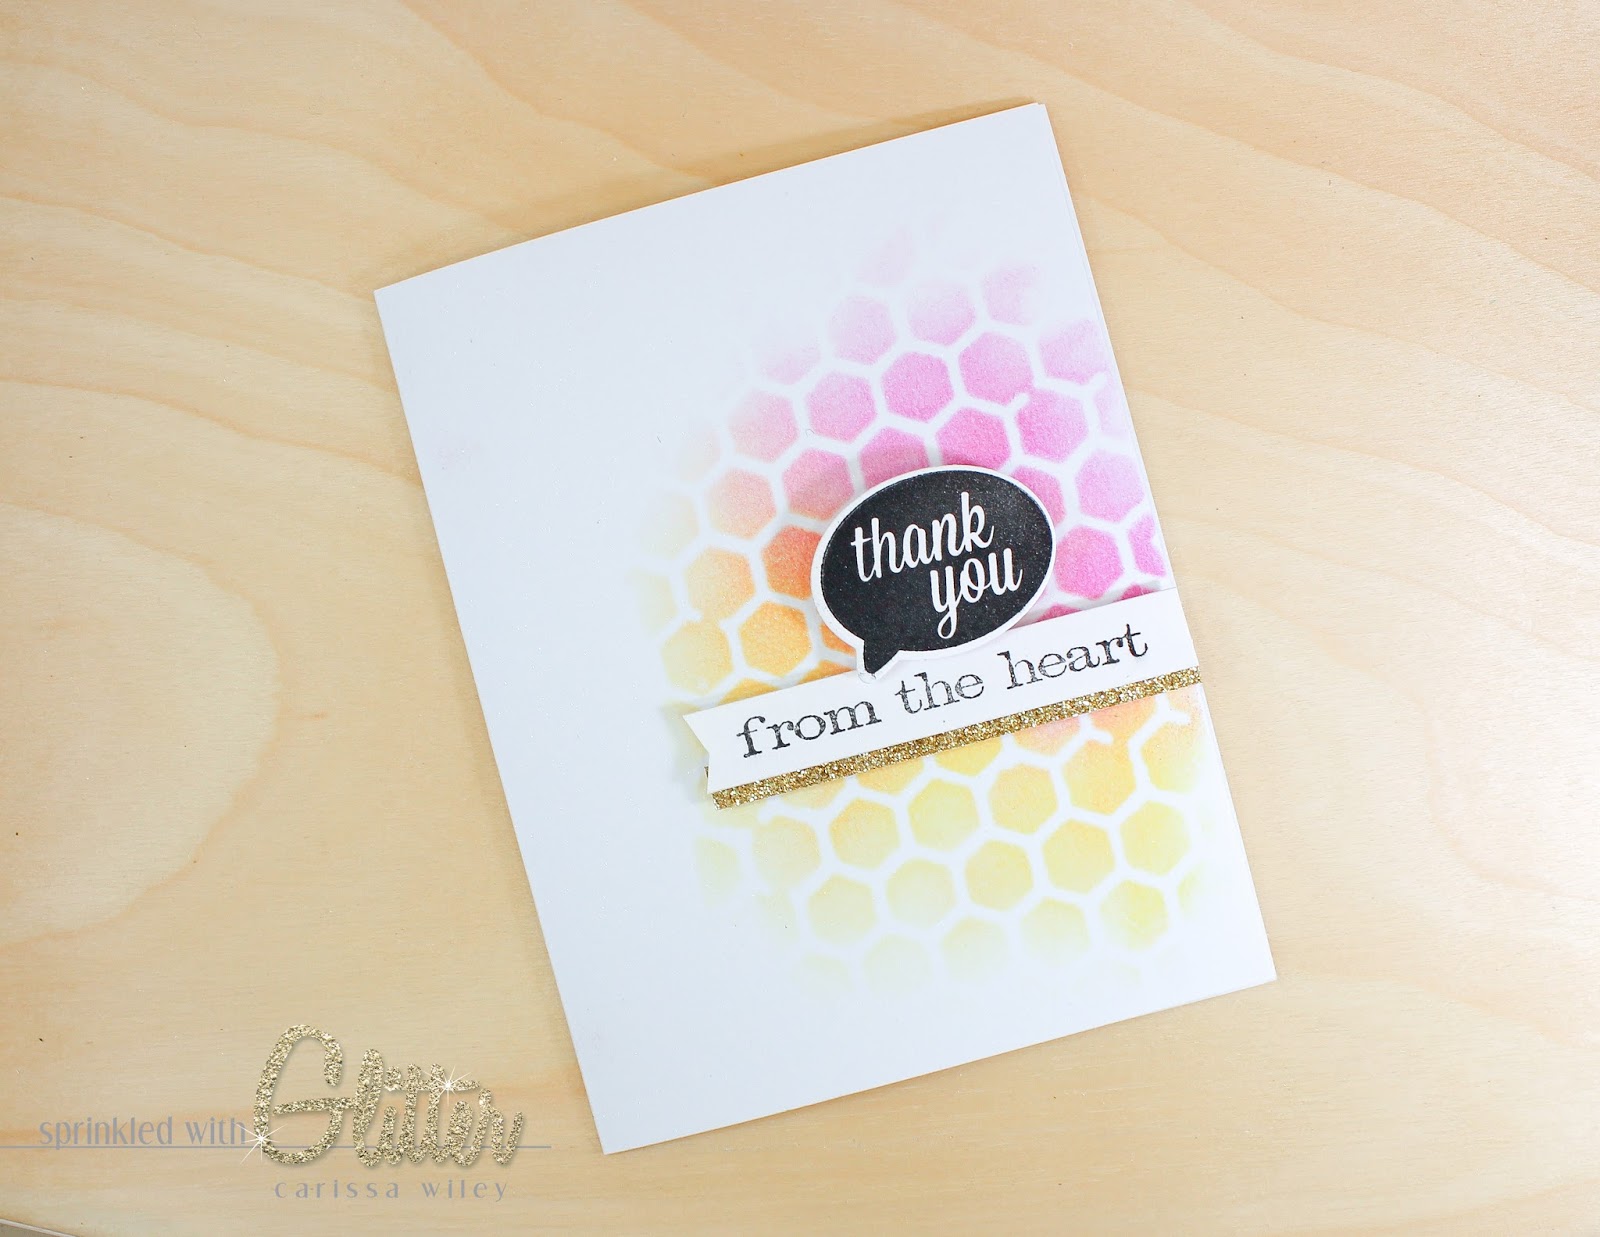
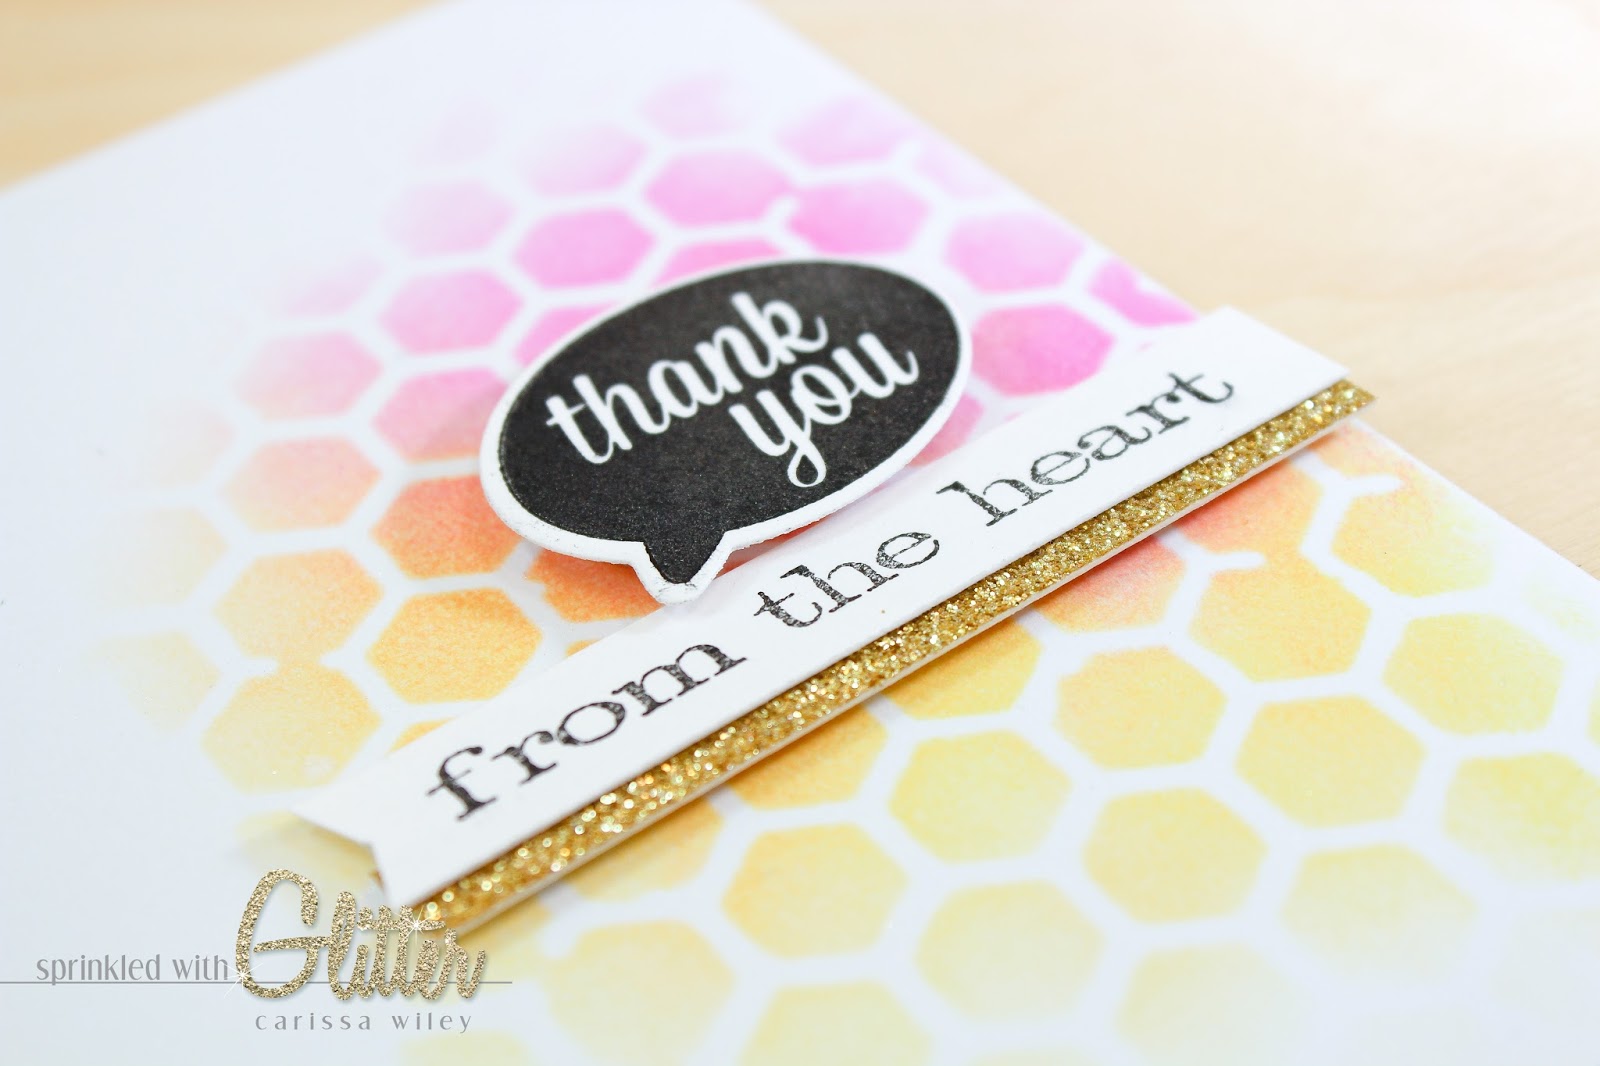
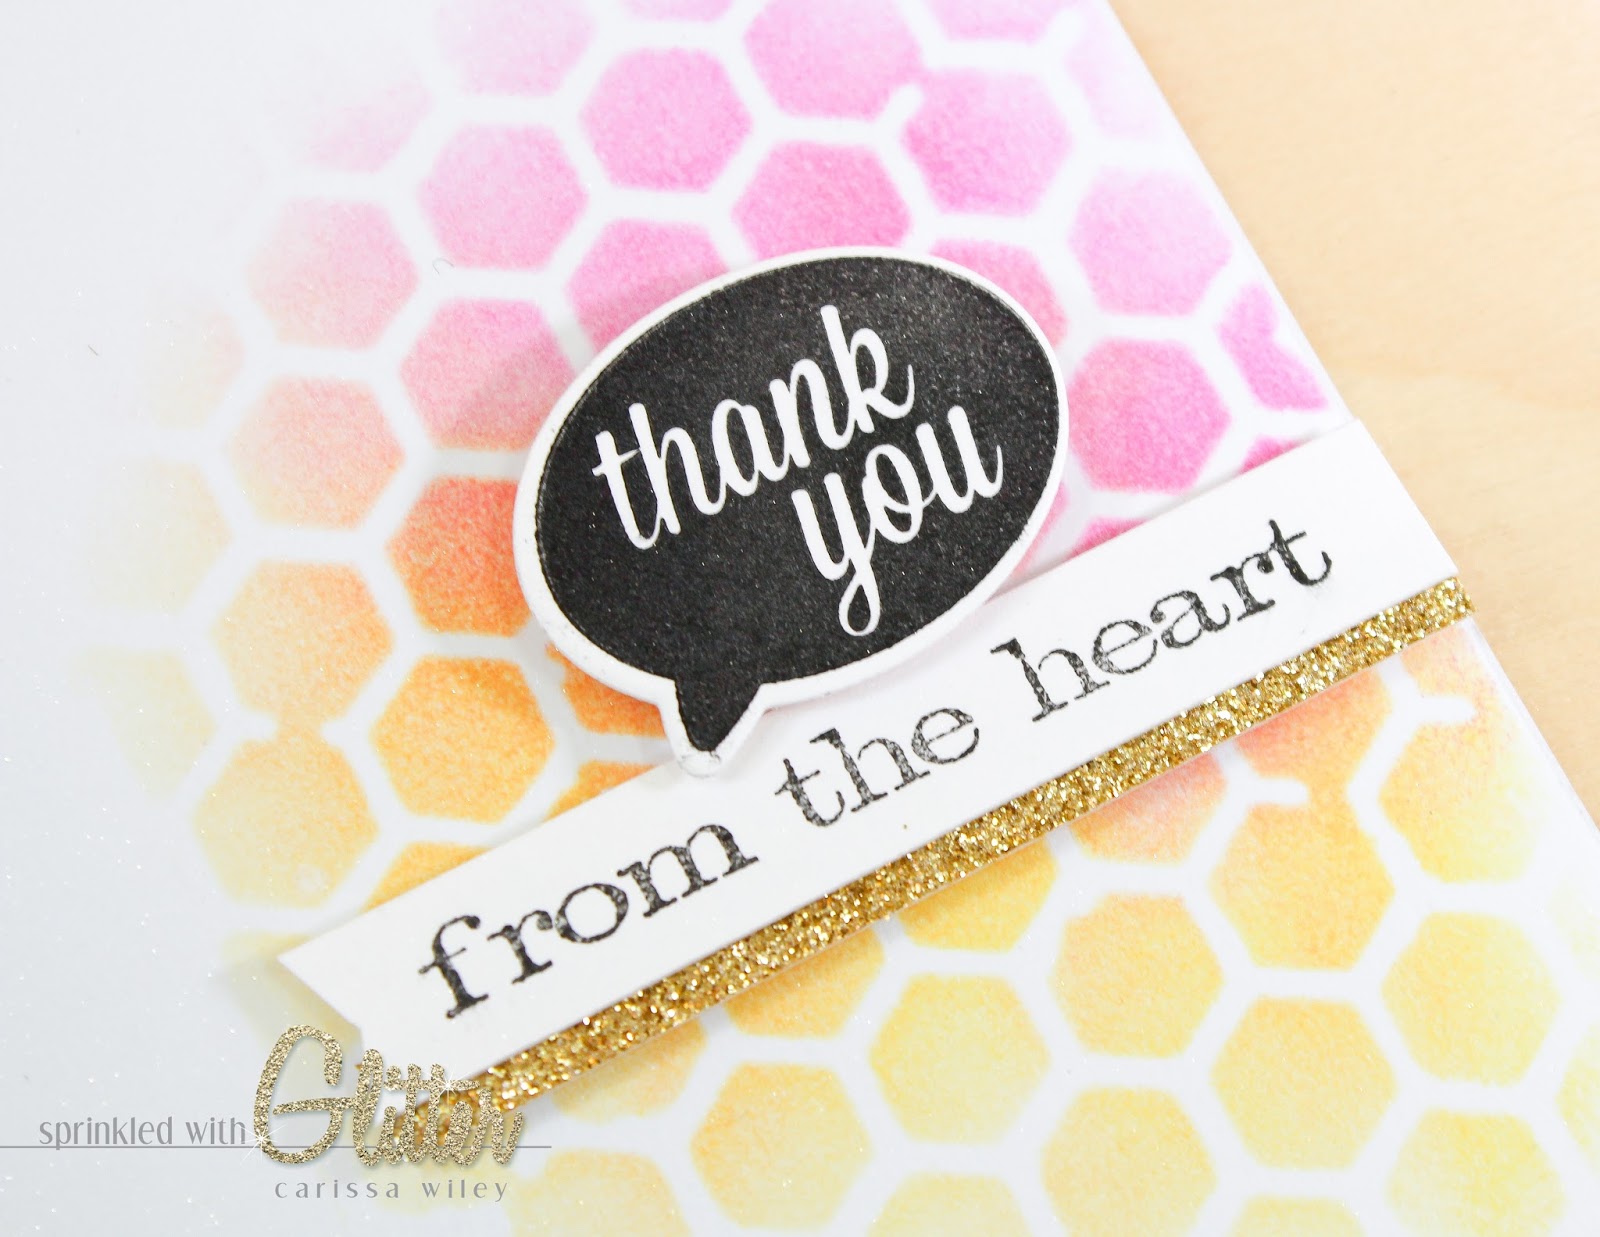
I began by securing my Tim Holtz stencils to my pre-made card fonts. I like to use micropore tape or washi to keep my stencil in place while I'm doing ink blending. Once the stencils were secured in place, I used my Mini Ink Blending Tools to add ink over the top of the stencil. By blending two colors together, I get a really nice gradient effect. The Picked Raspberry and Squeezed Lemonade blend together to make a really beautiful orange. And the Peacock Feathers and Squeezed Lemonade blend together to make a vibrant green.
I allowed the ink to kind of fade out around the edges. I kept the heaviest concentration of ink around the right side of the card.
Once I removed my stencils, I was left with some beautiful ink blending and cool patterns on my card.
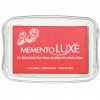
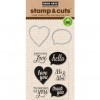
For the sentiments, I'll be using the Hero Arts Yes stamp and cuts set, as well as the Tim Holtz Saying Stuff stamp set. I used the Memento Luxe black ink to stamp these on to plain white card stock.
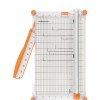
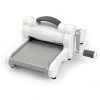
I used the coordinating dies and my Sizzix Big Shot to cut out my speech bubble. I used my trimmer to cut the smaller sentiment into a small strip.
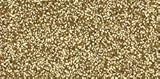
I attached a think strip of gold glitter card stock beneath the sentiment strip to add some sparkle to my card project.
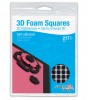
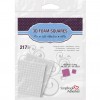
Once my stamping was done, it was quick and easy to assemble these cards. I used foam adhesive squares from Scrapbook Adhesives to attach my speech bubble and my sentiment strip. I used a double layer of the foam squares on the speech bubble to give it even more dimension.
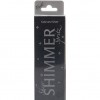
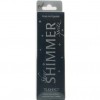
To add a little shine, I spritzed the cards with the Shimmer Spritz. Because Distress Inks are water reactive, be sure you don't saturate the card or you'll end up with a runny mess. A light spritz will leave you with a super sparkly shimmer all over your card front.
I'll walk you through the entire creation of these cards in the video tutorial below. Be sure to check that out.
If you're in my neck of the woods on the 22nd, be sure to stop by and say hi! Thanks for stopping by today. Until next time, I hope you have a fabulous day!

Supplies
*affiliate links used*