Snowflake Thank You - Double Background Stamping
Hey everyone! Thanks for stopping by today. I hope you are having a wonderful holiday season. And now that the hustle and bustle has slowed down a bit for me, it's time for me to get a jump on my thank you cards. I didn't quite know which direction to take with these, so I used some projects I created for The CLASSroom to inspire this project. You can see those projects (and video tutorials) HERE and HERE. You'll see elements from these projects included in this card. And there's no harm in inspiring yourself once in a while.
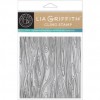
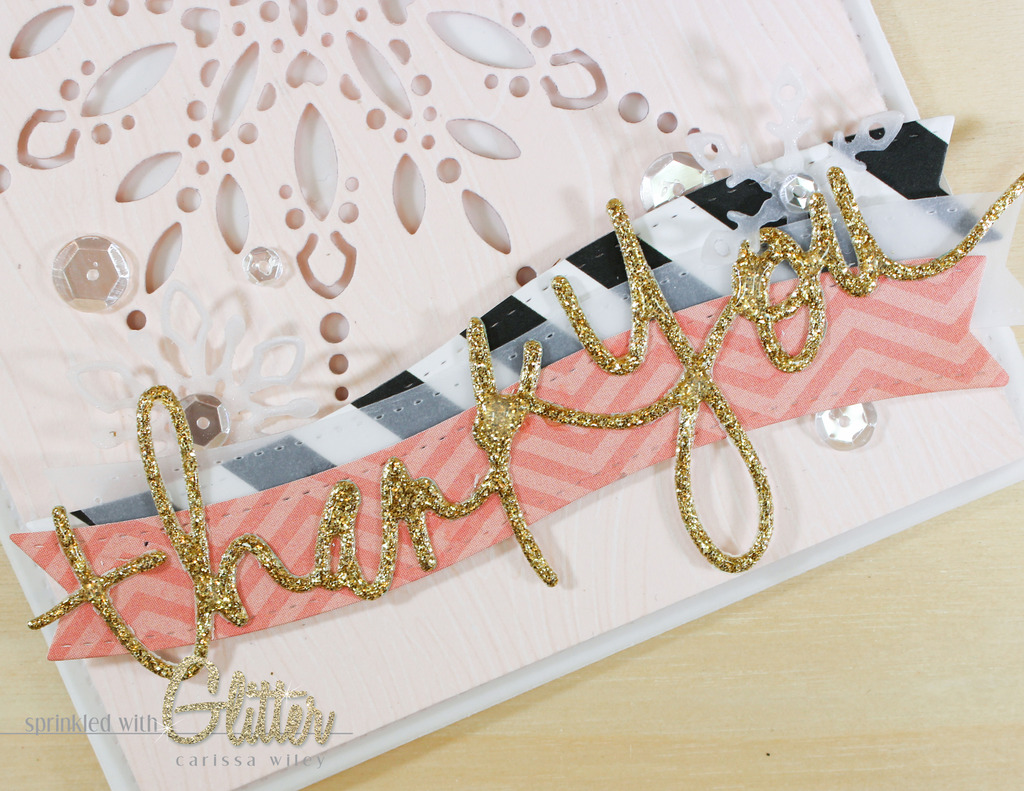
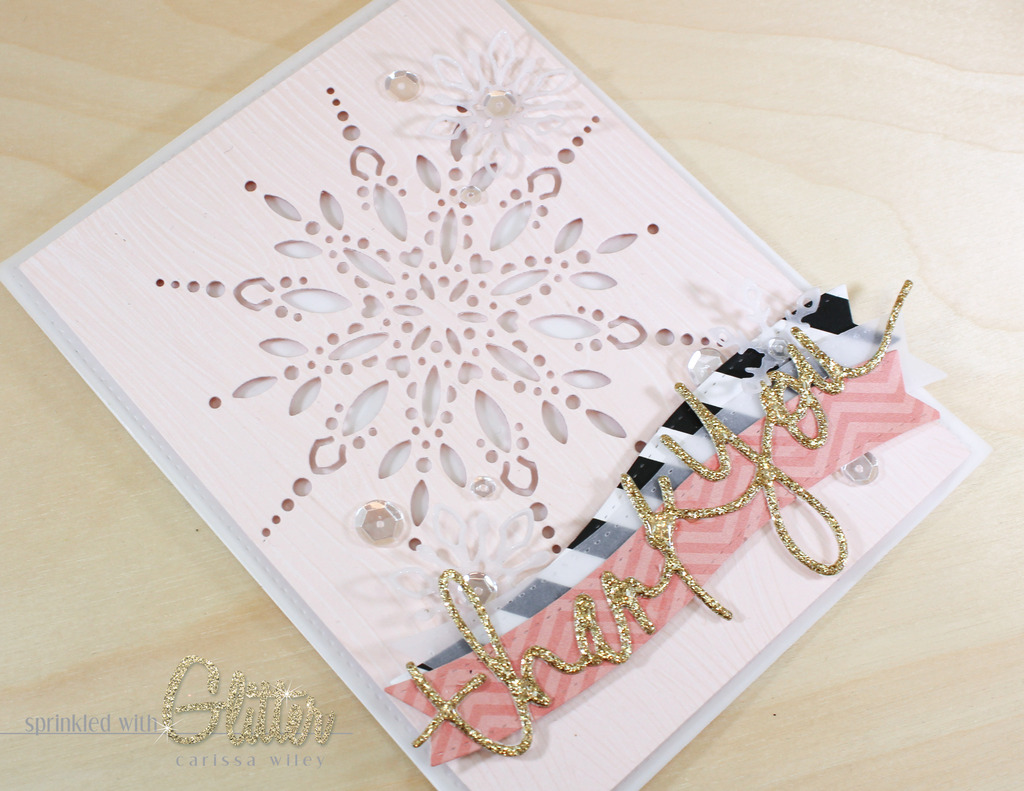
I started out by stamping a woodgrain background on my Pale Rose card stock. I'm totally crushing on this color. And when you add a little texture with a background stamp, this card stock is perfection. It's also a nice little break from the traditional holiday colors that I've been using a lot.
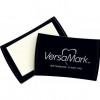
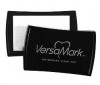
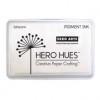
To create my background, I used a double background stamping technique. You can achieve a more precise stamping by using a stamp positioner like the Misti. But I was just winging it. I first inked up my stamp in some Unicorn White pigment ink and stamped it on to my card stock. I was careful to put my card stock right up to the corner of the stamp. This makes winging it a little easier. Once I had the initial background stamping, I cleaned my stamp and then used Versamark ink to stamp it once again. This time when I positioned the card stock on the background stamp, I shifted it slightly to the left. This creates my double stamped background and adds lots of subtle texture to this already beautiful card stock.
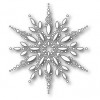
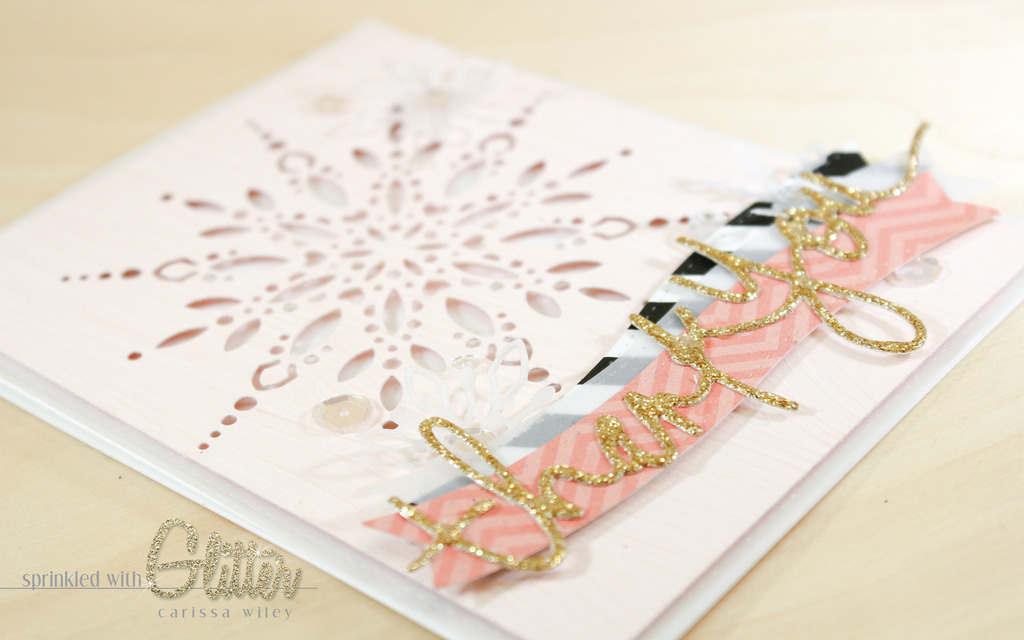
Once my background was stamped I die cut the panel using the Spectacular Snowflake die from Memory Box. I love the delicate details and hidden hearts in this snowflake. It would be AMAZING with an inlay technique...but I'm going to be honest and tell you I'm crazy, but not THAT crazy. Since the die is so intricate, I was sure to use my Precision Base Plate to get a nice clean cut. The die cut panel has a laser cut feel to it.
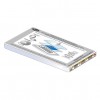
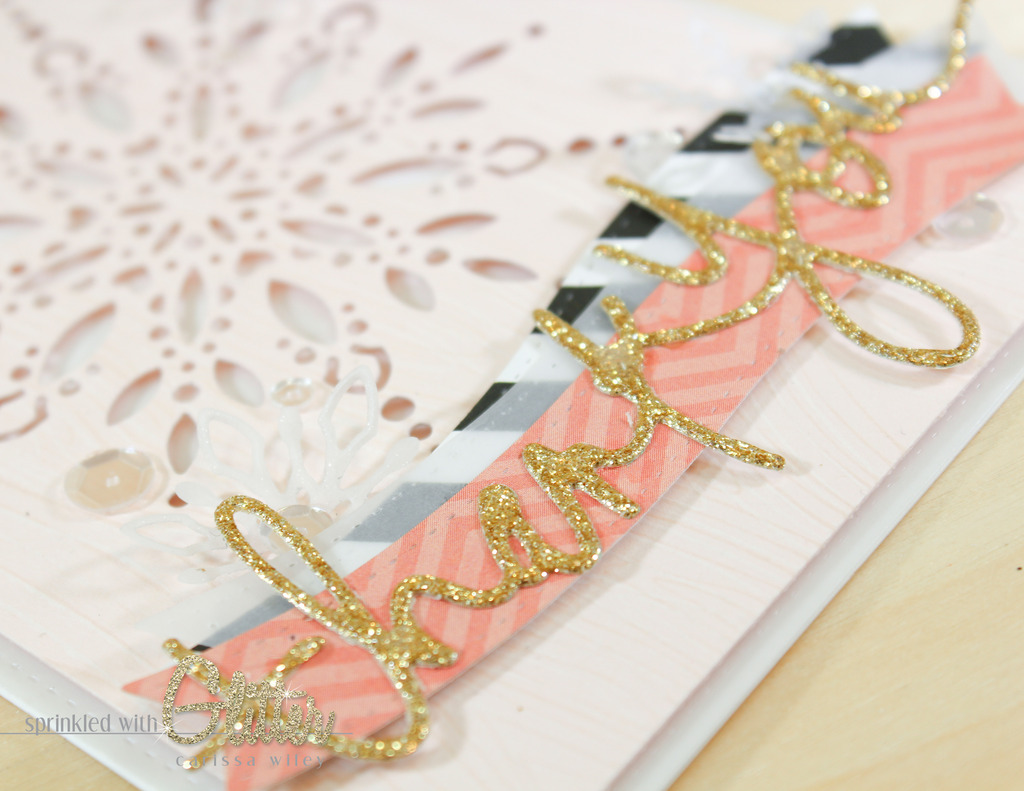
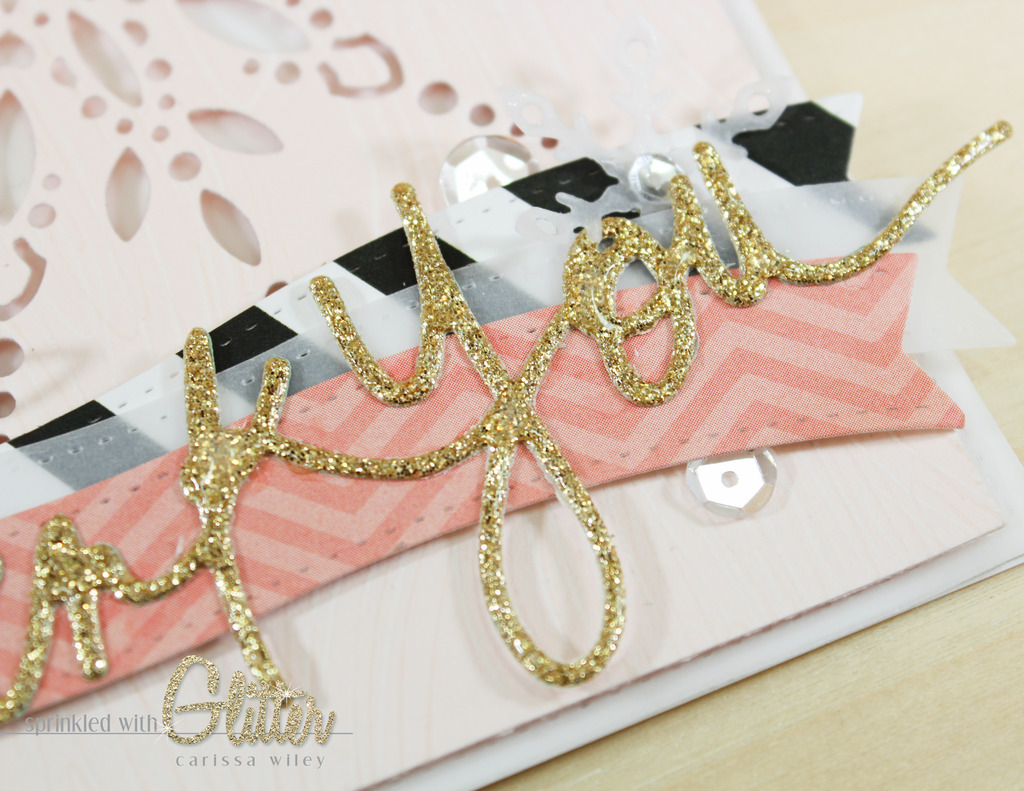
I stole the layered banner element for this project from the tag I created here. I love the way these banners look when they are all layered up. I cut the banners from some patterned papers and added a layer of vellum as well. The layer of vellum helps to mute the bold black a white just a tad and keeps it from overwhelming this soft palate.
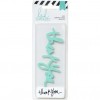
The sentiment was cut using a Heidi Swapp word die. I LOVE her handwriting. Truth be told, I'm a bit jealous. The word dies are the closest I can come to that beautiful handwriting on any of my cards. But I'll take it. I cut the sentiment from some gold glitter card stock to add lots of sparkle. Love me some gold glitter sentiments.
I also cut some other snowflakes from vellum. In order to make them sparkle, I coated them with a layer of Zig Wink Of Stella in clear. This will cause your vellum to curl a bit. But I'm okay with that. It adds an element of dimension to the card front. They're the perfect accent to the Spectacular Snowflake, which is truly the star of the show.
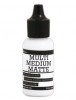
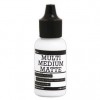
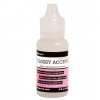
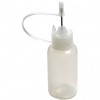
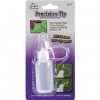
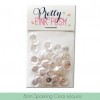
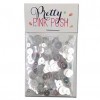
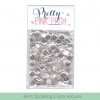
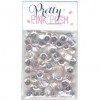
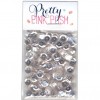
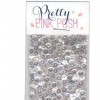
To finish off my card, I added a some more shimmer and shine in the form of Glossy Accents and Sparkling Clear sequins (of course). I love to layer the Glossy Accents over the glitter card stock. It seals the glitter in (honestly I don't have too much of a problem with it shedding), adds more shine and some dimension as well. It goes on easy with the precision applicator tip. I use this same precision tip on my Multi Medium Matte as well, which is my favorite adhesive for adhering sequins.
Thanks for stopping by today! I hope you've been inspired to get to your craft room and start creating some thank you's for the fabulous people in your life. Until next time, I hope you have a fabulous day!

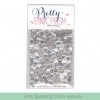
Supplies
*affiliate links used*