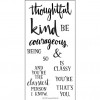
Thoughtful & Kind - Adding Hand Painted Elements To Your Cards
Hi everyone! So glad you've stopped by again today. A little while back, I shared some projects I created on my Instagram. This really started out as me just playing in my craft room. I ventured in there one day just to play...I swore I wasn't going to create anything. I swore I wasn't going to film. Eleven cards and one video later, I emerged. I thought I'd share the cards I created and give you just a few little pointers on adding some hand painted elements to your card.
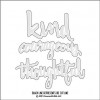
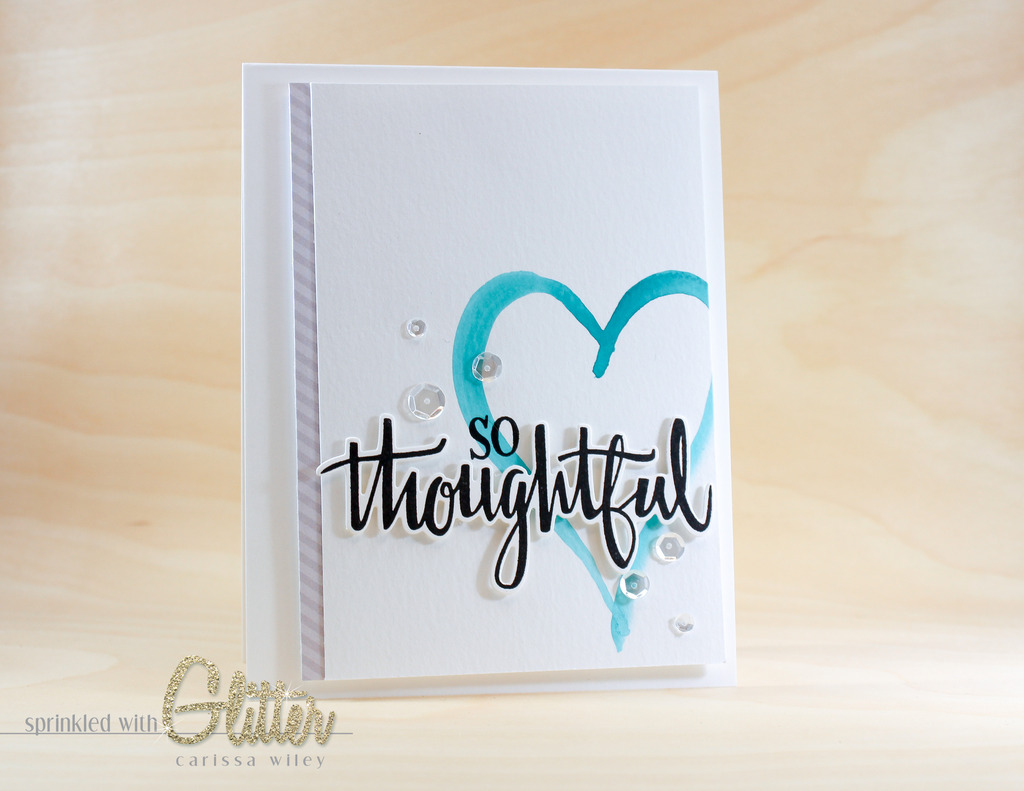
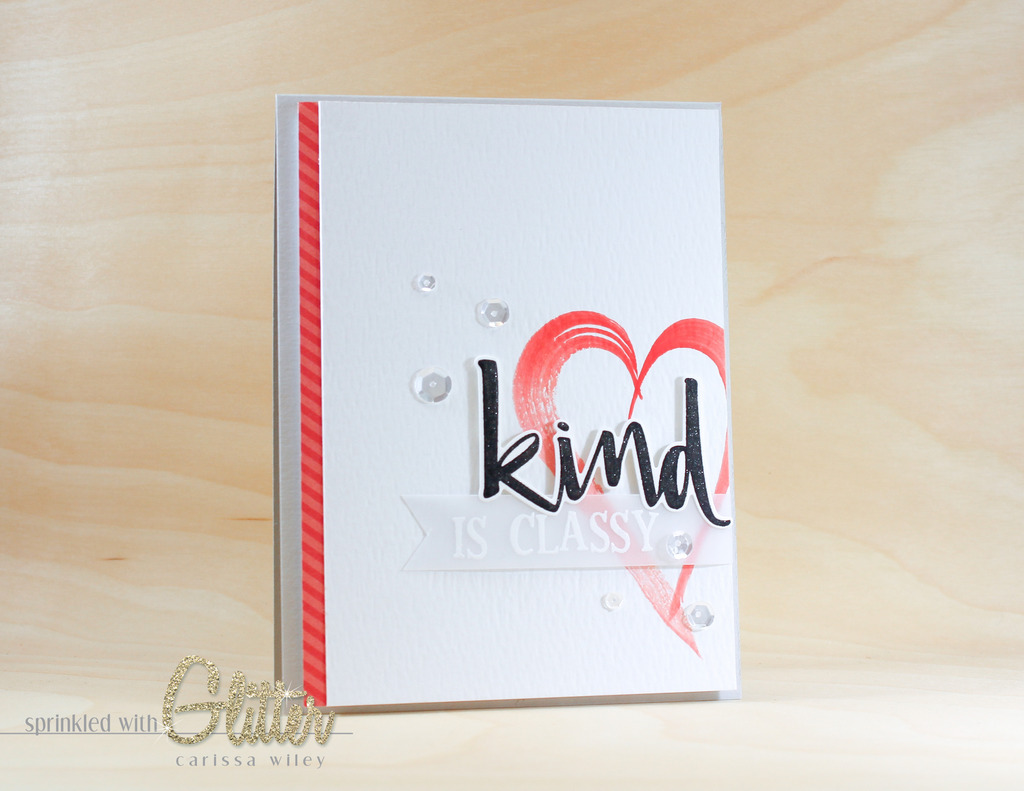
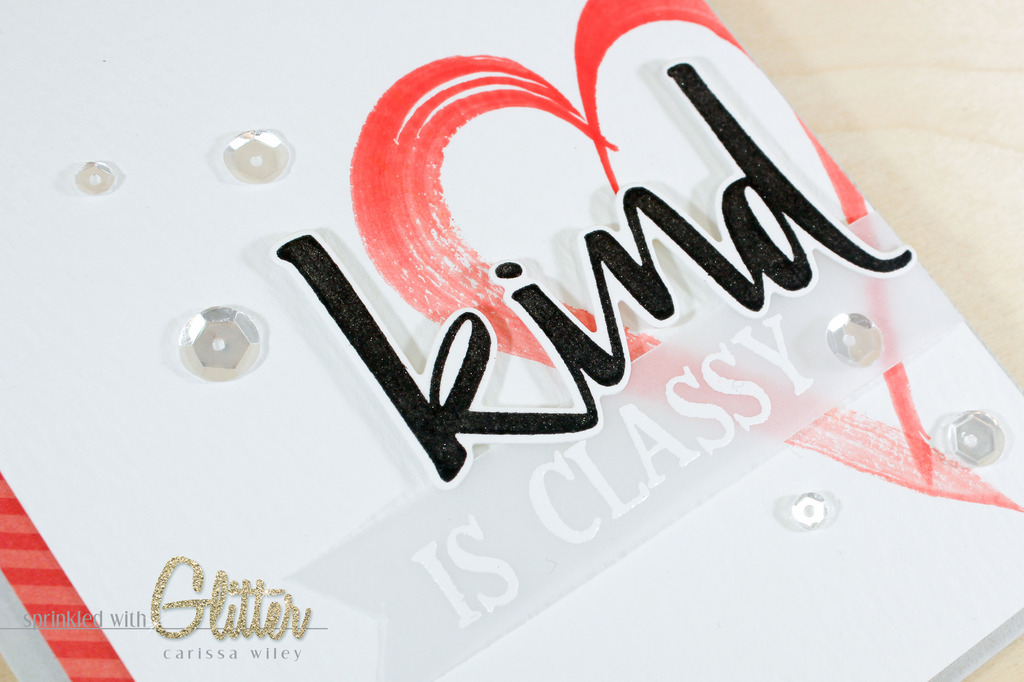
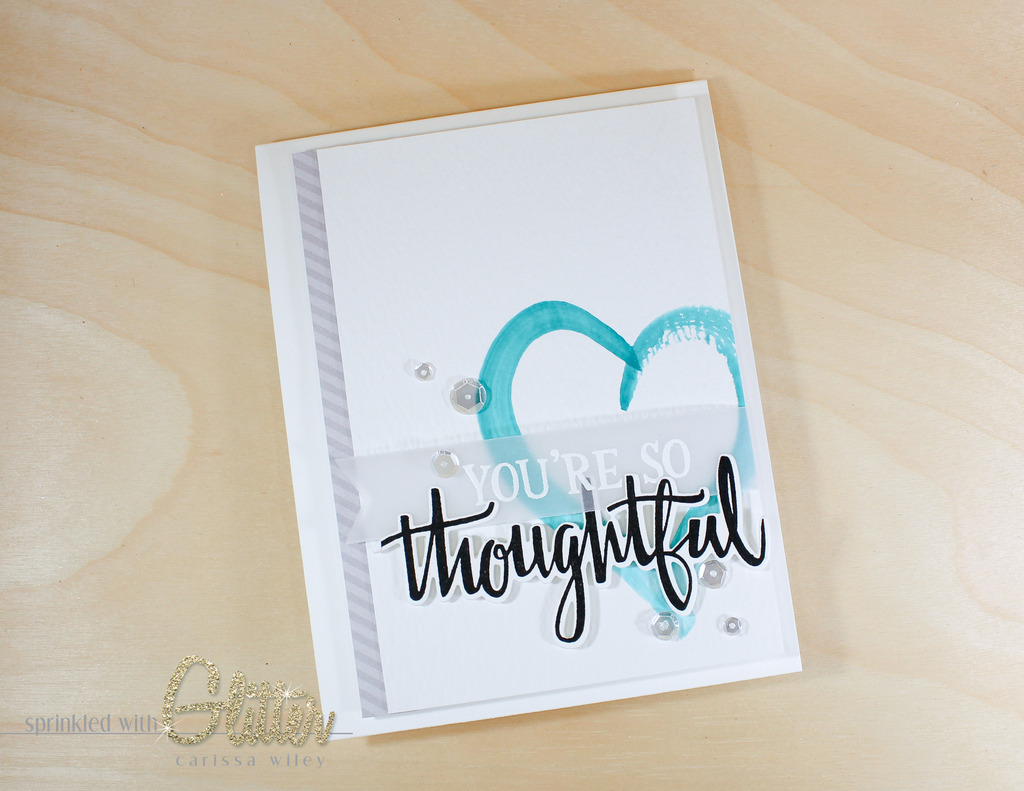
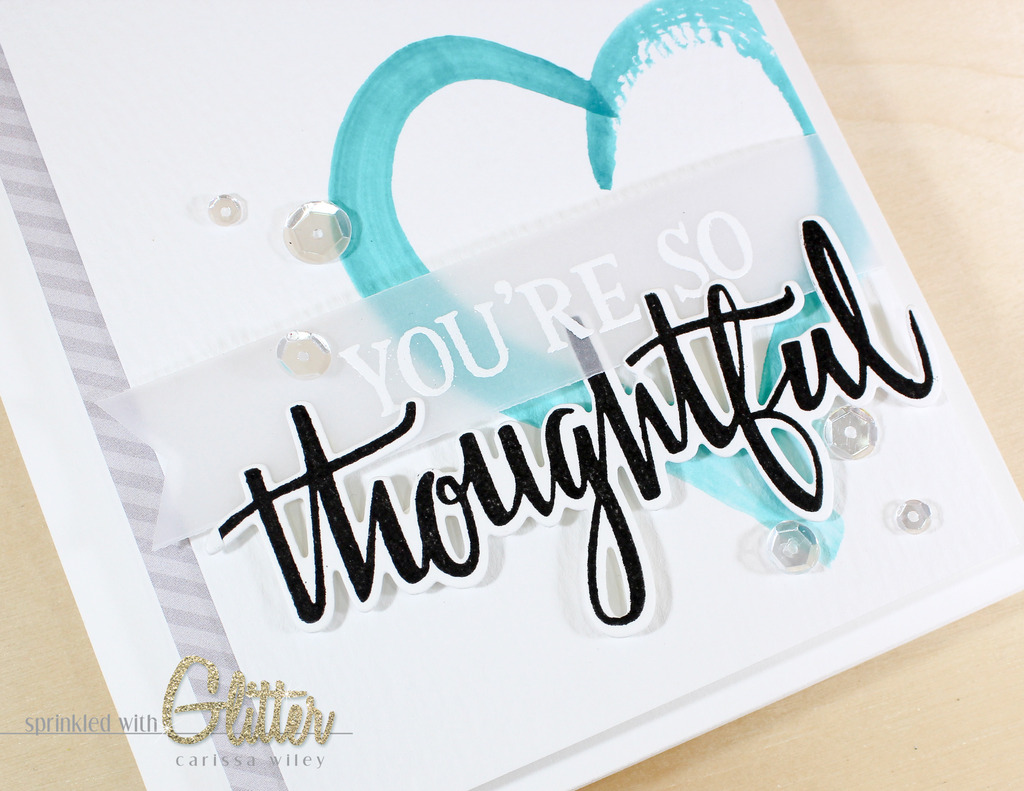
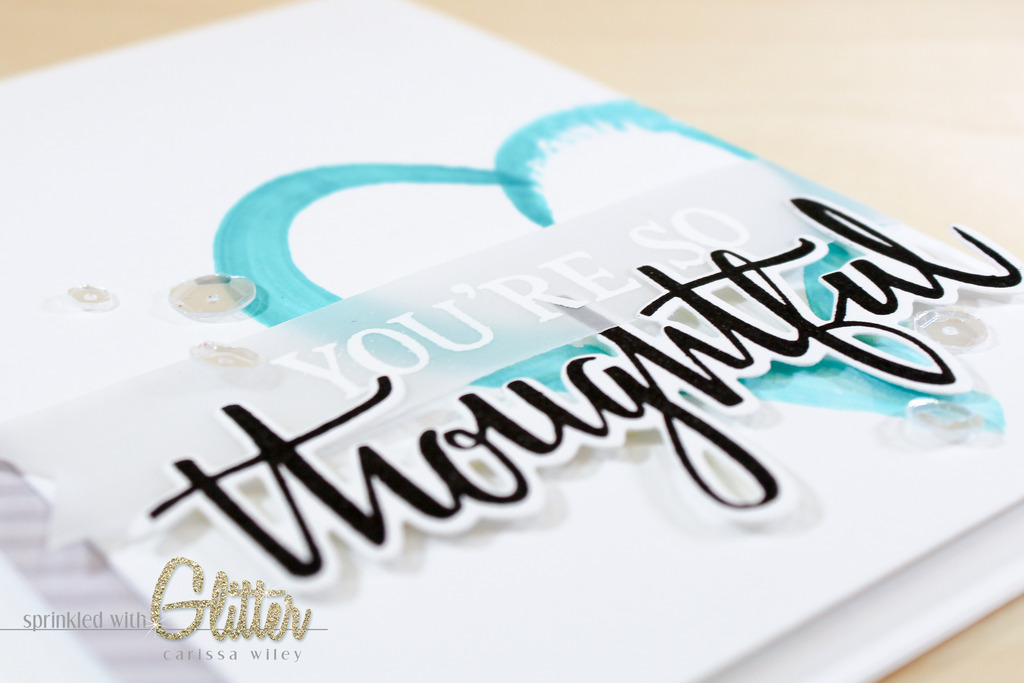
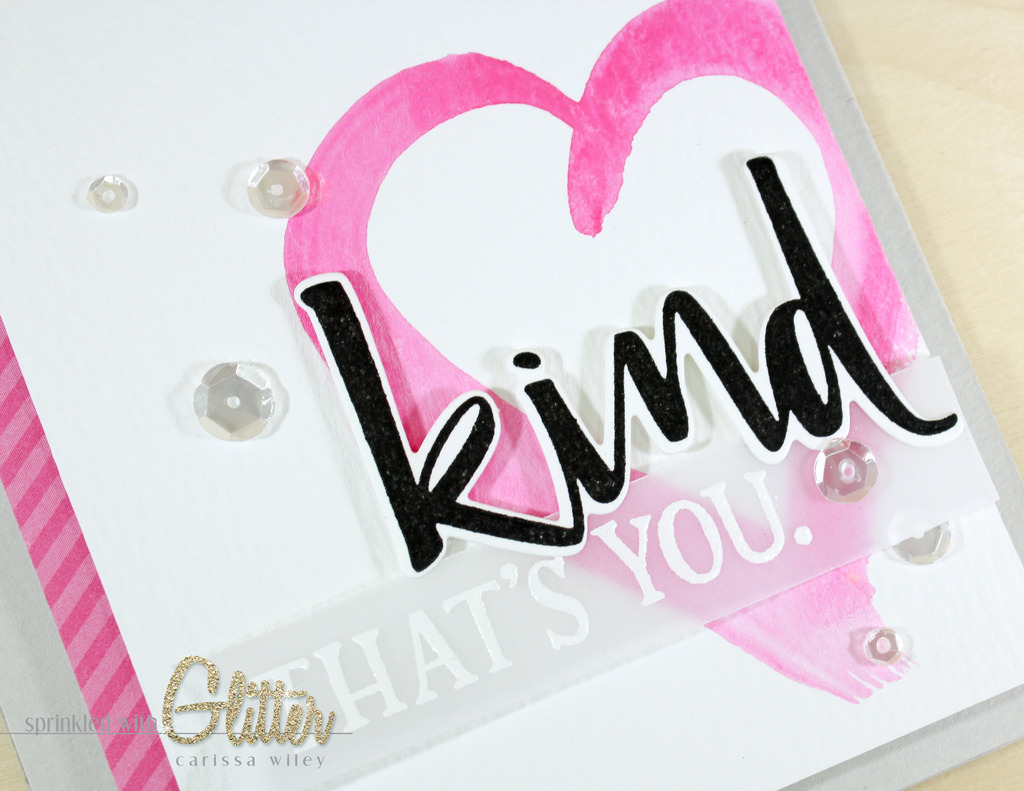
I'll be using the Being Classy stamp set from Concord & 9th. I just adore the gorgeous brush lettered sentiments in this set. And I love that there are also a lot of great ways to pair the smaller sentiments with the larger focal sentiments. And the dies fit like a glove. Love this stamp set and die combo.
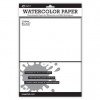
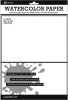
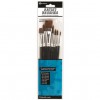
I started by painting the hearts on some watercolor card stock from Tim Holtz. I used some watercolors that I picked up a while back at Michaels. Now this isn't really a difficult technique. You kind of just have to let yourself be free...let go of the expectations and paint. I chose to paint hearts. I thought they would make a great backdrop for the focal sentiments. I used a variety of colors...and actually created some of these card with specific people in mind. I chose colors I thought they would really like.
I don't consider drawing or hand painting my strong area. So I really had to convince myself to just let go. If you're like me and you don't think of drawing shapes as your given talent, then I encourage you to choose simple shapes. Hearts, circles, swooshes or dots would be a good place to start. As you build up courage...you can venture in to more complex shapes. Really, it's all about letting yourself explore. And as you see me paint the hearts in the video tutorial, you'll see that not all of them are perfect. And that's OKAY!
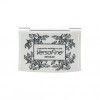
Once I had my hearts painted, I stamped my large focal sentiments. I used Versafine Onyx Black ink. I love how these sentiments look stamped in the rich black ink. I stamped both the Kind and Thoughtful sentiment several times. I then used the coordinating dies to cut them out. These dies fit like a glove and I was pleasantly surprised at how easy it was to line them up.
To complete my sentiments, I white heat embossed some of the smaller sentiments on vellum. I used a variety of "sub sentiments". This allowed me to create sentiments that say "Kind is classy", "You're so Thoughtful", "so Thoughtful" and "Kind, That's You". On the cards that say "Kind is classy" I stamped "and you're the classiest person I know" inside the card. I love the way this inside sentiment really finishes off the card. I know some pretty classy people. :)
Once I had the sentiments stamped, trimmed and die cut, the cards really came together easily from there. I trimmed the watercolored panels down so that the hearts were running off the edge of the card. I attached the die cut sentiments, along with the embossed vellum strips over the watercolored hearts using foam adhesive. The focal sentiments are large enough to easily add foam adhesive behind them. And the dimension that the foam adhesive adds really draws the eye to the beautiful brush script sentiments. And the watercolored hearts add a pop of color.
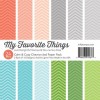
I also added a strip of patterned paper along the side of the watercolored panel. I chose some patterned papers from a couple of My Favorite Things 6x6 patterned paper pads. I've really been loving using these papers on my cards. The colors are fabulous. They seem to add just the right touch.
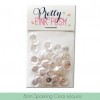
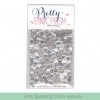
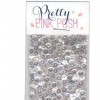
To complete my cards, I added the card fronts to the card bases with a layer of fun foam behind them. This just adds a bit more dimension and interest to the card. And I added some sparkling clear sequins for just a touch of sparkle.
So that completes my cards. Love the way they turned out. And I feel like the hand painted hearts are a great way to add just a little bit of myself to this card design. Take note...I didn't use any gold or glitter to these cards. And they said it couldn't be done! ;)
I've included a video tutorial below walking you through the entire creation of these cards. I've also included links to all the products used in these projects below.
Thanks for stopping by today! I hope these cards inspire you to let loose and add some hand painted elements to your cards. I hope you enjoy the video. And until next time, I hope you have a fabulous day!


Supplies
*affiliate links used*