Warm Christmas Wishes - Copic Coloring & More STAMPtember
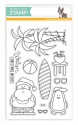
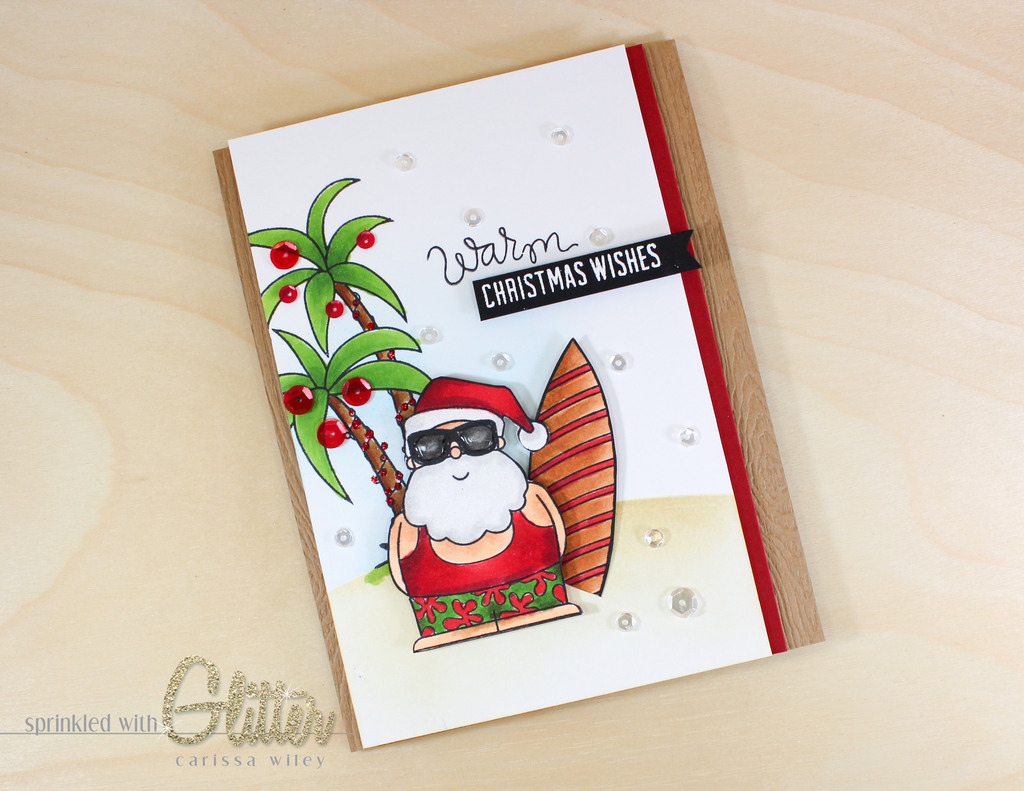
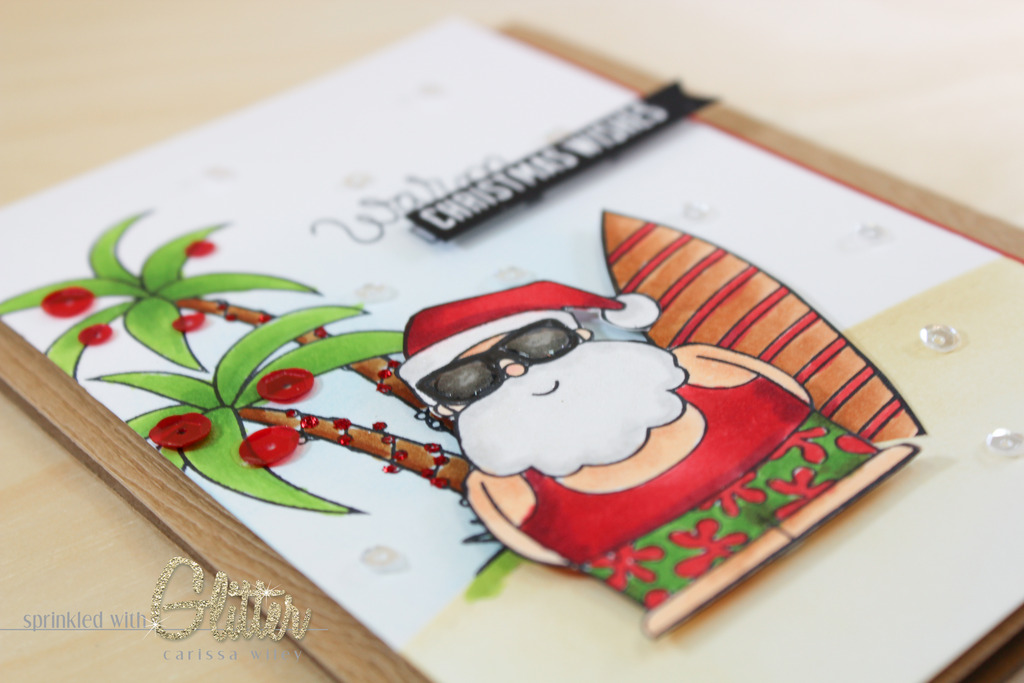
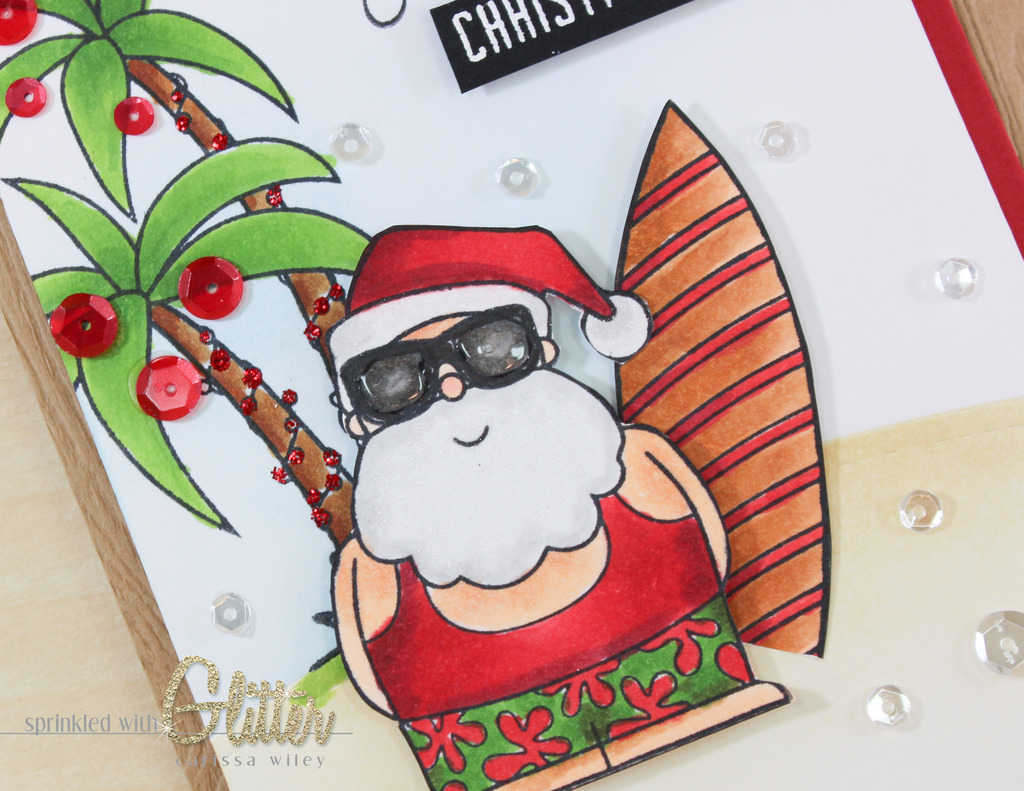
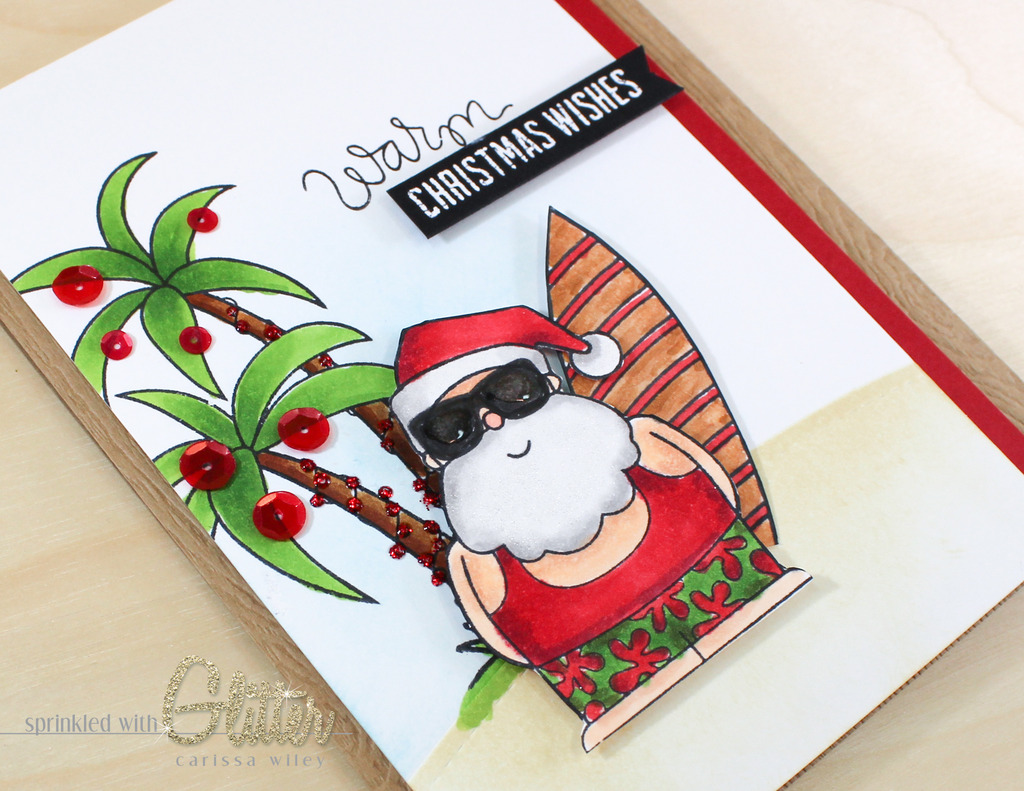
Hey everyone! I'm back with another card project for you today, featuring the Warm Christmas Wishes stamp set, which is a part of the Simon Says Stamp STAMPtember product line. I don't often do "scene" cards, but it was a lot of fun to use this super cool surfer Santa to create a fun "California Christmas" card. By the way, I created this in September, when it was a cool 103 degrees here in Cali.
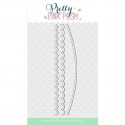
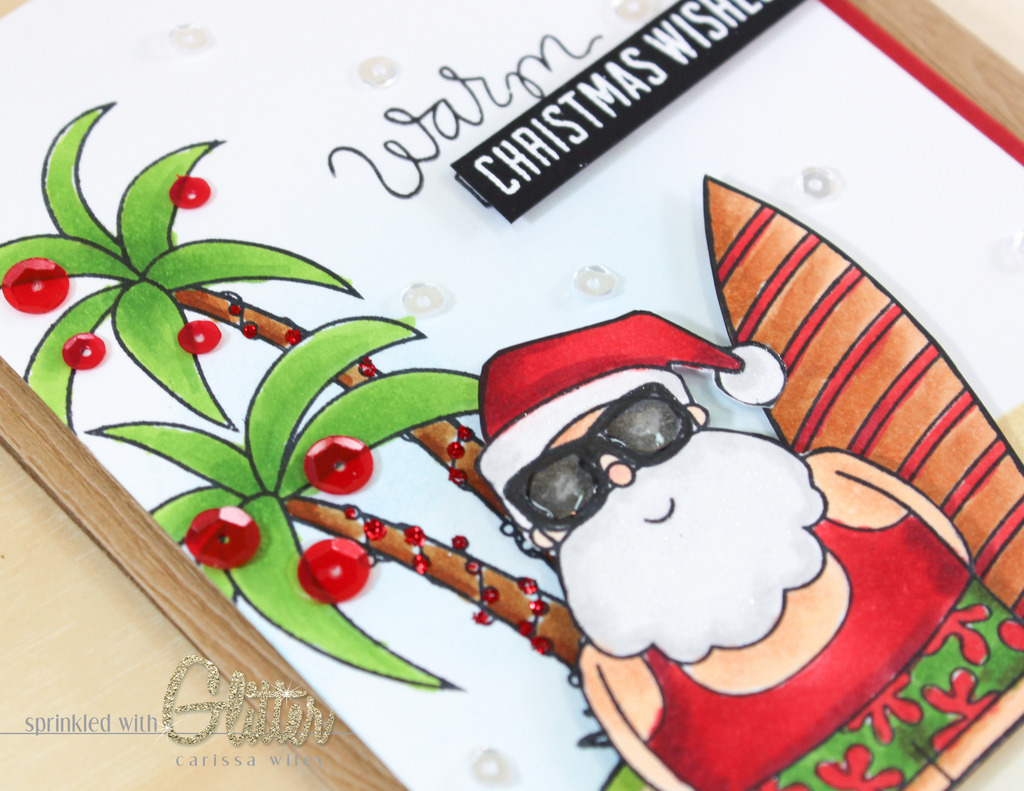
I did a little embossing on the front of my card using a Stitched Border die from Pretty Pink Posh. This is one of my favorite dies because it's so versatile here. I used it to create the separation between the beach and sky for my card front. The stitched line adds a fun detail to the card front that really comes alive when you add inking. I also used the same die to create a mask for the distress ink I added.
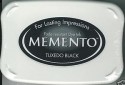
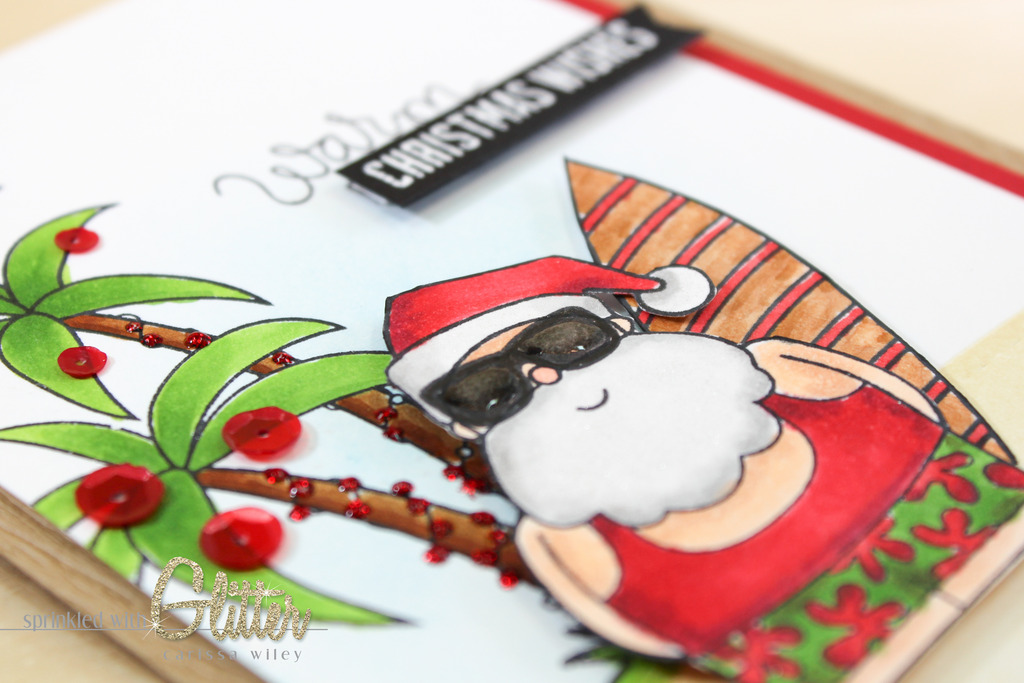
Once I created my backdrop, I stamped a few images from the Warm Christmas Wishes stamp set using Memento Tuxedo Black ink. This is my go to ink for Copic coloring. I stamped the palm trees right over the sky background I created. The ink is light enough that I can color right over it without a problem. I also stamped Surfer Santa and his board on a separate piece of Neenah Solar White.
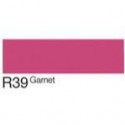
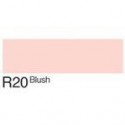
I left my Copic coloring in the video tutorial below and I'll attempt to talk you through my very simple Copic coloring technique. I like to add my lightest color to the area on my images where I want the color to be the darkest. Then, I add the darker color over that preshaded area. Once my darker area is colored, I go over the entire thing with my lightest marker to blend it out. You can add your lightest color over the entire image first if you choose, but I like this method (which I learned during the Copic Markers for Card Makers Class over at Online Card Classes) because by only having one layer of ink in the lightest areas, I get more contrast between my darker and lighter colors. At the very end, I add just a bit more of the dark color to the areas I want to be darkest (a tip I picked up from Jennifer McGuire, the genius that she is) to add just a bit more depth and contrast.
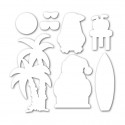
For my card, I fussy cut my images. But there are coordinating dies available if you like that idea better. I've linked the coordinating dies, along with all the other supplies I've used in this card project, below.
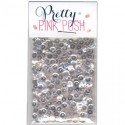
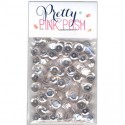
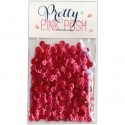
I added lots of sparkle with some Pretty Pink Posh sequins. I used my favorite Sparkling Clear sequins for snow. I realize it may not snow at the beach, but I thought it would be a fun touch. I also added some Raspberry sequins to the palm trees for ornaments.
If you prefer a simpler version, I also made this card sans snow. But I love sparkle, especially when we're talking Christmas.
For the finishing touches, I added some Christmas Red Stickles to the lights on the tree trunks and some glossy accents to Santa's shades.
I've included a video tutorial below walking you through the entire creation of this card. I've also linked the supplies below.
Let me know in the comments below if you prefer snow or sans snow. I'd love to hear what you think!
I hope you've enjoyed this fun Christmas card using some of Simon's fun new products for STAMPtember! I certainly found the coloring fun and therapeutic! And it's always fun to create something a little bit "out of your box"! Until next time, I hope you have a fabulous day!

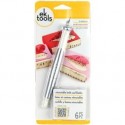
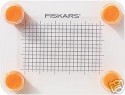
Supplies
*affiliate links used*