You Are Brilliant - Sparkle Distress Ink Blending
Hi everyone! Thanks for stopping by today! I have something really fun and super easy to share with you today! I'll be showing you an easy technique for sparkle blending with your Distress Inks. You're going to LOVE the results!
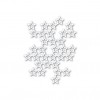
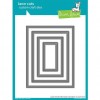
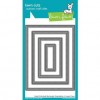
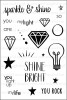
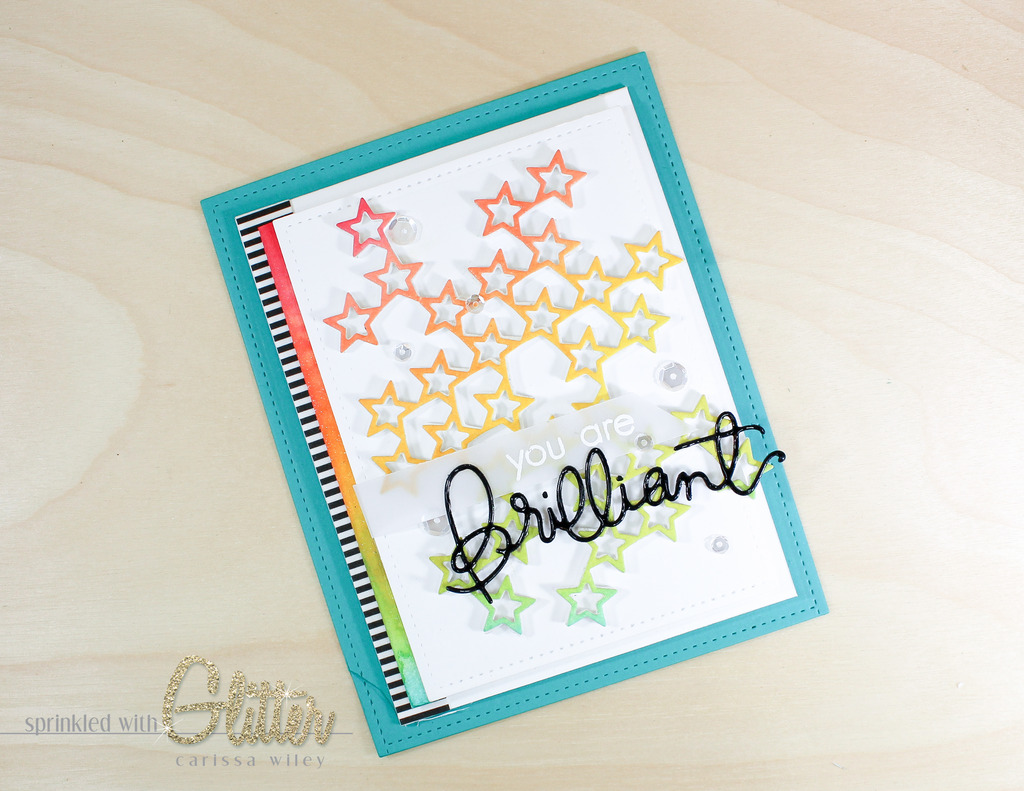
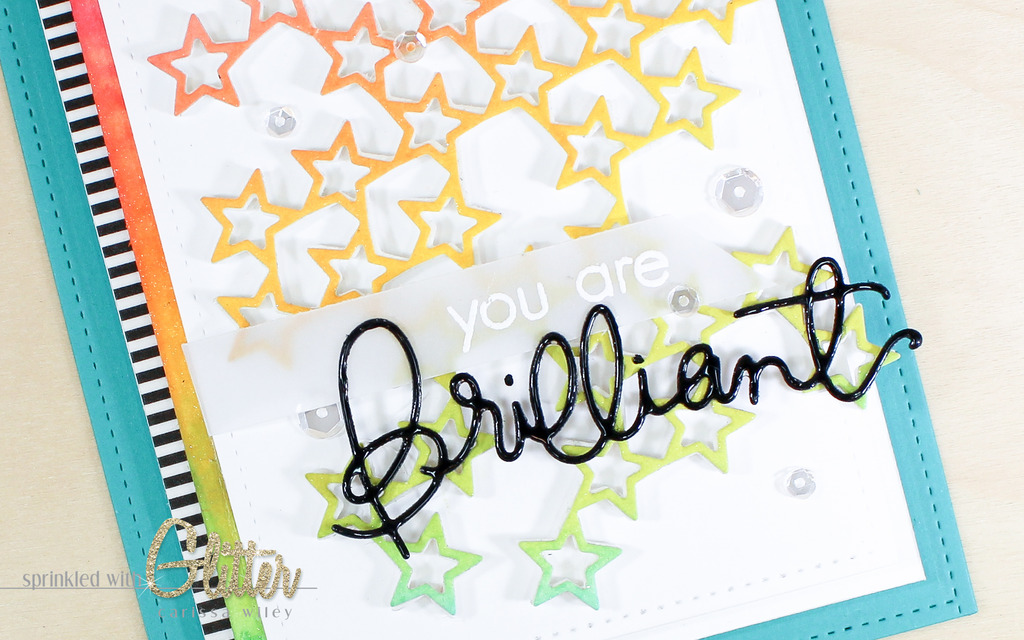
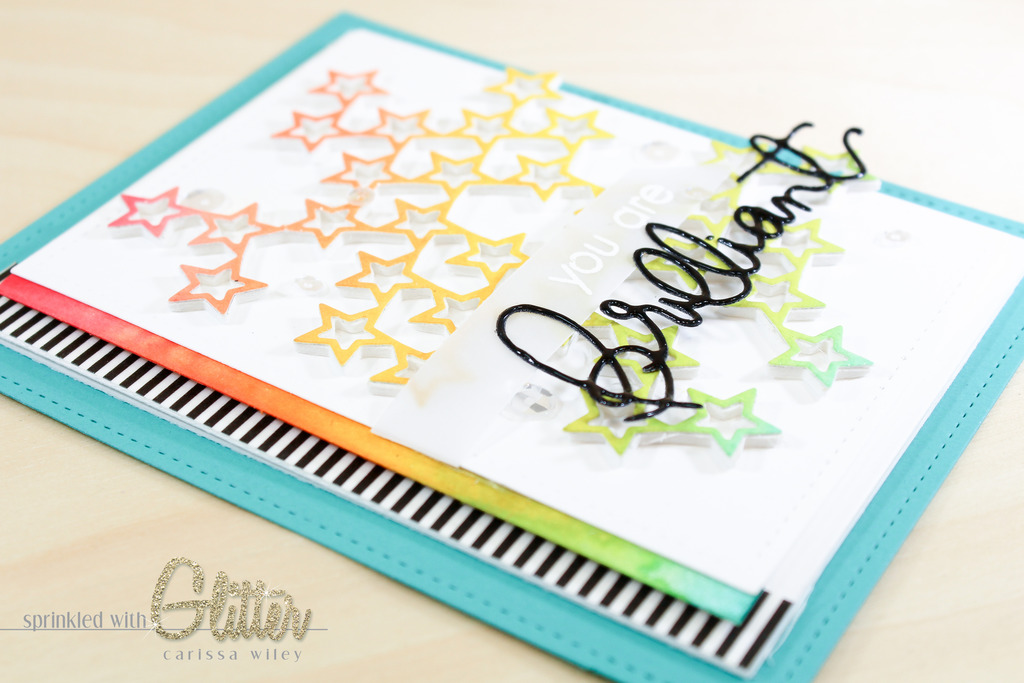
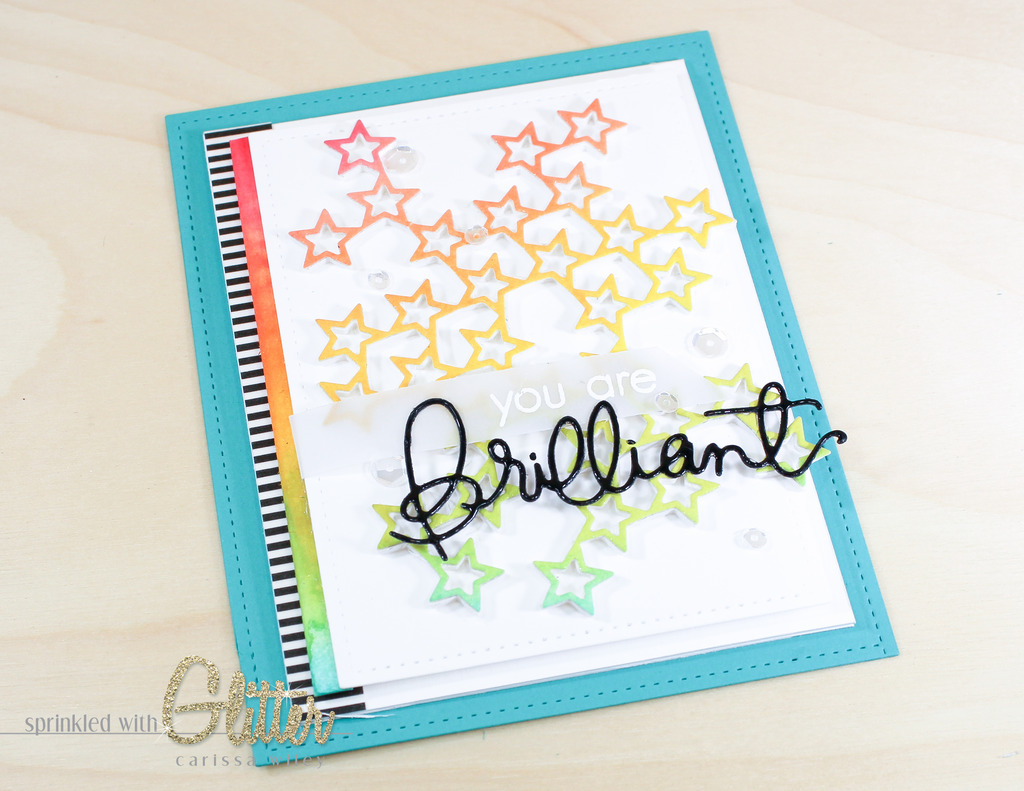
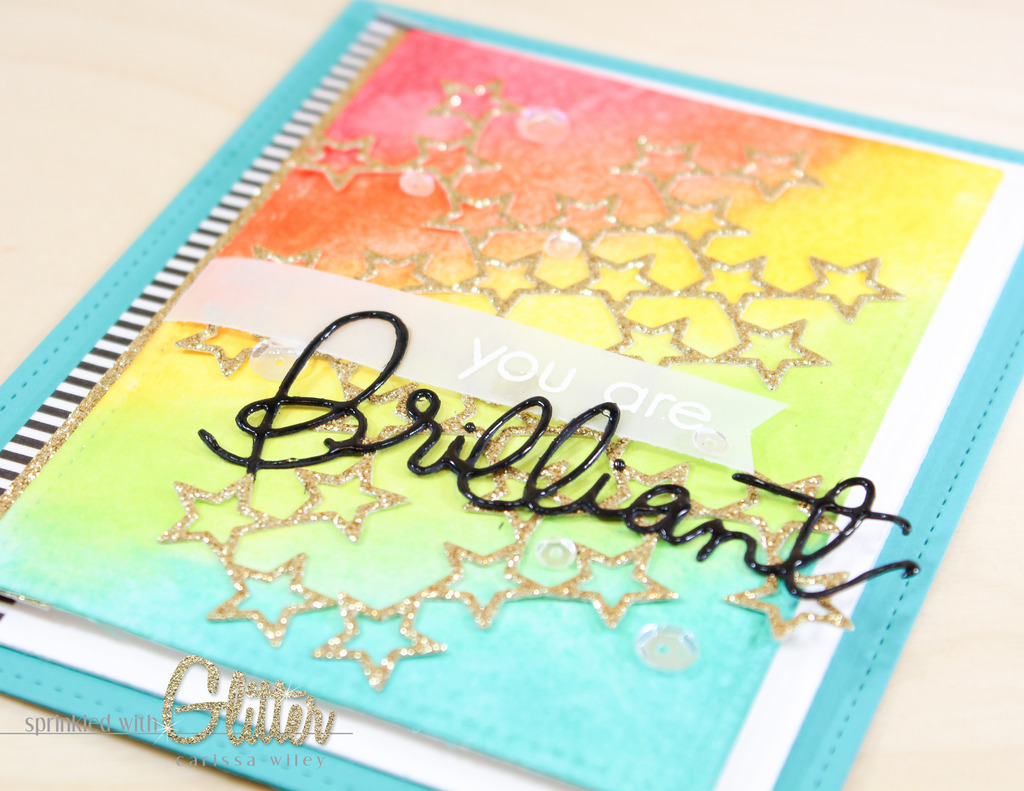
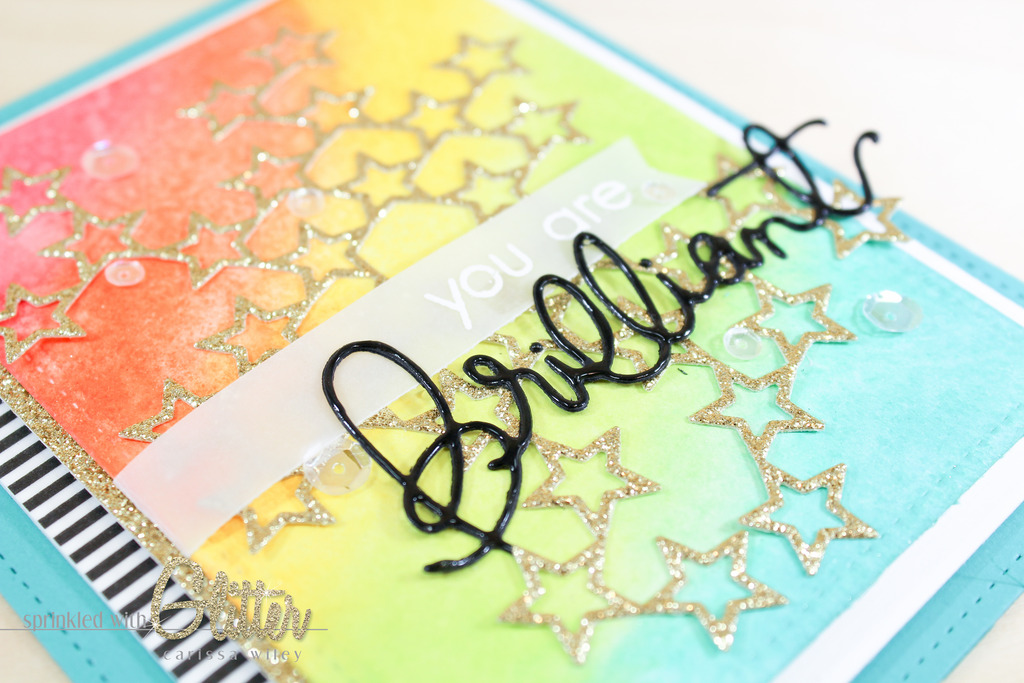
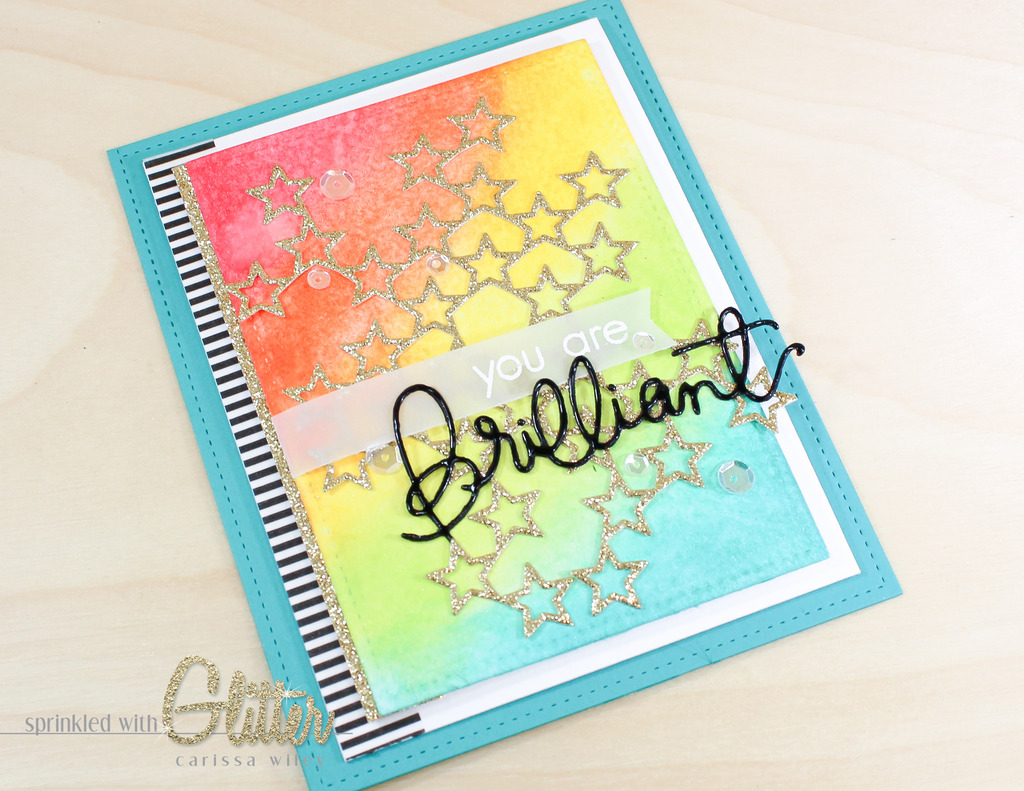
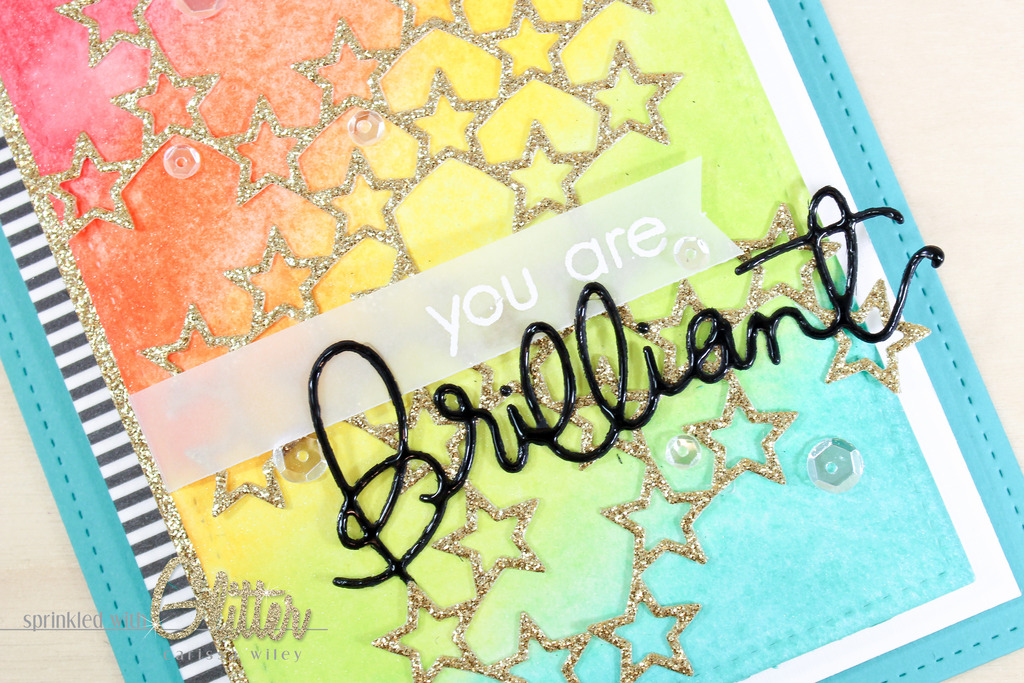
I'm using a couple of dies from Simon Says stamp for my focal images. The Stacked Stars die is from Simon Says Stamp's most recent release, Among The Stars. There are a lot of fun products in this release. You can check out the entire release HERE. I am also using another die from Simon...one that I didn't realize is now retired. The Brilliant die was released several years ago and I've had it in my stash for quite some time. Although you can't get this exact die, you can substitute another word die in its place.
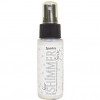
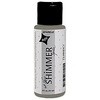
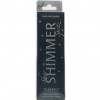
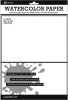
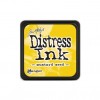
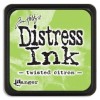
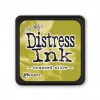
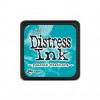
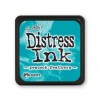
In order to create the sparkle blending effect on my card, I'll be using the Tsukenieko Sheer Shimmer Sparkle Spritz. I started by adding some Distress Ink in rainbow order on to some Tim Holtz watercolor card stock. I didn't take much time to blend the colors together, because the Shimmer Sparkle Spritz is going to do the work for us. Once I added all of the ink, I sprayed the ink covered cardstock generously with the Shimmer Spritz. This really gets the Distress Inks moving and makes them blend together. It's really easy...and the results are fabulous! You get perfectly blended colors with a ton of sparkle.
I'll walk you through this technique in the video tutorial below. Be sure to check it out!
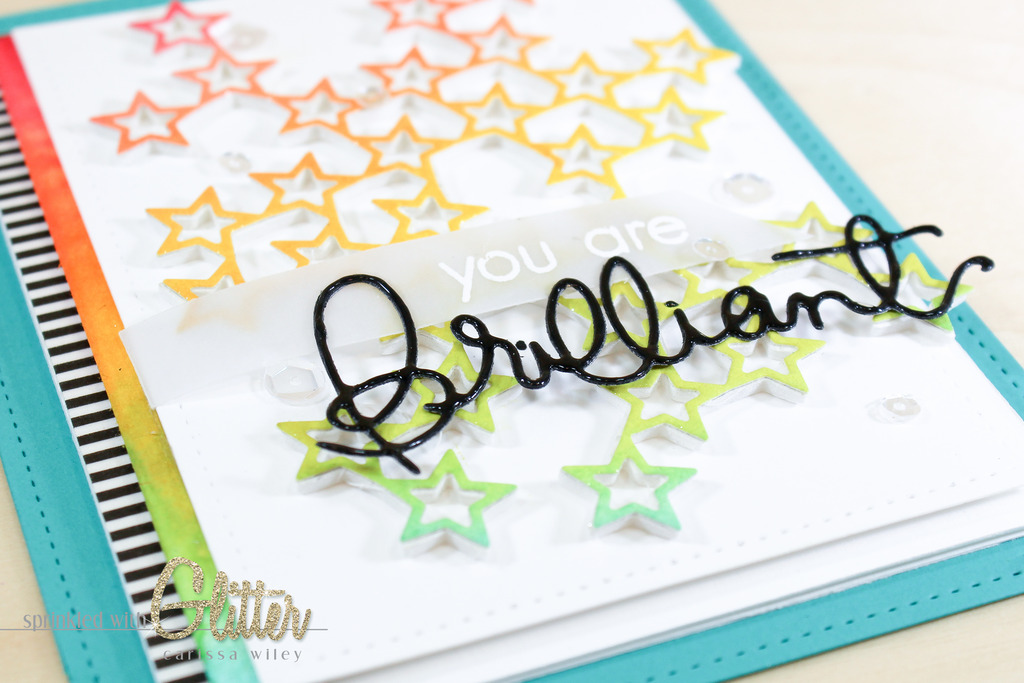
I added some fun foam behind the stars to create dimension. I love to add dimension to intricate die cuts like this!
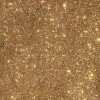
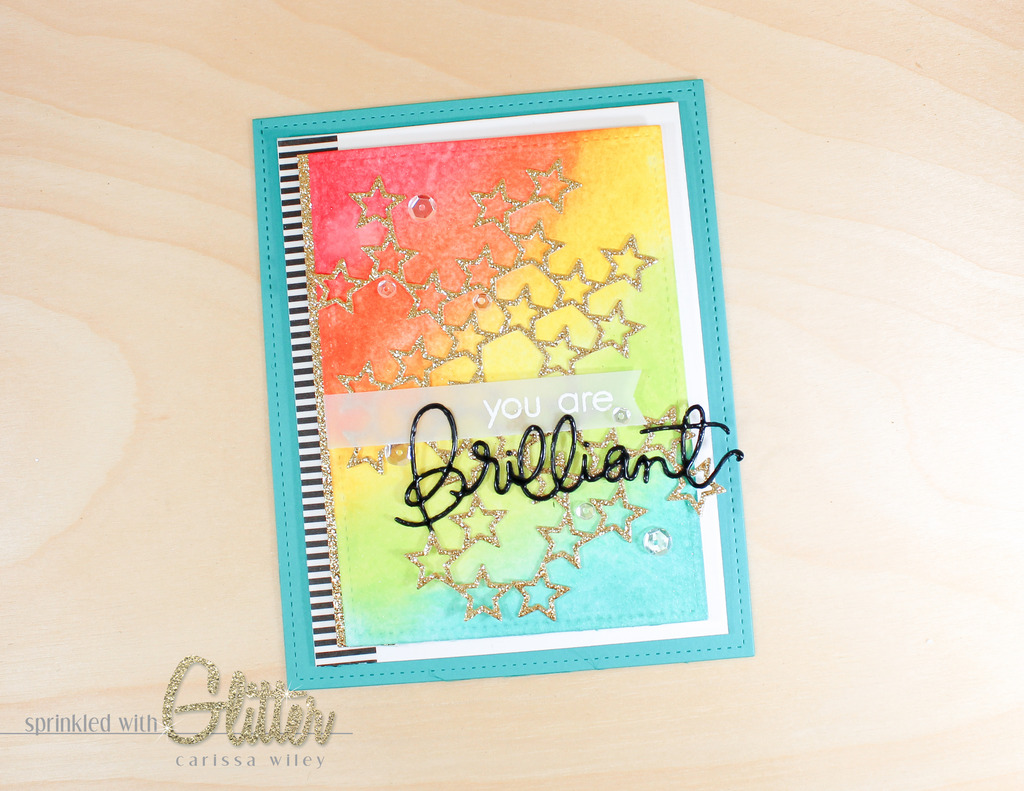
I actually ended up creating two cards with this technique. Both started with this sparkle Distress Ink blending. For the first card, I used the Stacked Stars die to cut out my watercolor card stock. For the second card, I left the panel as is and instead used the Stacked Stars die cut over the top...cut from gold glitter card stock, of course! I love both cards.
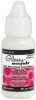
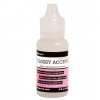
As if these cards weren't sparkly and shiny enough, I had to add a touch more. I added a layer of Glossy Accents over the top of the die cut sentiment. I love the dimensional effect you can get on these intricate die cuts by adding the Glossy Accents over the top. I also sprinkled a few Sparkling Clear sequins here and there.
Thanks for stopping by today! I hope you enjoyed these fun, sparkly and colorful projects. Stop by again soon! Until next time, I hope you have a fabulous day!
Supplies
*affiliate links used*