Glitter Planner Bookmark - Inside My Personal Size Filofax Malden
Hi everyone! I feel like it's been forever since I've posted here. Let me assure you, it hasn't been intentional at all...life has just been busy! But I'm here today to share a new planner related project with you...and a little bit about the new planner I'm using. I'll be sharing how to make the glitter bookmark I use inside my planner. It was by far, one of the most asked questions about the previous planner I was using.
I decided it was time for a little planner switch up. For me, this change was all about making my planner more portable. I had been using a junior size Levenger Circa system for a long time. You can see THIS post to see all about my previous planner. I truly LOVE the disc bound system. But the size and weight of my planner had me searching for something a little different. In the end, I settled on a personal sized Filofax.
I do want to take this opportunity to say that a planner for me is all about function. I used it to schedule my life. I also use it to sketch ideas for my blog, keep track of work projects and manage home projects. I decorate a little bit...but mostly, this planner is my life on paper. And I need it to function well more than look cute. Looking cute is a bonus.
This change didn't come without its challenges. There was a bit of a learning curve. It's a big adjustment to go from a 5 1/2 x 8 1/2 insert to a 3 3/4 x 6 3/4 size insert. I had to adjust my appointment stickers (view my how to create your own planner stickers post HERE) and my handwriting to accommodate this change. But when all is said and done, I love the portability of this new planner.
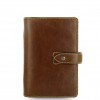
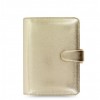
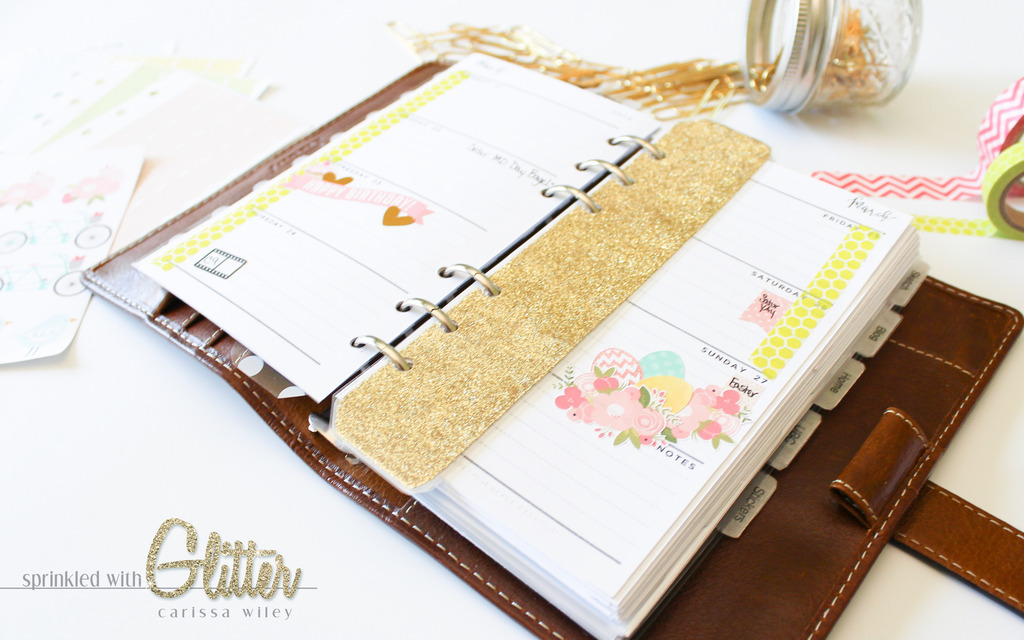
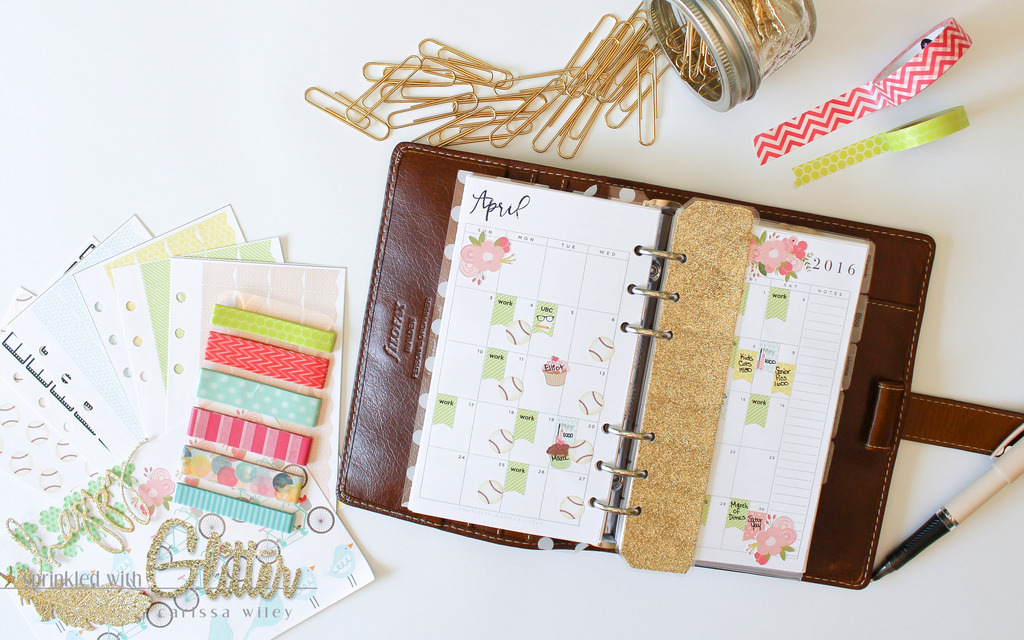
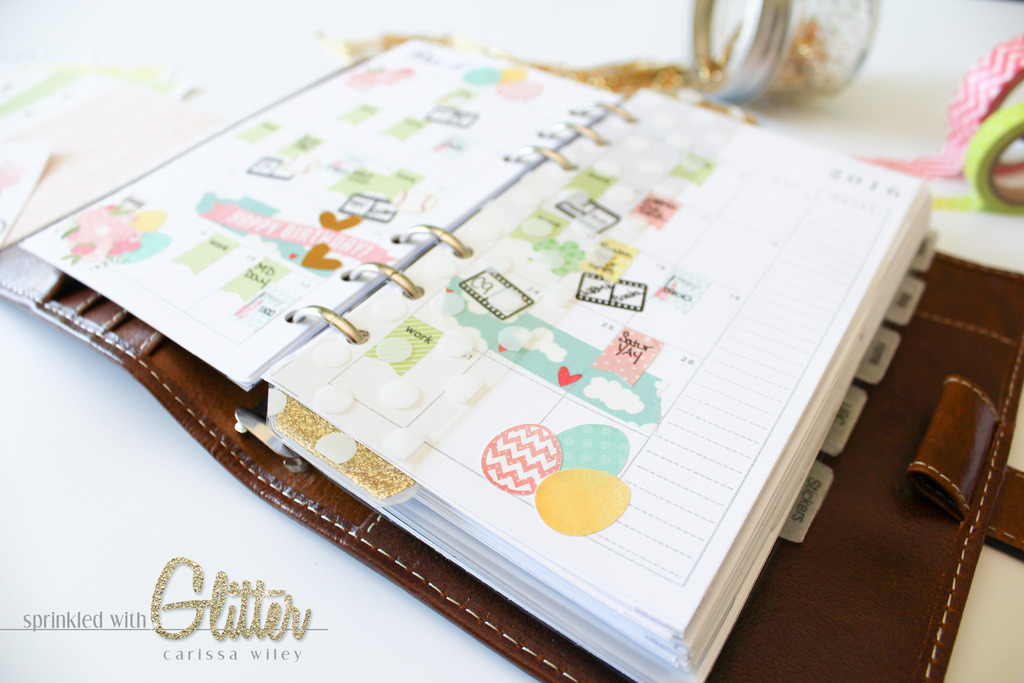
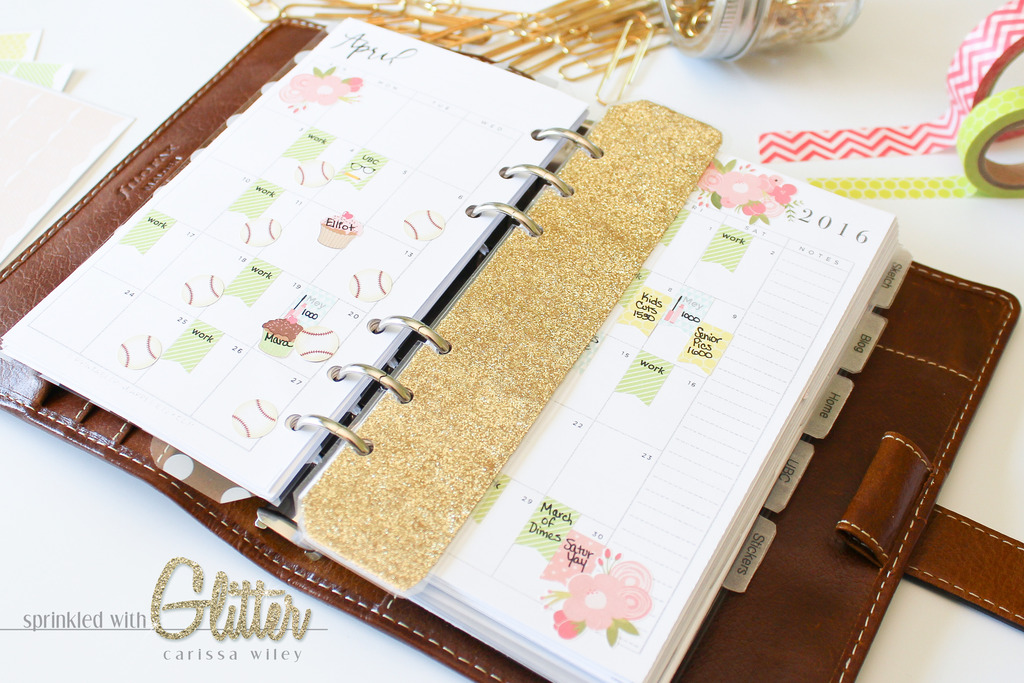
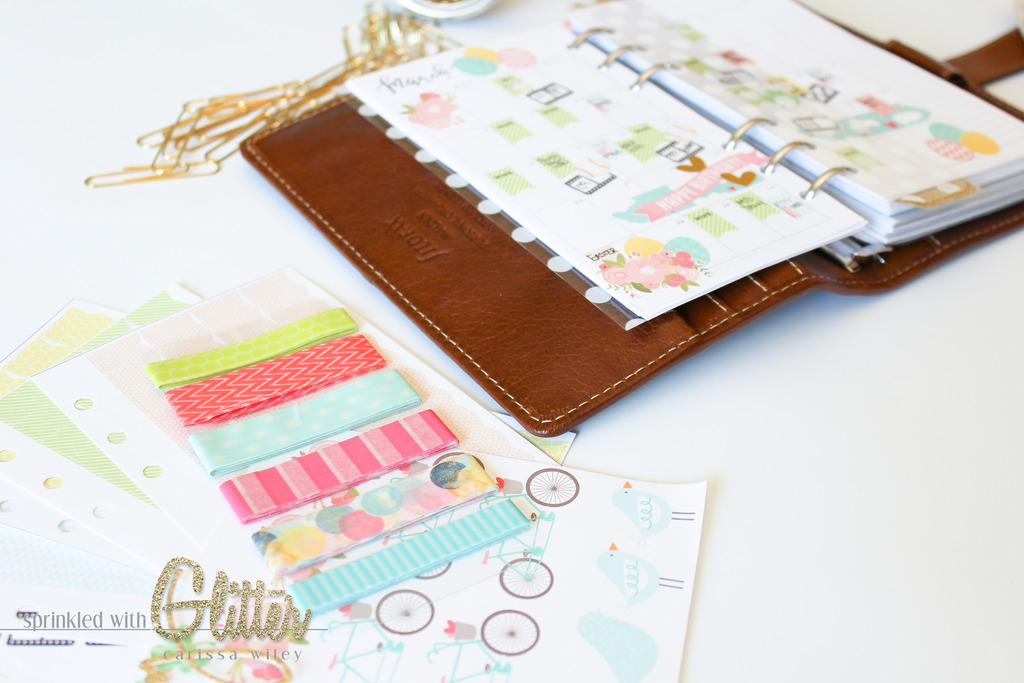
The planner I chose is the personal size Filofax Malden in ochre. Love the classic brown leather. It has a well worn feeling...like it's something that I've owned and used for years. And the leather is so soft. I've also purchased the personal sized Filofax Saffiano in gold, but haven't used that yet because I'm really enjoying the feel, smell (yes I said smell) and flexibility of the Malden.
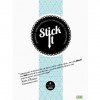
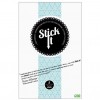
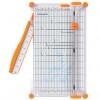
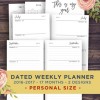
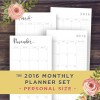
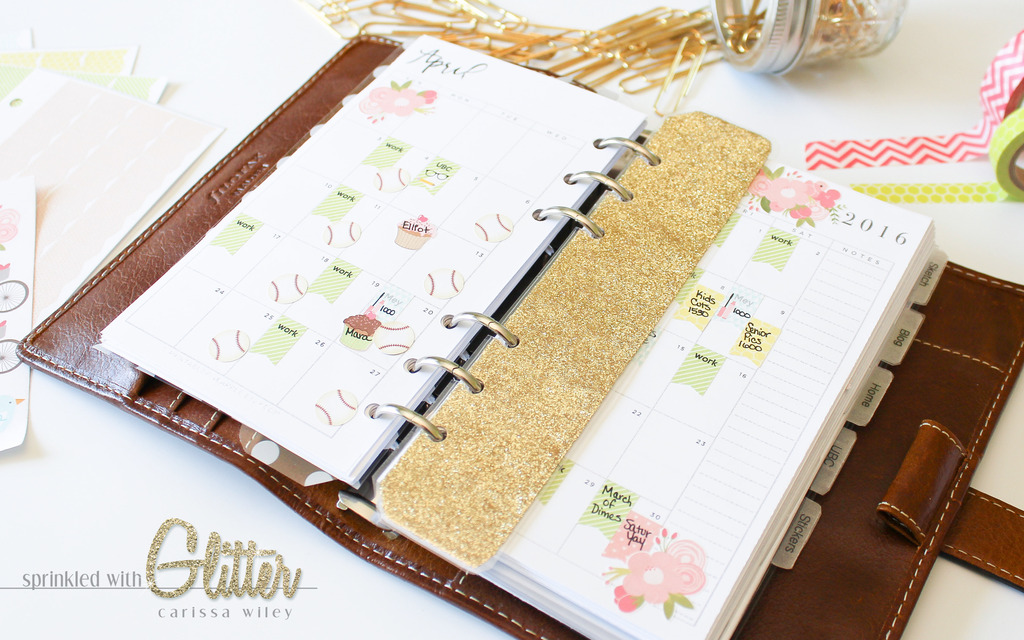
I purchased some printable inserts for my planner on Etsy. I found some simple, minimalist inserts from the Printable Pineapple. I printed them on the MOST AMAZING printer paper ever. I knew I wanted a nice heavyweight, smooth, bright white paper and I FOUND IT! I'm kind of a paper snob ;) and I knew I wanted a paper that would prevent bleed through. I used the HP Premium LaserJet Paper. It's a 32 pound paper. It's thick. It's smooth. It's bright white. It's pure perfection. By the way, I've linked all of this stuff below. I also cut them with a large paper trimmer, the Carl DC-210.
Once my planner was all set up, it was time to really make it my own. My glitter bookmark in my previous planner was one of my favorite things. So, I decided to make one for my new planner as well. After all, I just couldn't imagine using that brown bookmark that came with the planner. GASP! That would be tragic!
I'll walk you through how I created this gold glitter bookmark in the video tutorial below.
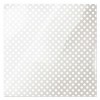
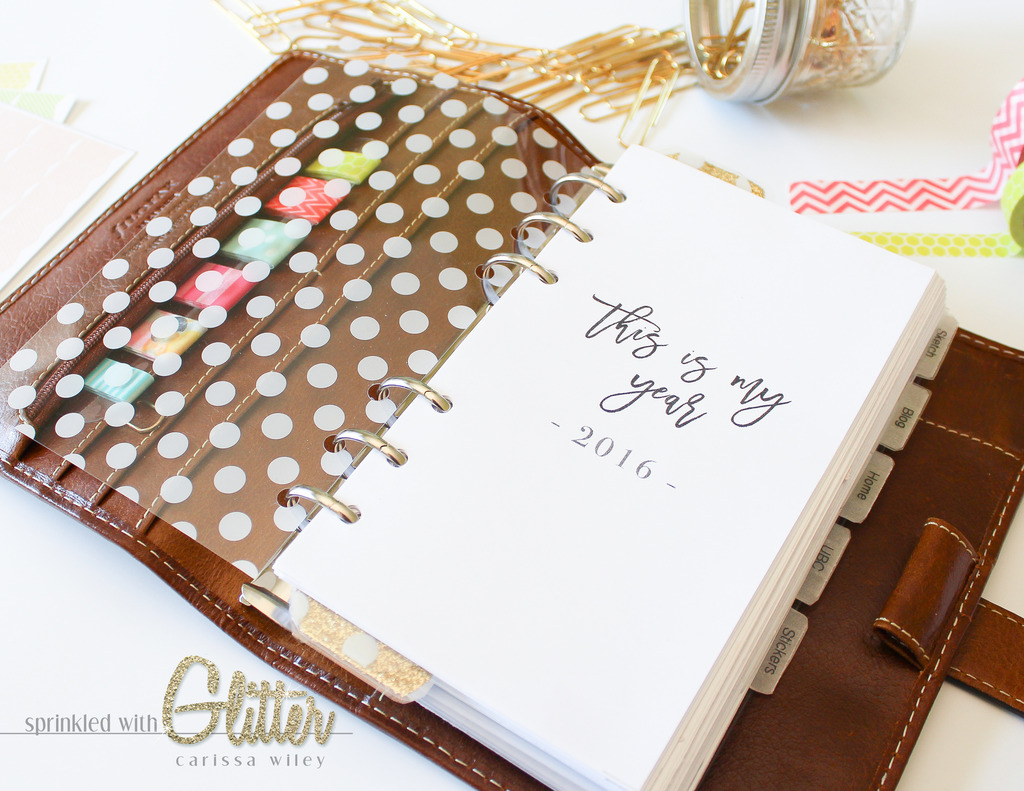
I made a couple of other accessories for my planner as well. I used some We R Memory Keepers polka dot acetate to create a dashboard for the front of my planner, as well as another bookmark. I also created a bookmark out of laminated vellum. LOVE the look of the laminated vellum. In fact, I made some dividers out of it as well....and have a video tutorial planned for that too!
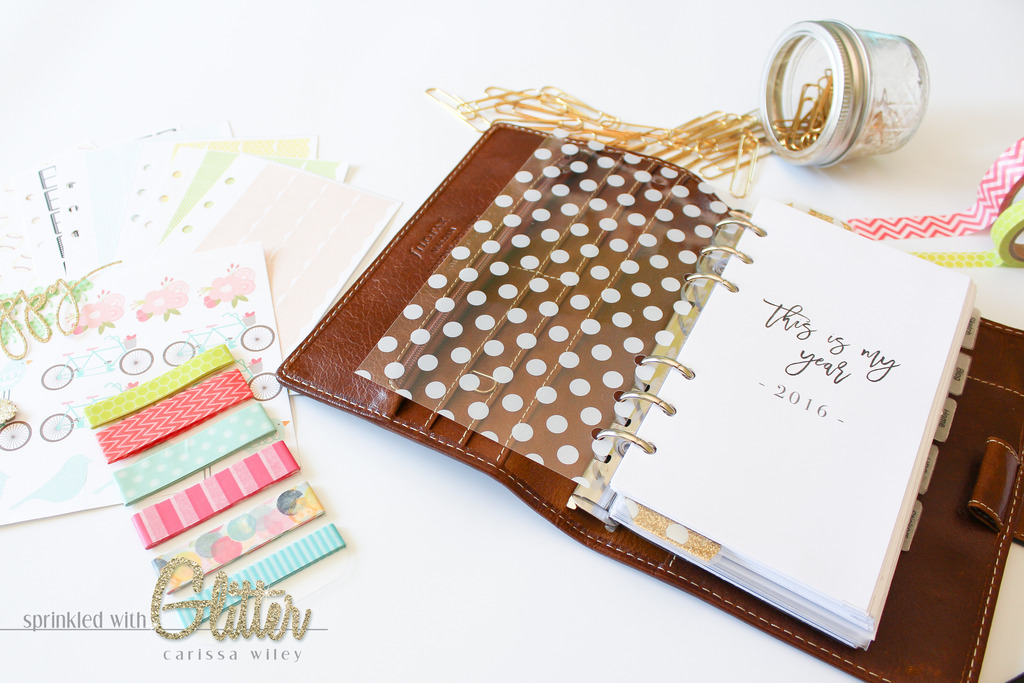
One of everyone's favorite planner supplies is washi tape. But those rolls can be a little difficult to tote around. I cut down a piece of acetate to fit inside the front pocket of my planner and have wrapped some of my favorite washis around the acetate. This allows me to take some washi with me. It's a quick and easy project too!
I also wanted to let you know, that since my planner sticker video, I have found the most amazing sticker paper. It's from Label Outfitters. It's a nice bright white. And the adhesive is truly reposition able. LOVE IT! I've linked it below if you want to check it out!
Don't worry...I'm not going to go all planner all the time. But I love to share about my planner because it is something I really enjoy AND it keeps my life very well organized. Being organized is key to accomplishing all that I need to accomplish!
I hope you've enjoyed this project, as well as some insight in to my new planner. I'd love to hear what helps keep you organized. I'd also love to hear if you enjoy these posts about my planner every now and then. Do you use a planner? Do you want to know more about mine? If so, what exactly would you like to know? Leave me a comment below. I can't wait to hear from you!
Thanks for stopping by! Until next time, I hope you have a fabulous day!
Supplies
*affiliate links used*

