Handmade Tags In A Hurry - Shortcuts For Creating Homemade Gift Tags
Hi everyone! This time of year is very busy for all of us! I love to add handmade tags to my gifts, but I have very little time to make this happen. Today, while on call for work, I decided to whip up some handmade gift tags...in a hurry. And I'll give you some tips for creating your own gift tags in a hurry.
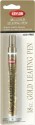
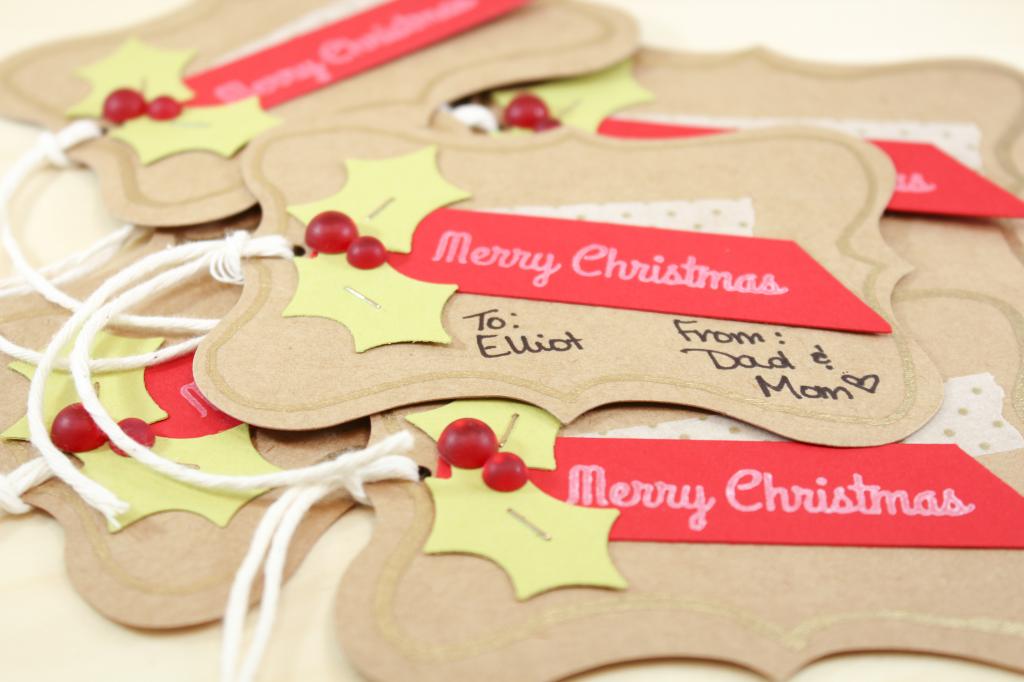
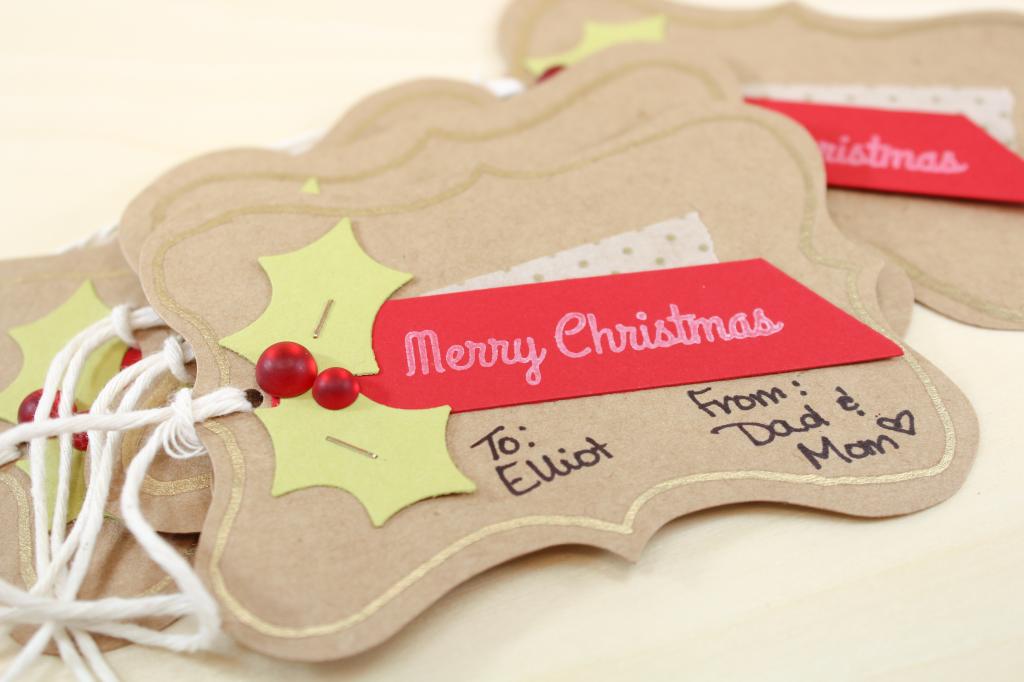
I started with some pre made gift tags. I picked these up at Michaels. I love the shape and the color coordinates with the wrapping paper I have chosen this year. I thought it would be fun to accentuate the shape with a little gold detail. I used the Krylon 18K Gold Leafing Pen to trace around the edge of my tags. Don't worry if it's not perfect! It's a handmade tag...and the doodle adds to the handmade feel!
I added a sentiment from the Holiday Hellos stamp set from Simon Says Stamp. I stamped it on red card stock in white pigment ink. If you want a really vibrant white, you can heat emboss the sentiment. I was saving time...and the chalky feel of the ink adds a rustic touch to my tags and fits in with my wrapping theme this year.
I wanted to add some pattern to these tags, but cutting and adhering a bunch of patterned paper strips was a bit time consuming for my day today. Instead, I chose a washi tape. This way, I could quickly add pattern, and save myself the cutting step by just tearing off a piece and adhering it directly to my tag.
I have a video walking you through the entire creation of these tags below. I've also included links to the products used in this project below. Just click the product to link directly to the web page.
Here's some tips for quickly creating handmade tags this year.
- Use pre made tags. This will save you the step of cutting them!
- Add pattern using washi tape. This saves you the step of cutting and adhering patterned paper to your tags. You can quickly stick and tear washi to any tag or card project, adding color and pattern in one quick step.
- Cut and stamp in multiples. I used a die that cuts several holly leaves at once. And when trimming my card stock, I did it two sheets at a time. This cuts my cutting time in half! I also did all of my cutting and all of my stamping at the same time.
- Use staples! Play up that handmade feel with a few staples from your Tiny Attacher. I used this to create veins on my holly leaves and adhere the leaves and sentiment piece to my tag in one easy step.
Supplies
*affiliate links used*