Ombre Embossing - Altenew and Pretty Pink Posh Collaboration Blog Hop
Hello everyone! Welcome back! Today I'm participating in The Altenew and Pretty Pink Posh Collaboration Blog Hop. There will be all kinds of projects featuring stamps from Altenew along with sequins and dies from Pretty Pink Posh. I'll include the entire hop list below so you won't miss any of the fabulous inspiration in store for you. And if you ever get lost along the way, you can always start from the beginning over at the Altenew Blog. If you've come to me from Yoonsun Hur's blog, you're hopping along just fine.
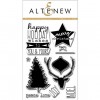
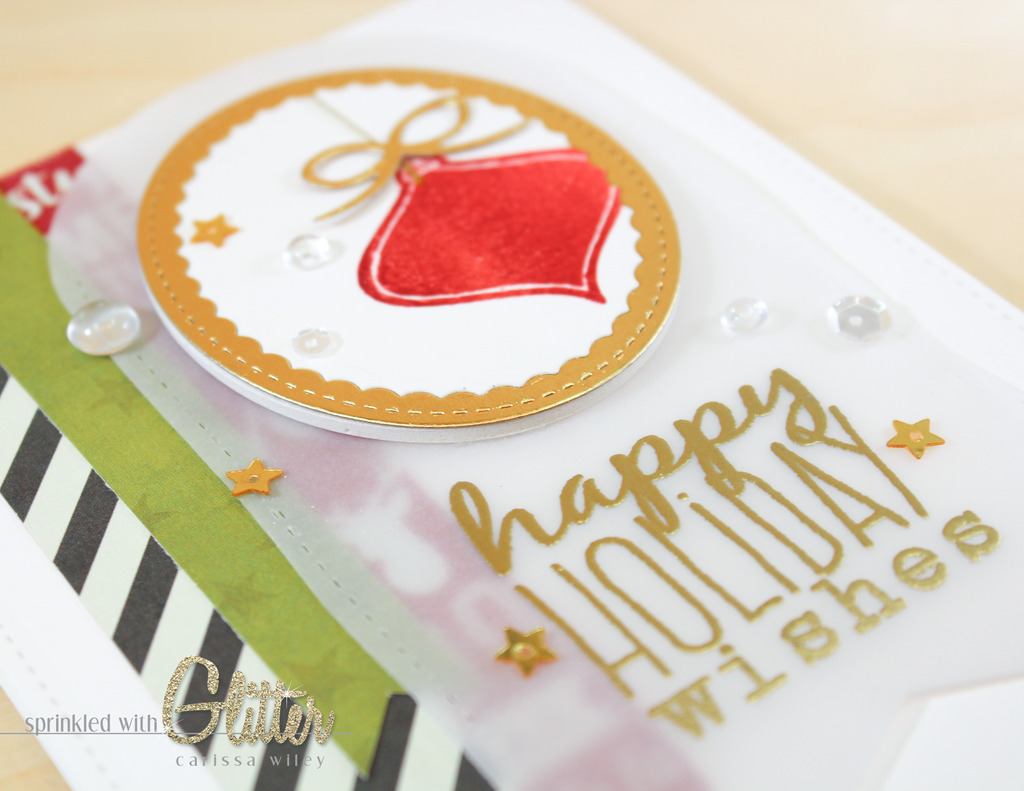
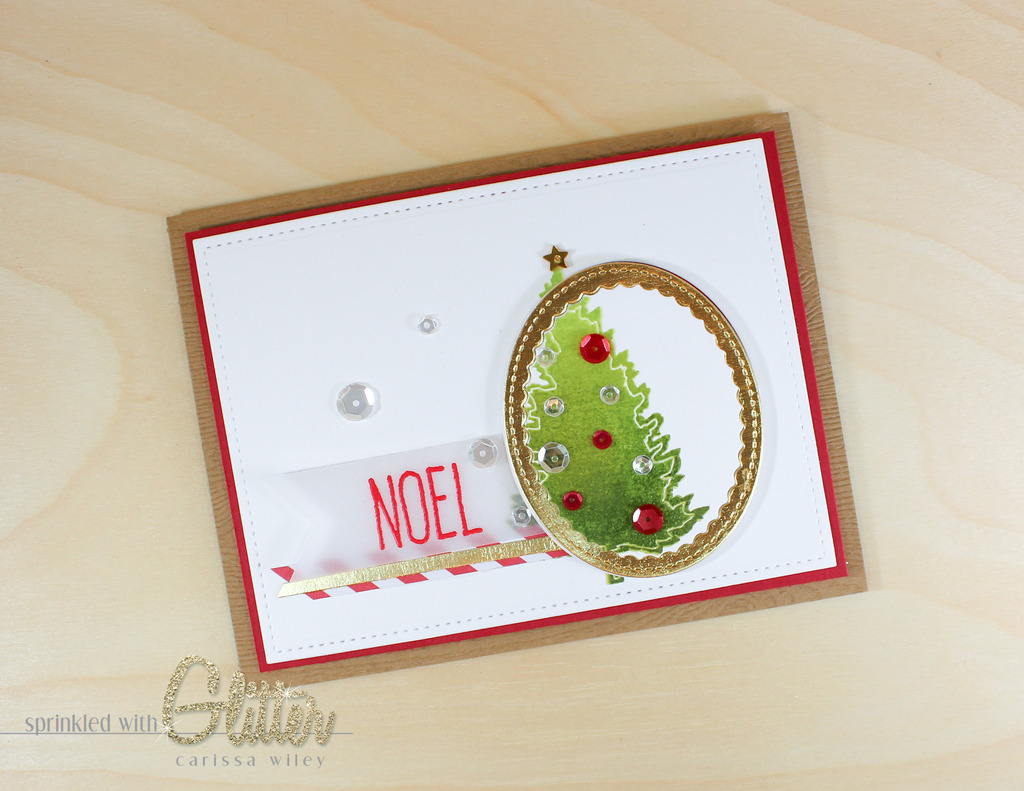
I've created two projects using the Festive Silhouettes stamp set from Altenew and the Decorative Label die from Pretty Pink Posh. I'm going to show you how you can do a little ombre embossing with these images. The solid images are perfect for this technique. I have a video tutorial walking you through the creation of both of these card projects below.
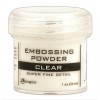
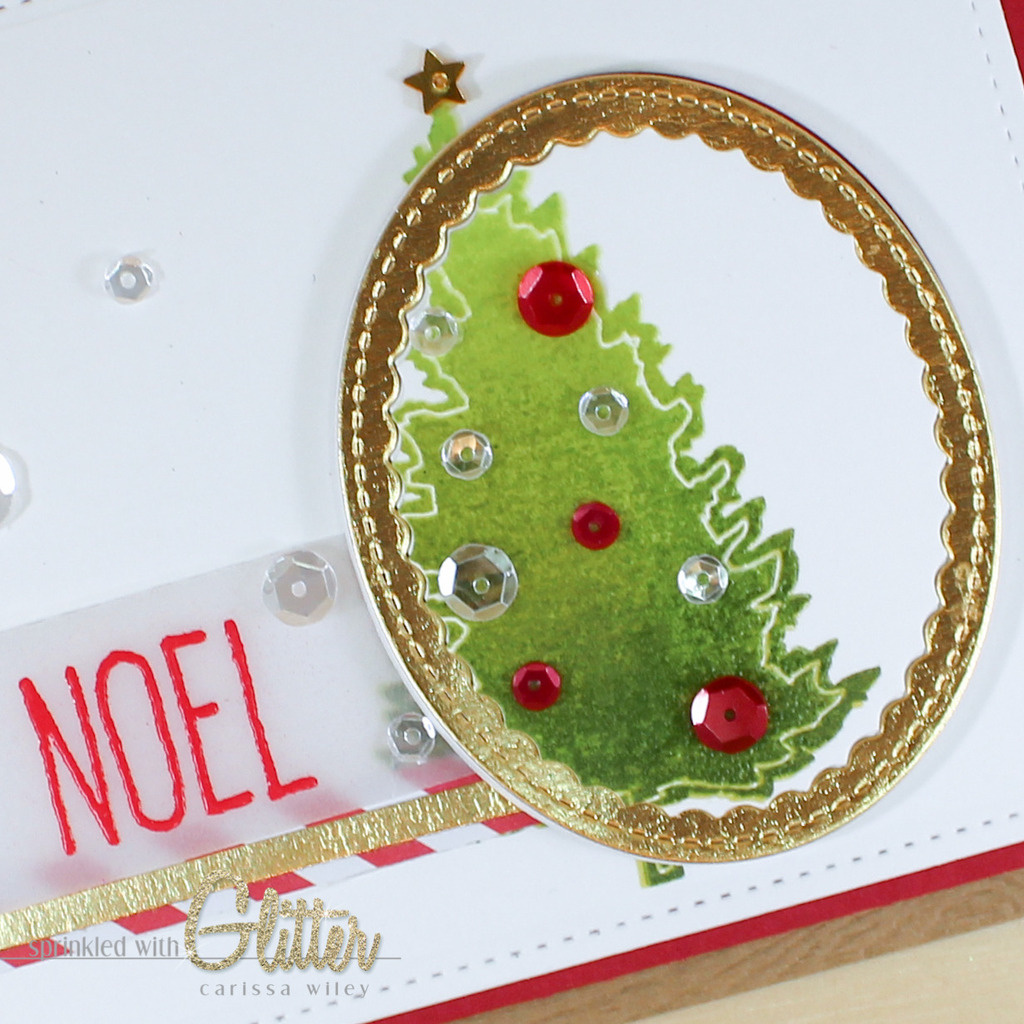
I started by stamping the tree image in the Hero Arts Green Ombre dye ink. I hadn't initially planned on embossing these images...but quickly decided they would be even more gorgeous with a layer of clear shine over the top. I cleaned my stamp and then inked the image in Versamark ink and stamped directly over the top. Then I added a layer of clear embossing powder and heat embossed.
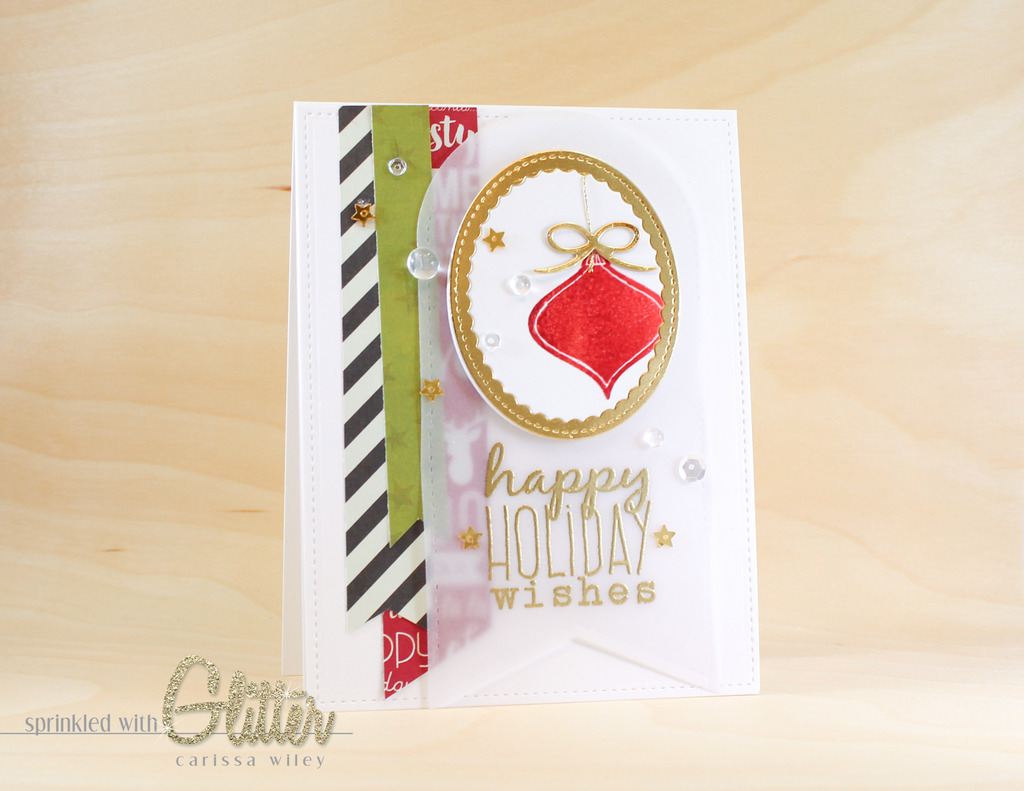
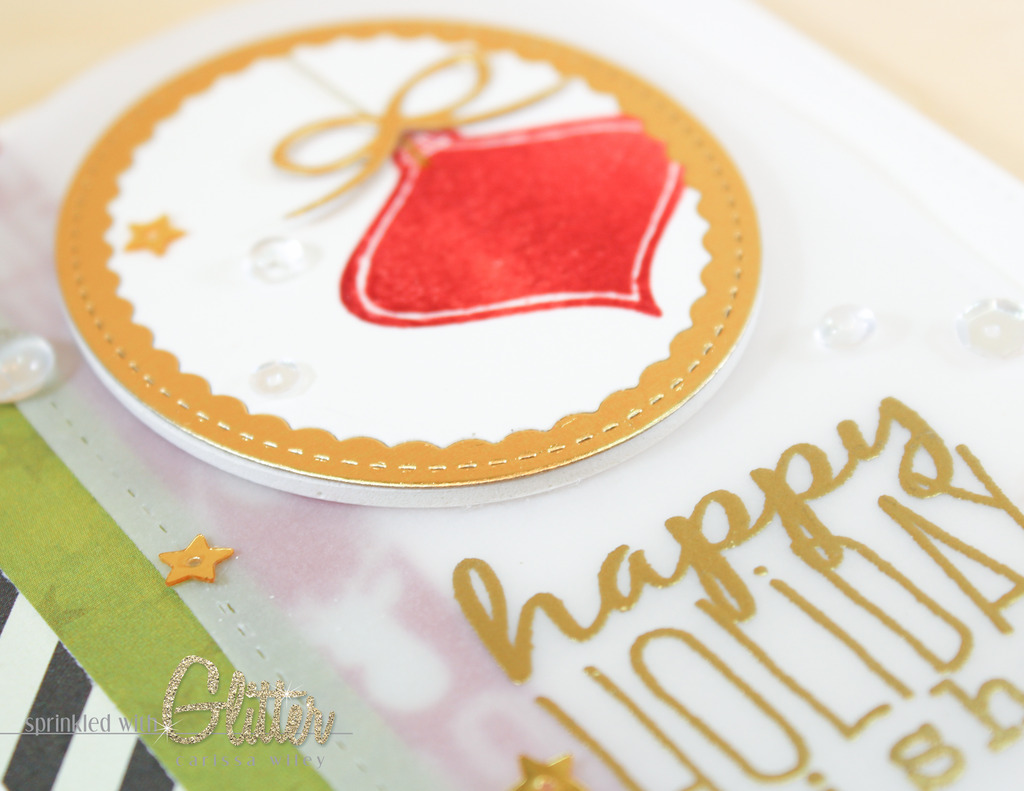
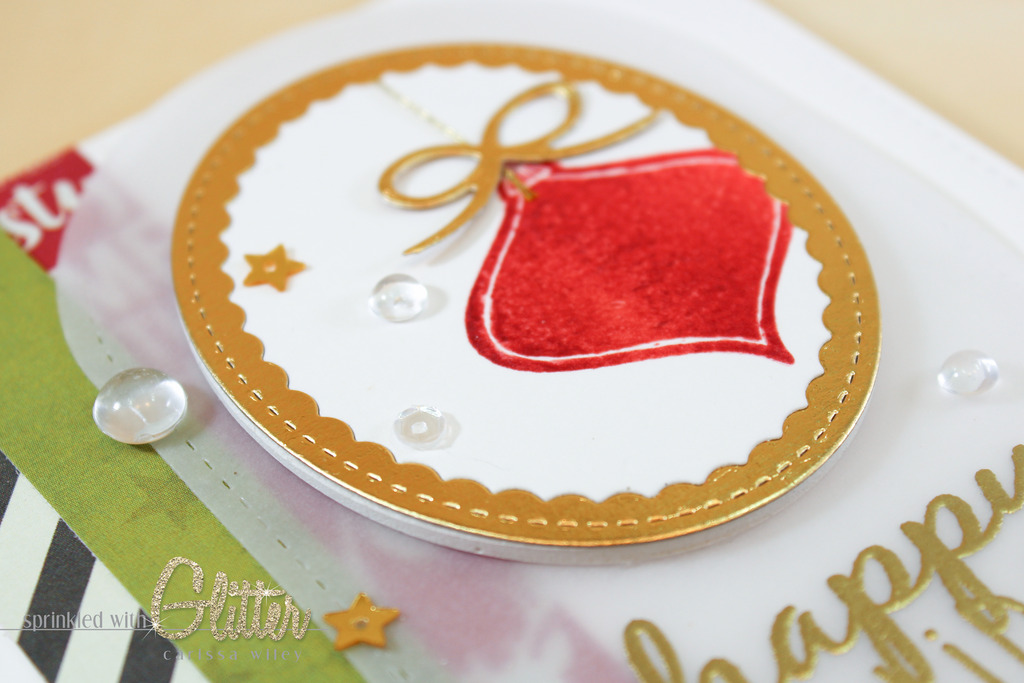
You can also start by inking your stamp with Versamark ink and then, without stamping first, ink your stamp with the ombre ink. I used this method in my second card with the ornament stamp. Don't worry, this won't mess up your ink pad. And this is a great way to use your dye ink pads for embossing. Once you have both layers of ink on your stamp, you can stamp your image on your project and add your embossing powder.
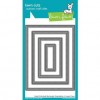
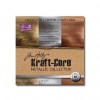
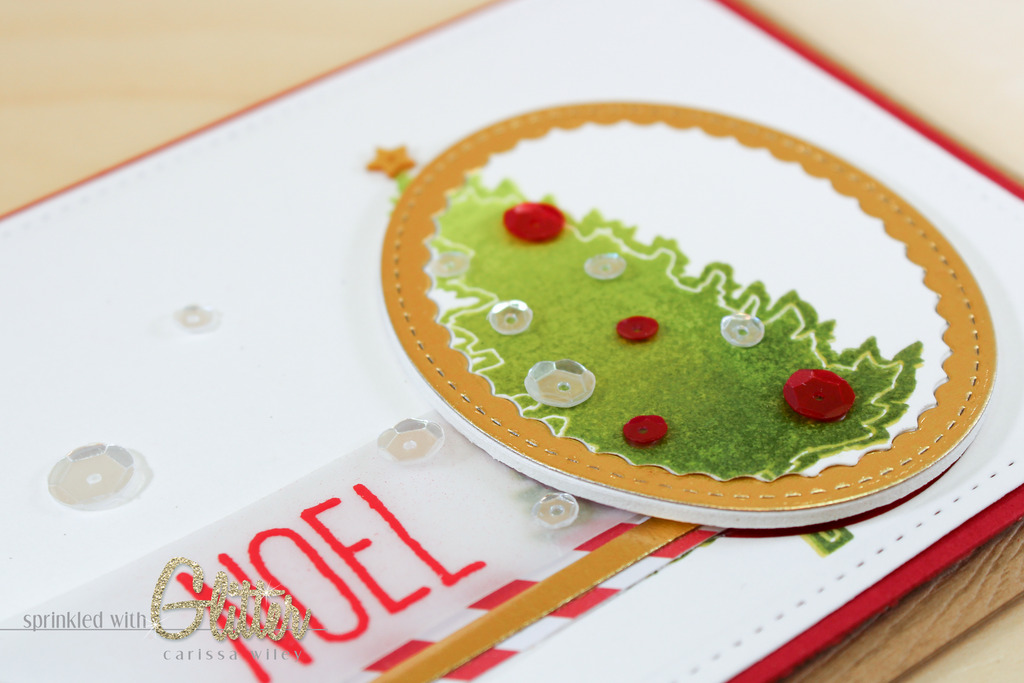
I used the Pretty Pink Posh Decorative Label 1 die to cut these images out. I offset the images slightly to add more interest. This also allowed me to spotlight the tree image. Part of the stamped image is on the card front and the other is framed and popped up, really bringing your eye to the tree image. I also used the Decorative Label Die to cut a gold frame for both images out of some Tim Holtz Metallic card stock. This adds an elegant touch to the cards.
To add dimension to the oval and frame pieces, I used a method I've been finding very useful lately. I added a layer of Stick It adhesive to a piece of fun foam and then added card stock to it. I then ran this card stock/fun foam combo through my die cut machine using my regular cutting sandwich. The cardstock layer keeps the fun foam from stretching out as you run it through the die cut machine. I've found that when I run the fun foam through on it's own, it stretches out and then doesn't quite fit the die cut perfectly. By adding the card stock layer, the fun foam is held in place and fits the die cut pieces perfectly.
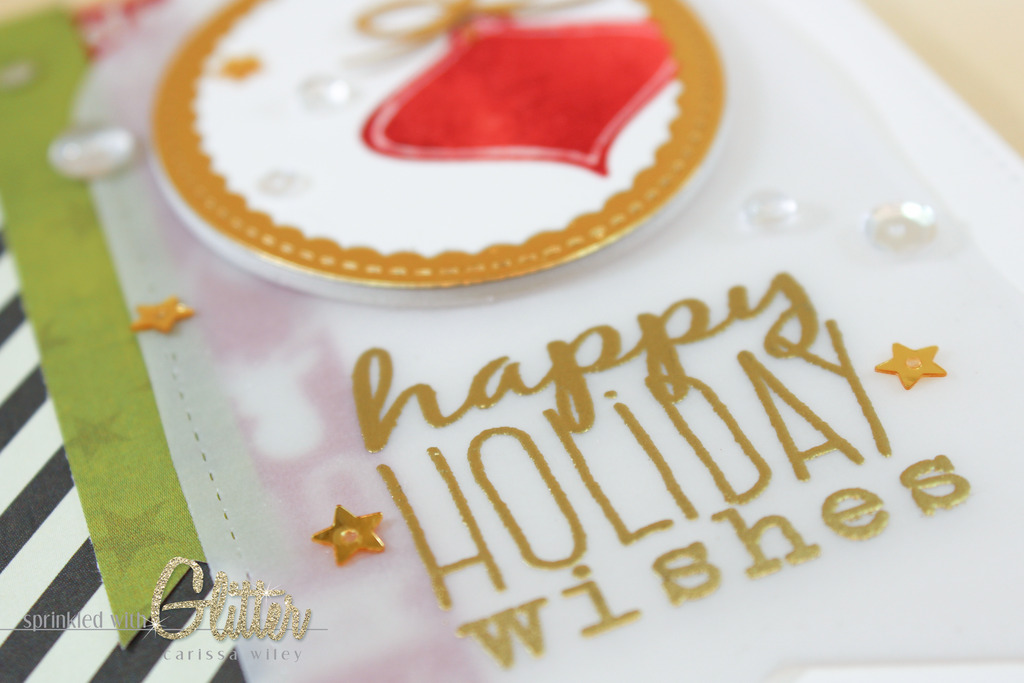
I also used the PPP Stitched Banner Duo 2 Die to cut a banner shaped backdrop for my focal image on the ornament card. The banner on its own was not quite large enough, so I did a little partial die cutting to make this shape longer. I'll show you exactly how I did this in the video tutorial below. The was also a great place to gold heat emboss my sentiment. I did a little stamp surgery to shorten up the stamped sentiment. This allows me to use the stamp as it was originally designed, or in segments. If you're not comfortable cutting your stamps, you can also mask your stamp to achieve the same look.
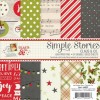
I chose some patterned papers from the Simple Stories Claus and Co 6x6 paper pad to layer up on this card. This just might be my favorite Christmas paper pad yet. I love the traditional colors and patterns mixed with some more modern patterns and colors as well. I may or may not have purchased 5 of these 6x6 paper pads. I have a feeling you'll be seeing me use this patterned paper a lot this year! ;)
I finished off both cards with some various embellishments from Pretty Pink Posh. I used some of the new clear droplets, along with some sparkling clear sequins and the adorable star sequins. These little stars are a little different from the star confetti. They are smaller and have the traditional sequin hole in the middle. They also made the perfect star for the top of my Christmas tree. I also embellished the Christmas tree with some Raspberry and Sparkling Clear sequins.
So there you have it, two fun projects for you! And there's more inspiration coming your way. Just head on over to Yana Smakula's blog to continue along the hop. Be sure to leave a comment at every stop along the way. There will be 2 $30 Pretty Pink Posh gift certificates and 2 $30 Altenew gift certificates given to winners chosen at random from the comments throughout the blog hop. Be sure to leave your comments by October 26th at 11:59 PM EDT to be entered to win! Good luck!
Don't forget! I've included a video tutorial below for your viewing pleasure. I've also included links to all the products used in these projects below.
Thanks for stopping by today! I hope you've enjoyed these projects. And until next time, I hope you have a fabulous day!
Supplies
*affiliate links used*


