Tis The Season - Adding Snow Effects
Hi everyone! Welcome back! Today I wanted to share a little more detail on a couple of the projects that I created for the Essentials By Ellen Holiday II Release Blog Hop. If you missed that, you can see that post by clicking HERE. I got a lot of comments on the car cards and the snow effects, so I'm here to show you exactly how those projects came together. I'll show you how I added some snow effects to my stamped images and give you some tips on coloring with the Zig Clean Color Real Brush Markers.
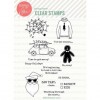
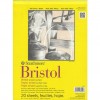
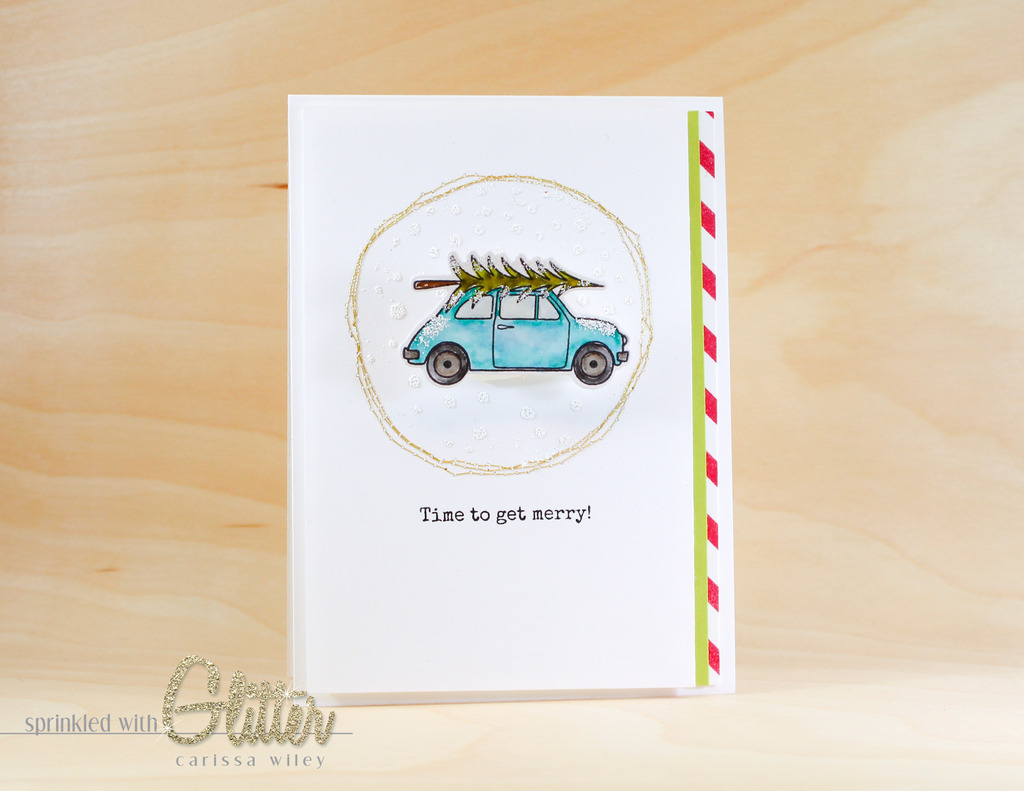
I'm using the Tis The Season stamp set from the Essentials By Ellen Line. I adore this little car. And now that there are coordinating dies, there are lots of fun things you can do with this little car. I used some Hero Arts Black Dye Ink to stamp my image. This ink is perfect for coloring with my Zig Clean Color Real Brush Markers because it doesn't bleed when water is applied. Since Zig Clean Colors are water based, you'll want to choose an ink that is permanent. I'm also using some Smooth Bristol paper because it's become my favorite for coloring with my Zigs.
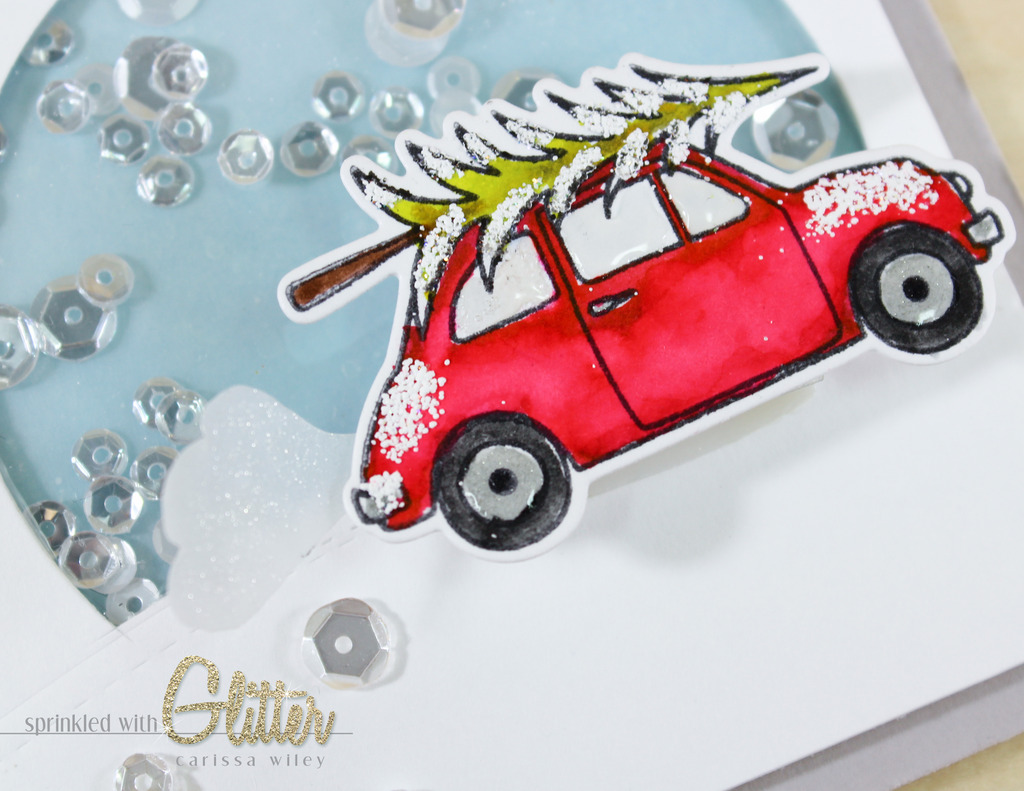
I colored a couple different versions of my car. I'm using two coordinating colors for each car, one dark and one light. I've listed the colors I've used for both cars below. I started with the darker color around the outside of the image and then blended it out with the lighter color. I used this same technique for the tree as well. Once the cars were completely colored, I added some water to the colored image and blotted some of the color. This softened the color and gave the images a watercolored look.
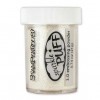
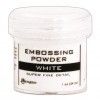
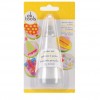
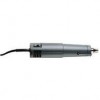
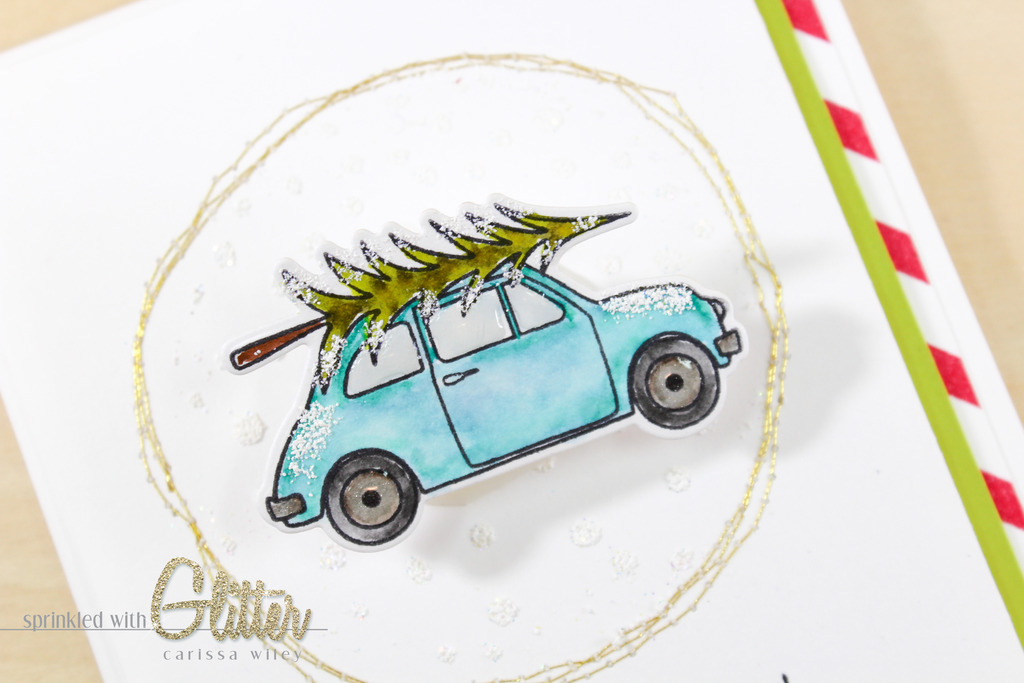
To add the snow effect, I'm using Stampedous Sparkle Puff Embossing Powder. To apply this to the image, I used a Versamark pen. This allowed me to apply the embossing powder in very small areas. If you don't have a Versamark pen, you can try using your regular Versamark ink pad with a small makeup sponge or dauber. This Sparkle Puff embossing powder works just like any other embossing powder, however, when you heat it, it puffs up a little more than regular embossing powder. The glitter in it gives a little bit of sparkle This is perfect for snow effect, however since this embossing powder is on the coarse side, I wouldn't recommend using it for sentiments or super detailed images.
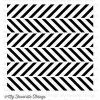
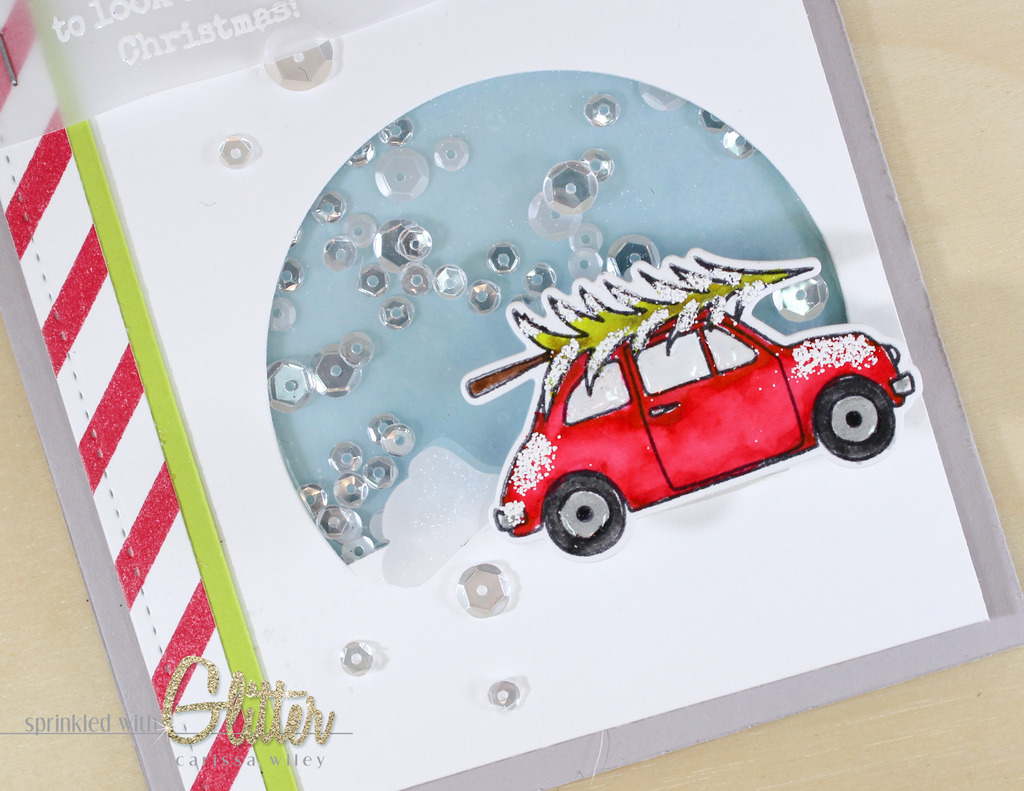
I also used the Sparkle Puff embossing powder to create a snowy backdrop on my first card. I created a mask and used the negative space on the card front. I used a snowy background stamp with some Versamark ink to stamp within the circle. Then I applied the Sparkle Puff embossing powder. I found that if I flicked the back of my paper too hard after applying the Sparkle Puff embossing powder, I lost a lot of the powder. It's better to just gently tap to remove the excess or use a dry brush to clean up the embossing powder from areas that you don't want it.
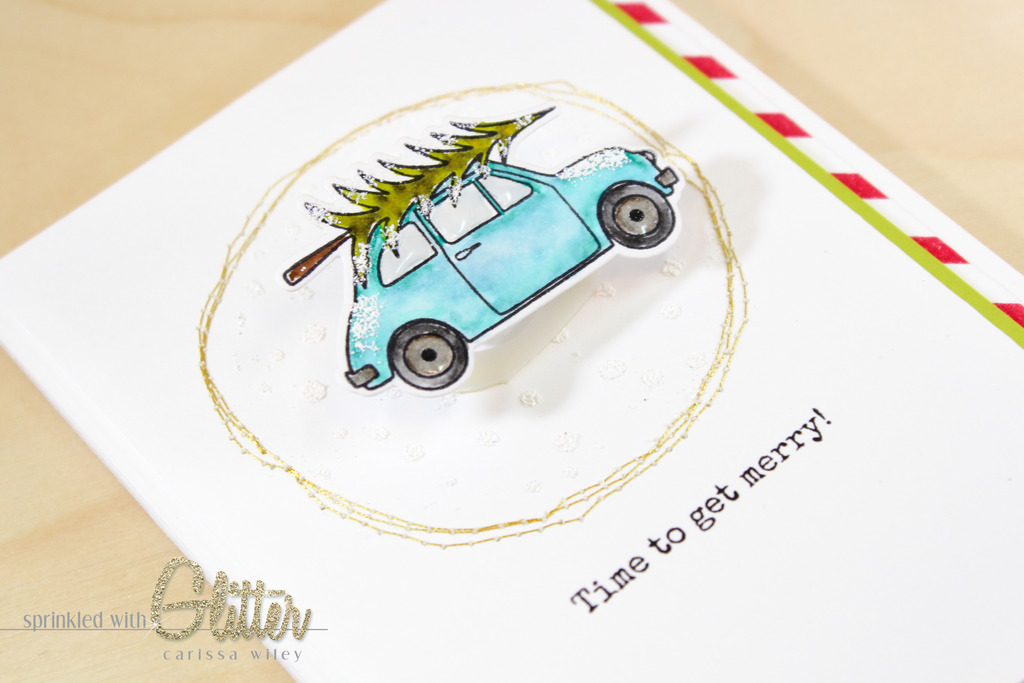
For both cards, I cut down an Action Wobble Spring to adhere the cars. I love the interactive element that these springs add. The cars move and bounce when they're touched or when they're removed from the envelope. Since I cut the adhesive part of the spring so much to make it fit behind the car, I added some Multi Medium Matte to make sure that these stayed stuck to the front of my card.
To finish off the car, I added some Glossy Accents to the windows as well as the wheels. I also added some Silver Wink Of Stella to the bumper and wheels to make them shine. These little finishing touches really bring the images to life.
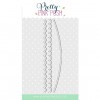
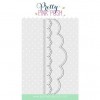
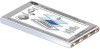
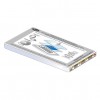
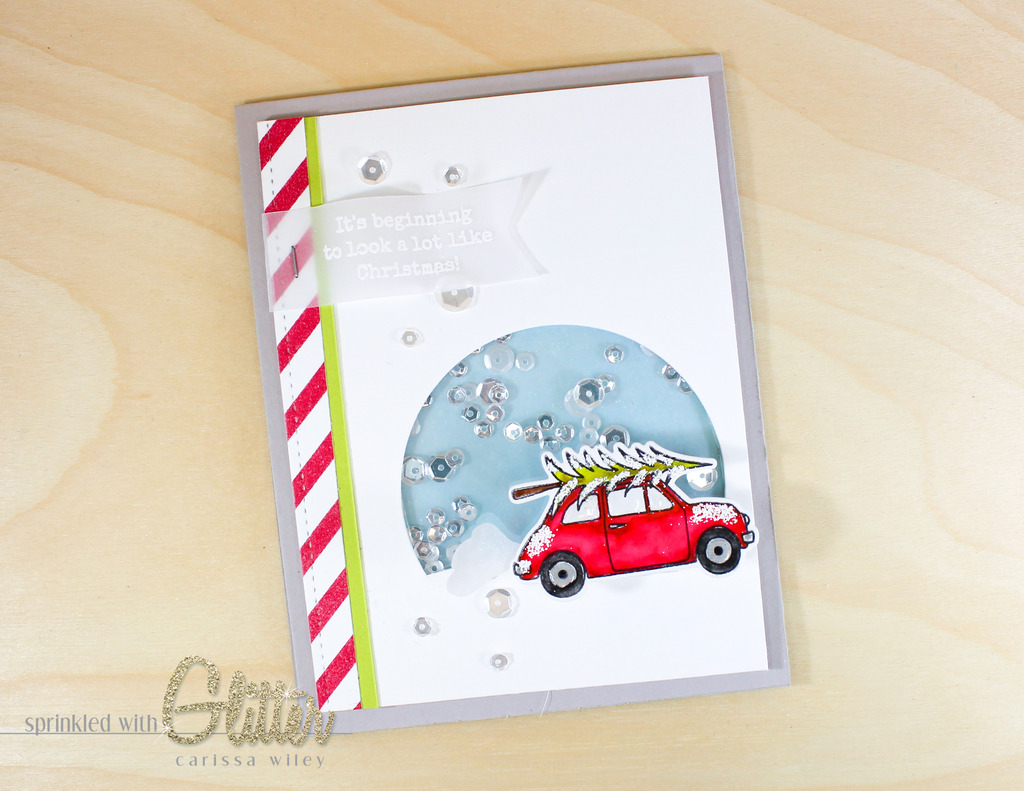
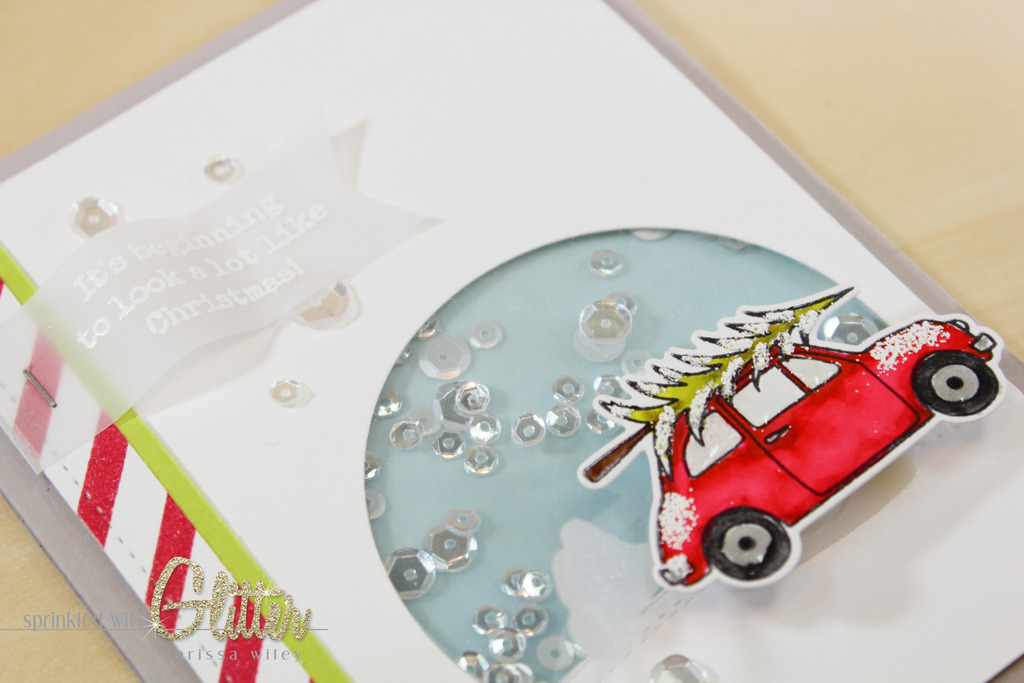
For the second card, I decided to create a shaker card. I created a partial die cut window using a circle die and a stitched border die from Pretty Pink Posh. I also used the stitched border die to deboss the stitched border all the way across the front of the card. This is a fun touch and created a snowy hill for my car to travel along.
To add some color to the backdrop of my shaker window, I created an ink blended background. I used Tumbled Glass and Broken China Distress Inks. I've found that I have much better luck with ink blending when I use the Smooth Bristol, so I used that for this portion of the card as well.
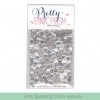
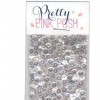
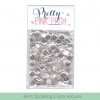
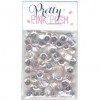
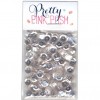
I filled the shaker window with some sequins from Pretty Pink Posh. I used a mix of marshmallow and sparkling clear to create a snowy shaker scene. I also added a few of these sequins to the card front.
Since it's clearly cold outside, I decided my car needed a little exhaust. I freehand cut a piece of vellum to create a cloud of exhaust and attached it to my car. I also added some Clear Wink Of Stella to the cloud to make it shimmer. It's a fun touch.
I'll walk you through the entire creation of both of these cards in the video tutorial below. I've also linked all the products used in these projects below.
Thanks for stopping by today! I really hope you've enjoyed these projects and picked up some tips and tricks along the way. I'll be back soon with some more card making inspiration and video tutorials for you....until then, I hope you have a fabulous day!

Supplies
*affiliate links used*