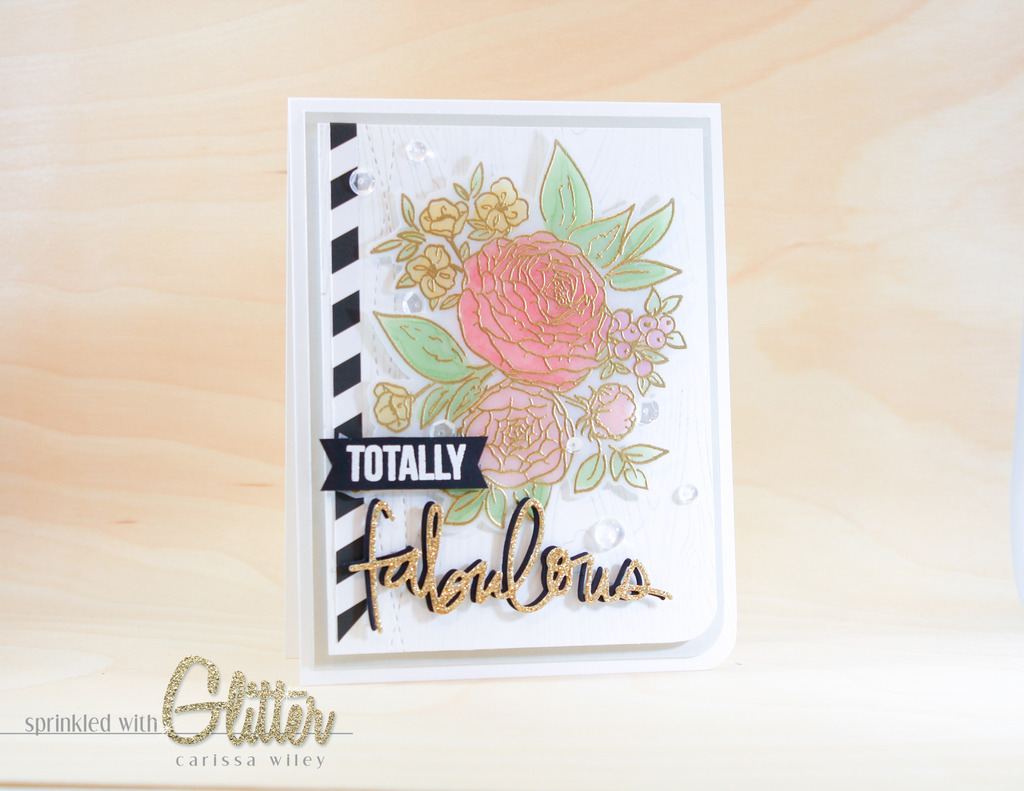
Totally Fabulous Ranunculus - Copic Coloring On Vellum
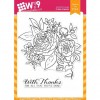
Hi everyone! I hope you're having a fabulous day. Actually...I hope you're having a totally fabulous day! I have a totally fabulous project for you, featuring the Beautiful Bouquet Ranunculus stamp from WPlus9, as well as some of the newest products from the Essentials By Ellen line.
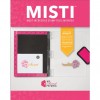
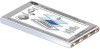
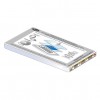
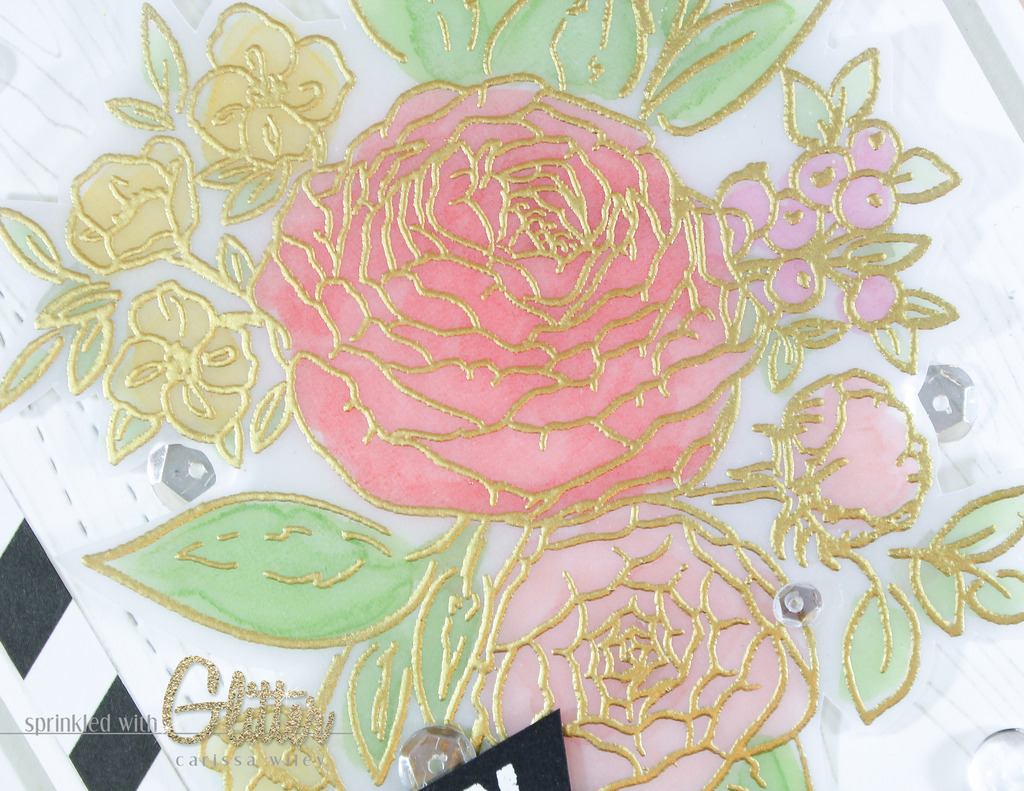
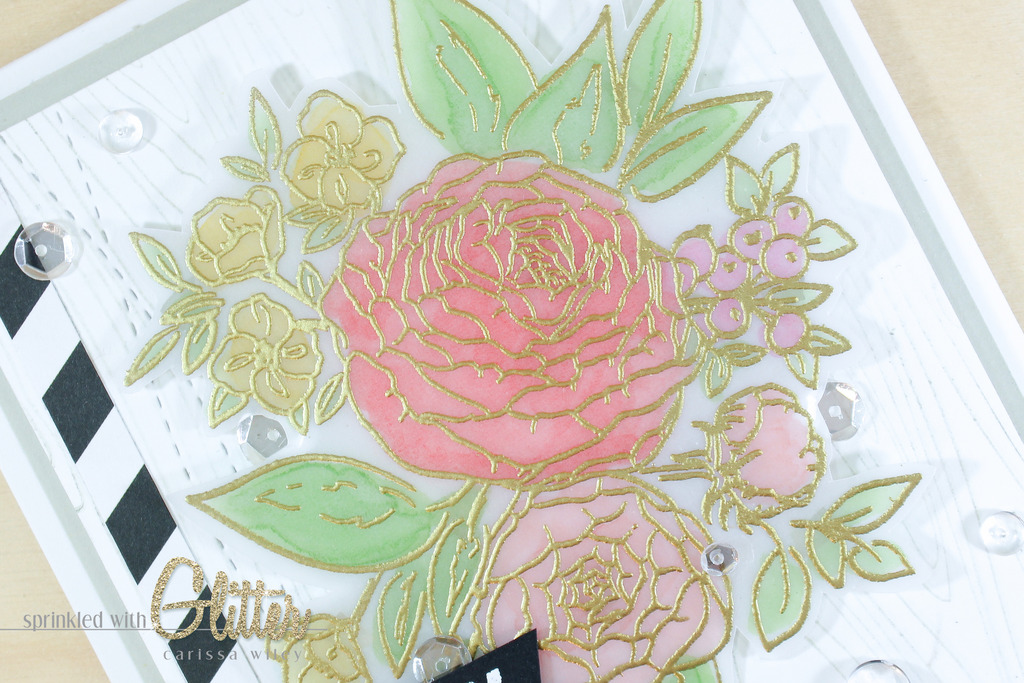
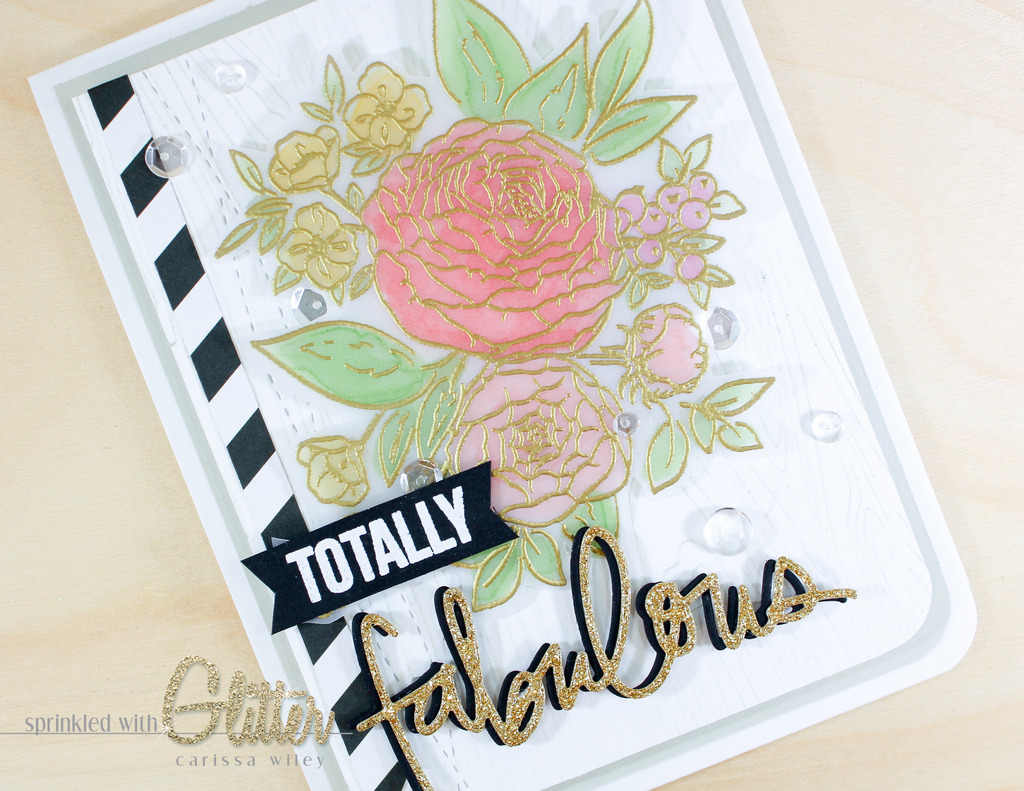
I decided this gorgeous stamp from WPlus9 would be beautiful heat embossed in gold on vellum. I used my MISTI tool to stamp this stamp on my vellum after prepping the surface with the EK Success powder tool. Using the MISTI allows me to get a great impression on large stamps like this. The foam base gives smooth impressions...just like the old mouse pad trick. Once I had the the image stamped in Versamark ink, I added my gold embossing powder and heat set it.
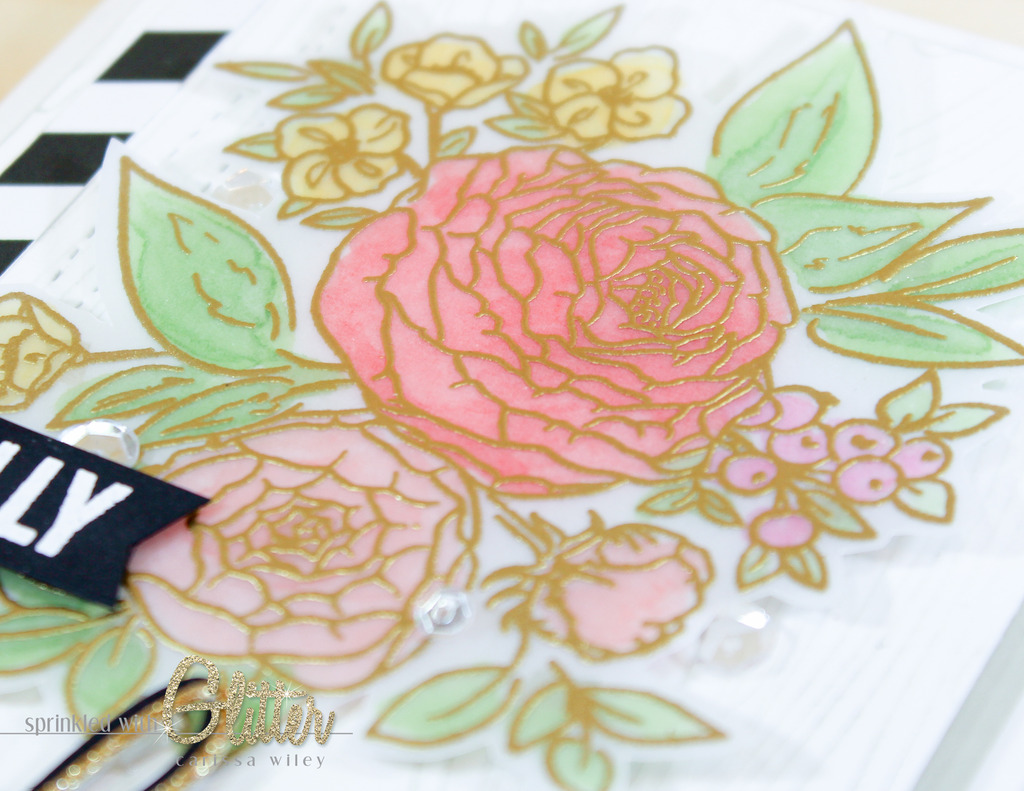
Now this stamp could be gorgeous just left like this. However, I decided to add a little color with my Copic markers. I love using my Copics on vellum. It creates a soft, dreamy look. I did my coloring on the back of the vellum. You don't want your Copics to come in contact with the embossing on the front of the vellum, because the Copic markers can eat away at the embossing.
Remember, to choose colors a little darker than you actually want. The colors will soften quite a bit on the vellum. And if you make a mistake, no worries. I used my Colorless Blender to pick up the color off the vellum after deciding I didn't want blue on some of the flowers. I'll show this to you in the video tutorial below.
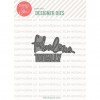
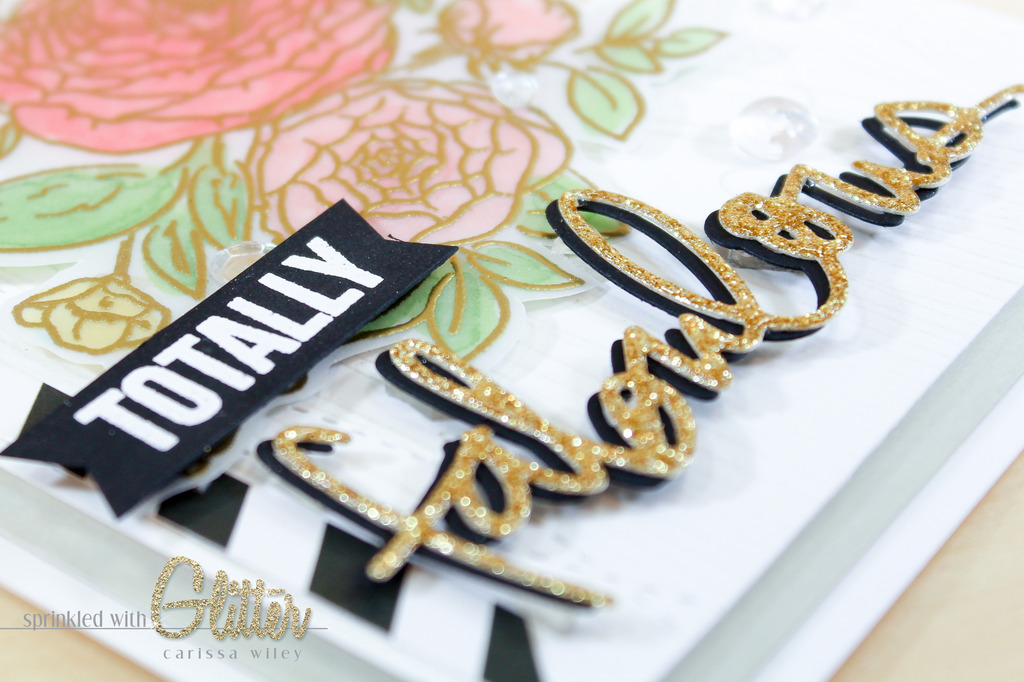
For my sentiment, I am combining a couple of the newest (and my favorite) products from the recent Essentials By Ellen release. Love the handwritten dies that Julie has designed...and since she made this one with MY WORD, you know I'm going to completely love it. And what could be better than the word fabulous cut out of gold glitter card stock?
I also added a heat embossed portion to the sentiment using the new Totally Awesome stamp set. I love the versatility of this stamp set. And it works beautifully with the Totally Fabulous die.
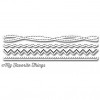
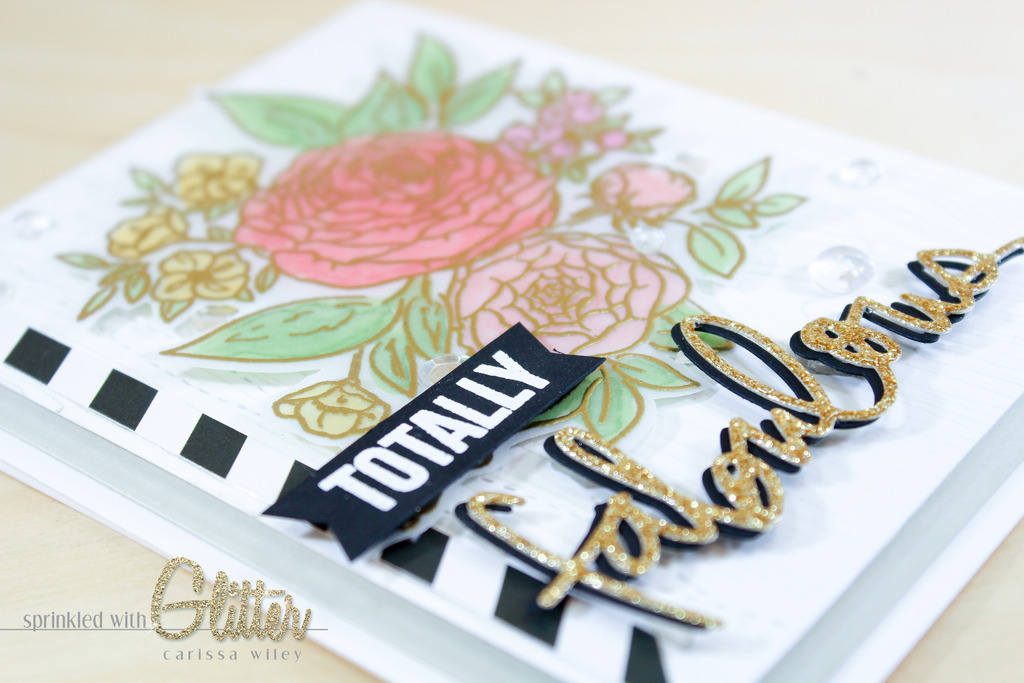
To complete the card, I added a few more details. I added some texture to the card front using a background stamp from Hero Arts. I also added some faux stitching detail along the side with one of my recent favorites from My Favorite Things. The Homespun Stitch Lines dies are fantastic to add just a little touch of interest to your card fronts. And you knew I wasn't going to let this one go without adding some black and white patterned paper and some sparkling clear sequins from Pretty Pink Posh. I did throw in a couple of the clear droplets as well to mix it up a bit. ;)
I have created a video tutorial walking you through the entire creation of this card. Be sure to check it out below. I've also linked all the supplies used in this project below. You can just click the link to go directly to the product page. I've listed multiple sites when applicable.
Thanks for stopping by today. I really hope you've enjoyed this project. I think it may be one of my recent favorites. Love the soft vellum flowers and the bold sentiment. Such a beautiful combination. Until next time, I hope you have a "totally fabulous" day!


Supplies
*affiliate links used*